Intrepid 4×5 Test-Drive

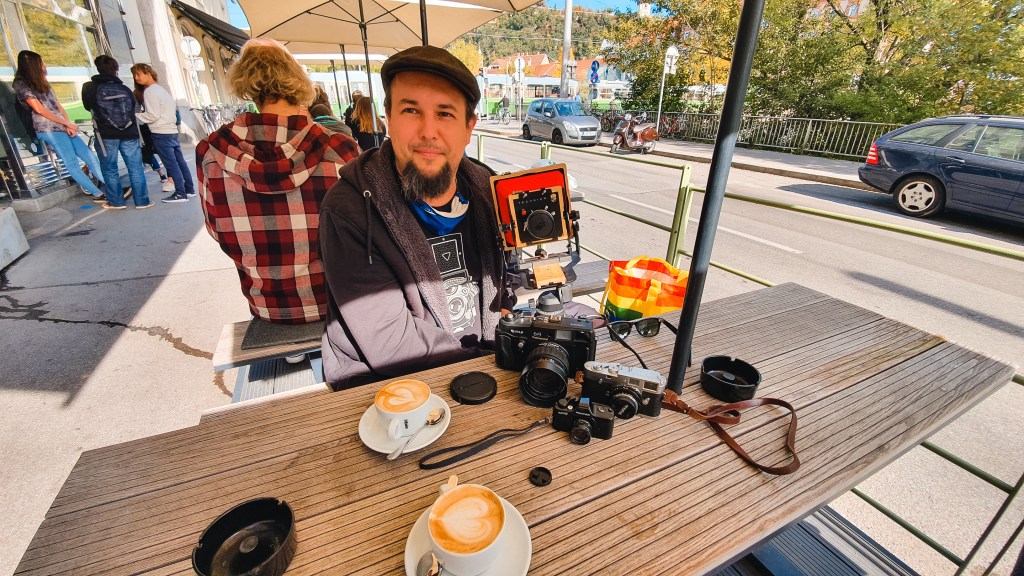
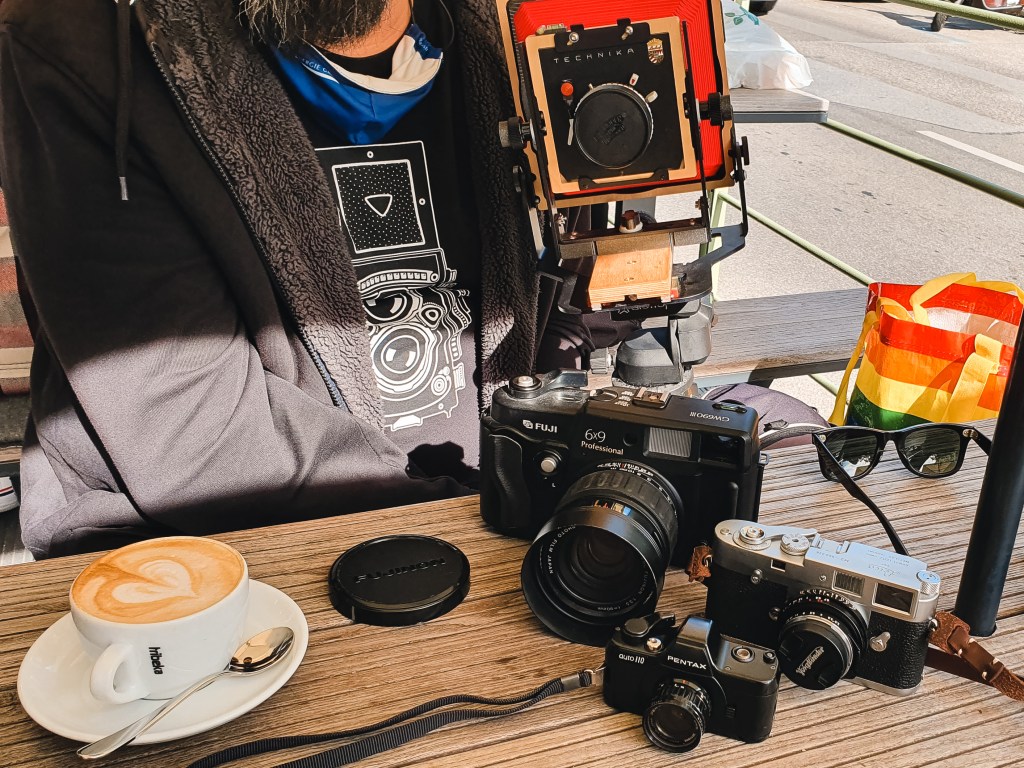
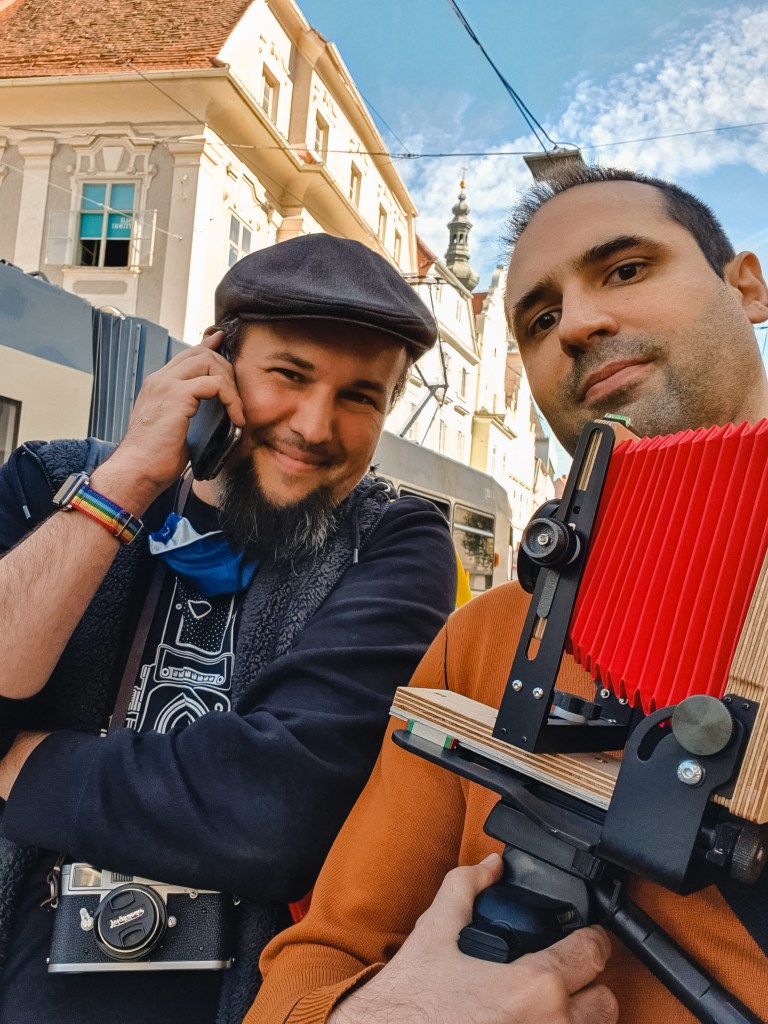
We are around the end of the second Covid lockdown here in Austria. It is hard to even think about any in-person social interaction nowadays. But at least we can recall the times when we still met up with friends. Maybe just for a cup of good coffee or even to shoot with exotic cameras. This post is a memory of such a cool event that took place in between lockdown 1 and 2 in Graz. I went out with my friend Thomas to test-drive his large-format Intrepid 4×5 camera with some Ilford HP5+. To spice things up, I brought along my new medium format beast, the Fujifilm GW690III, as well as my beloved Leica M2. To complete the format wars, Thomas has hidden a Pentax auto 110 in one of his pockets. In the end, we had cameras with four different film sizes ranging from 110 film cartridge up to 4×5 large format.

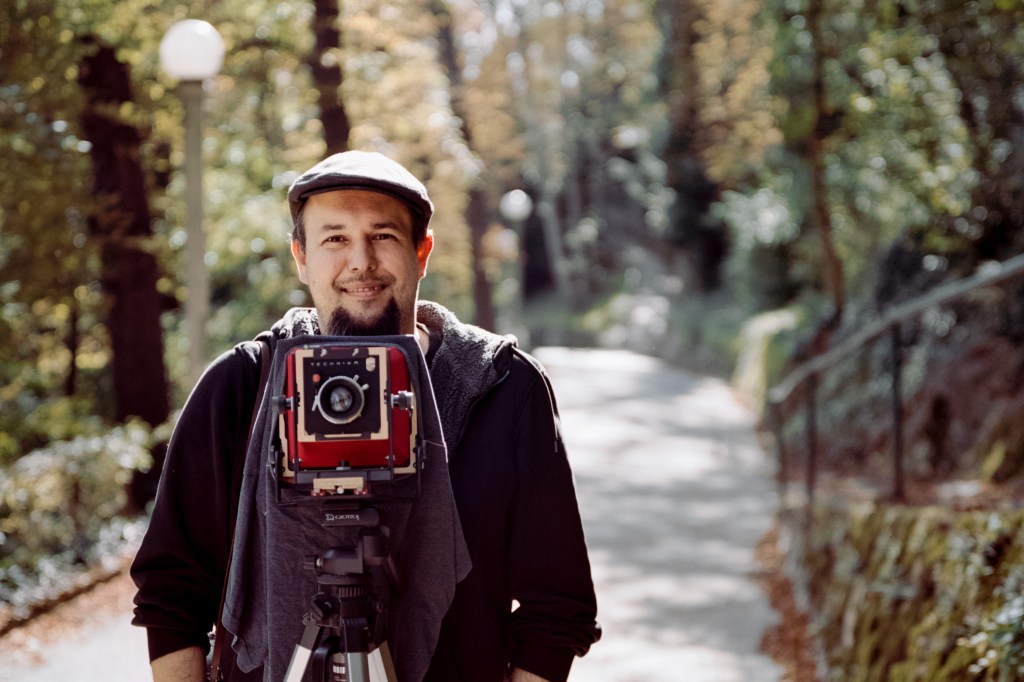
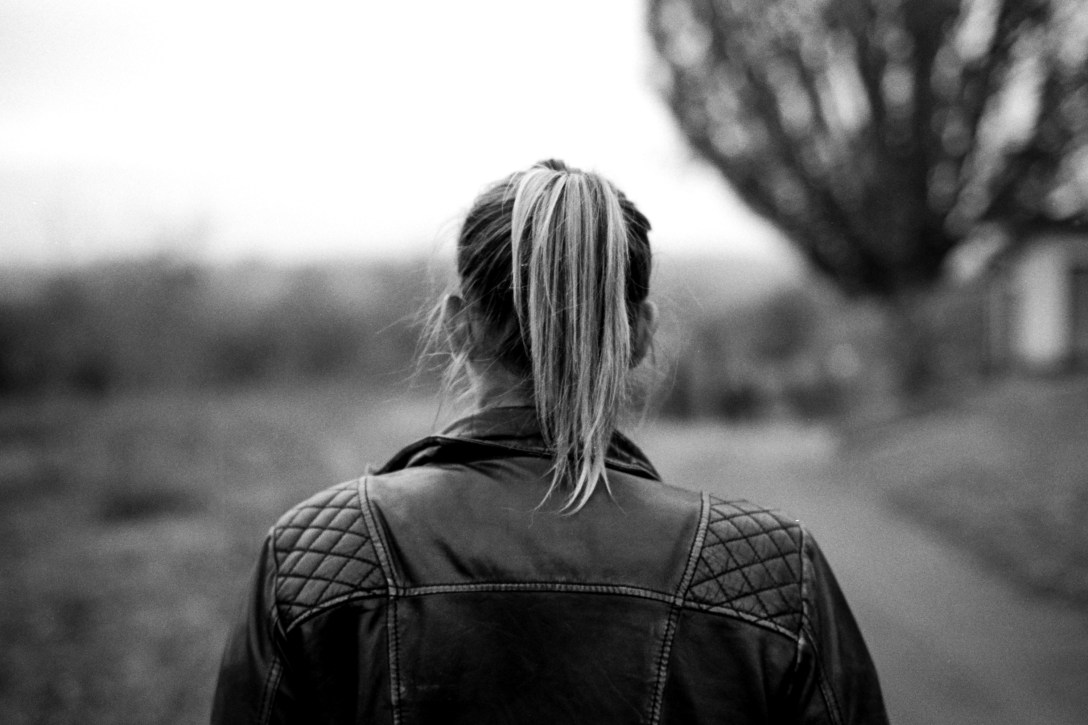
Thomas, Fujifilm GW690 III, Kodak Portra 400

What did we do with all this gear? Well, first of all, we got some excellent coffee and talked about cameras, film photography, art, geeky IT stuff, and life in general. We also went to a local camera shop to pick up some film for the Leica. We ended up with some Agfa branded B&W stock. Thomas has got the Leica to bring and shoot while I received the privilege to carry the Intrepid with the tripod. Honestly, it was a lot lighter than I expected, but I also wouldn’t have minded twice the weight. I was happy indeed just by holding the thing.

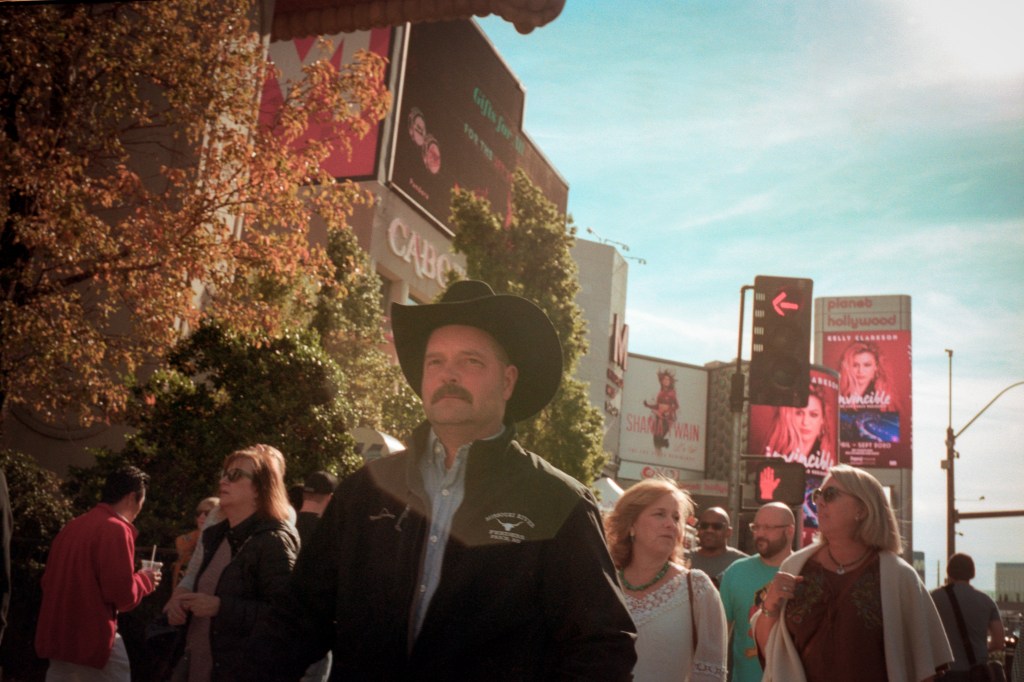
Happy Guy, Leica M2, Voigtlander color skopar 35mm f2.5, Agfa APX 400, Rodinal. By Thomas

Needless to say that such gear is a great conversation starter. Walking with a large-format camera draws attention like crazy and curious people may even ask to take a photograph of them. This attention could be a good thing if you pursue street portraits, but it could be a course because film is not cheap nowadays. It is funny that most street photographers try to be stealthy in our personal-right-aware world and uses gear such as a Leica or a Fuji X100 to stay under the radar. But the other extreme of the size spectrum might work on the streets just as well. You can even combine the formats. Start conversations based on the big camera and snap a portrait with the Leica.

Street portrait, Leica M2, Voigtlander color skopar 35mm f2.5, Agfa APX 400, Rodinal, by Thomas

In the end, we took portraits of each other and some random people we encountered during our walk through the city.

Thomas, Intrepid 4×5, SCHNEIDER-KREUZNACH Symmar – S 135mm f/5,6, Ilford HP5+, Rodinal
Gabor, Intrepid 4×5, SCHNEIDER-KREUZNACH Symmar – S 135mm f/5.6, Ilford HP5+, Rodinal by Thomas

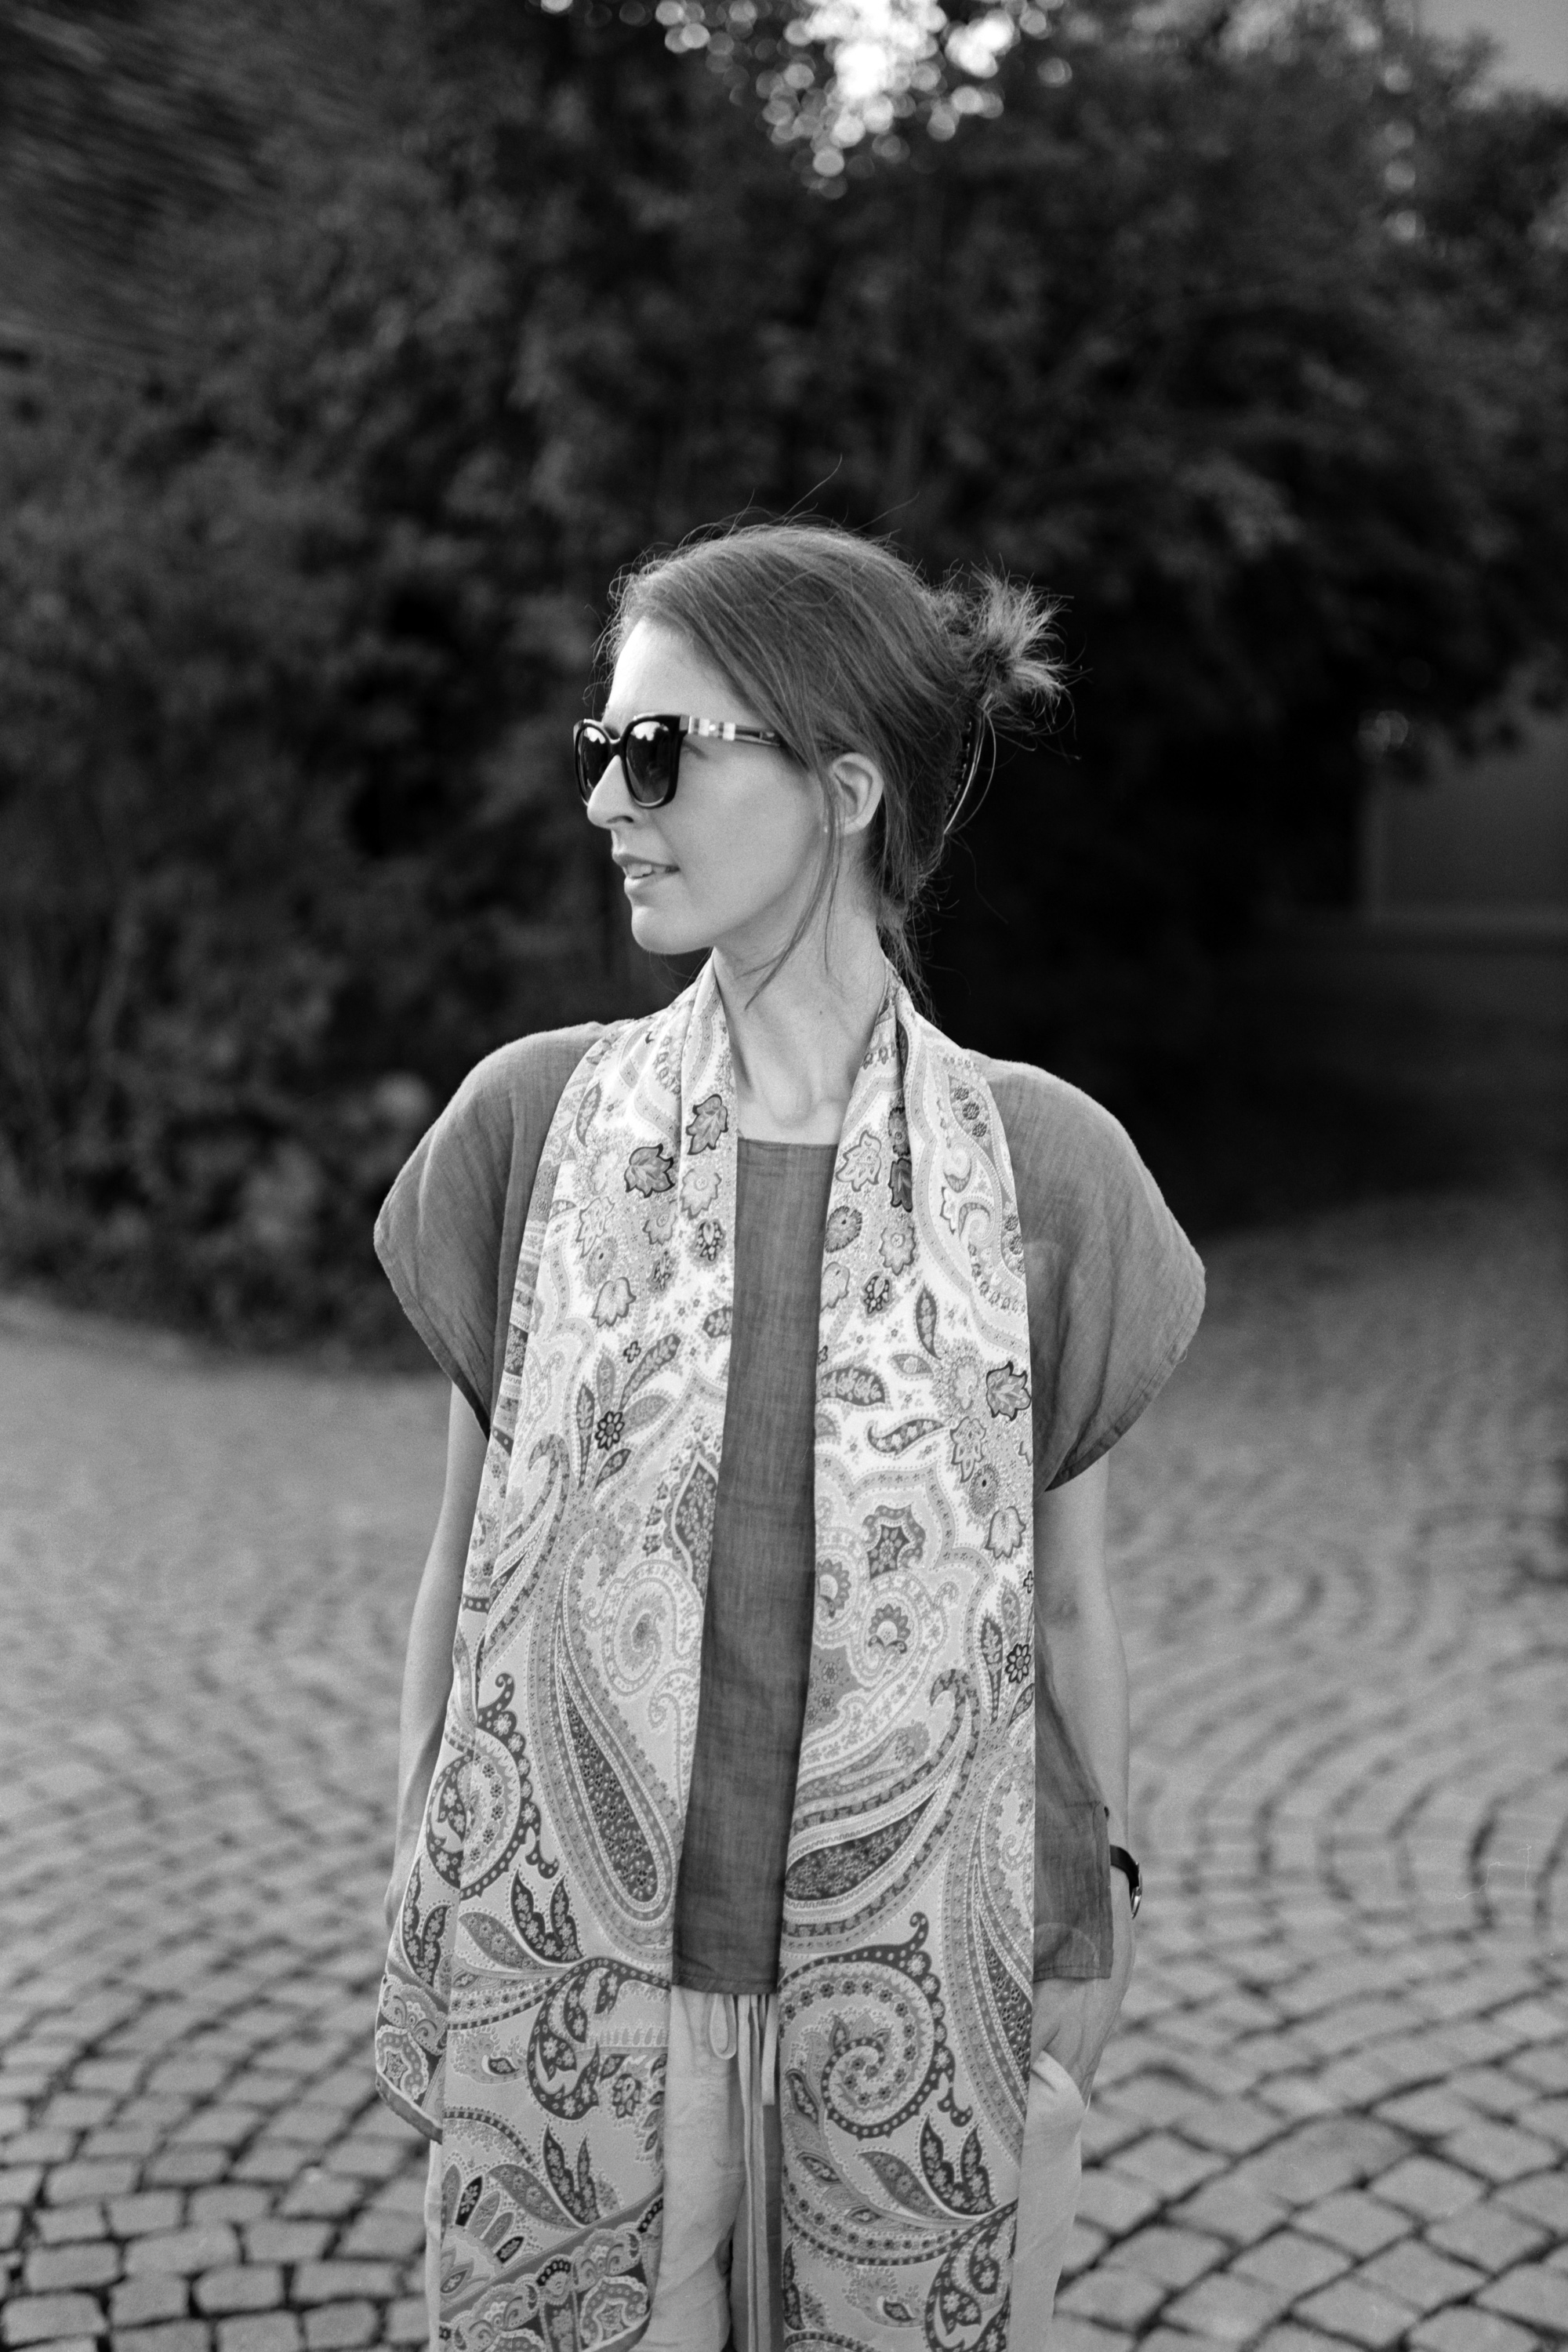
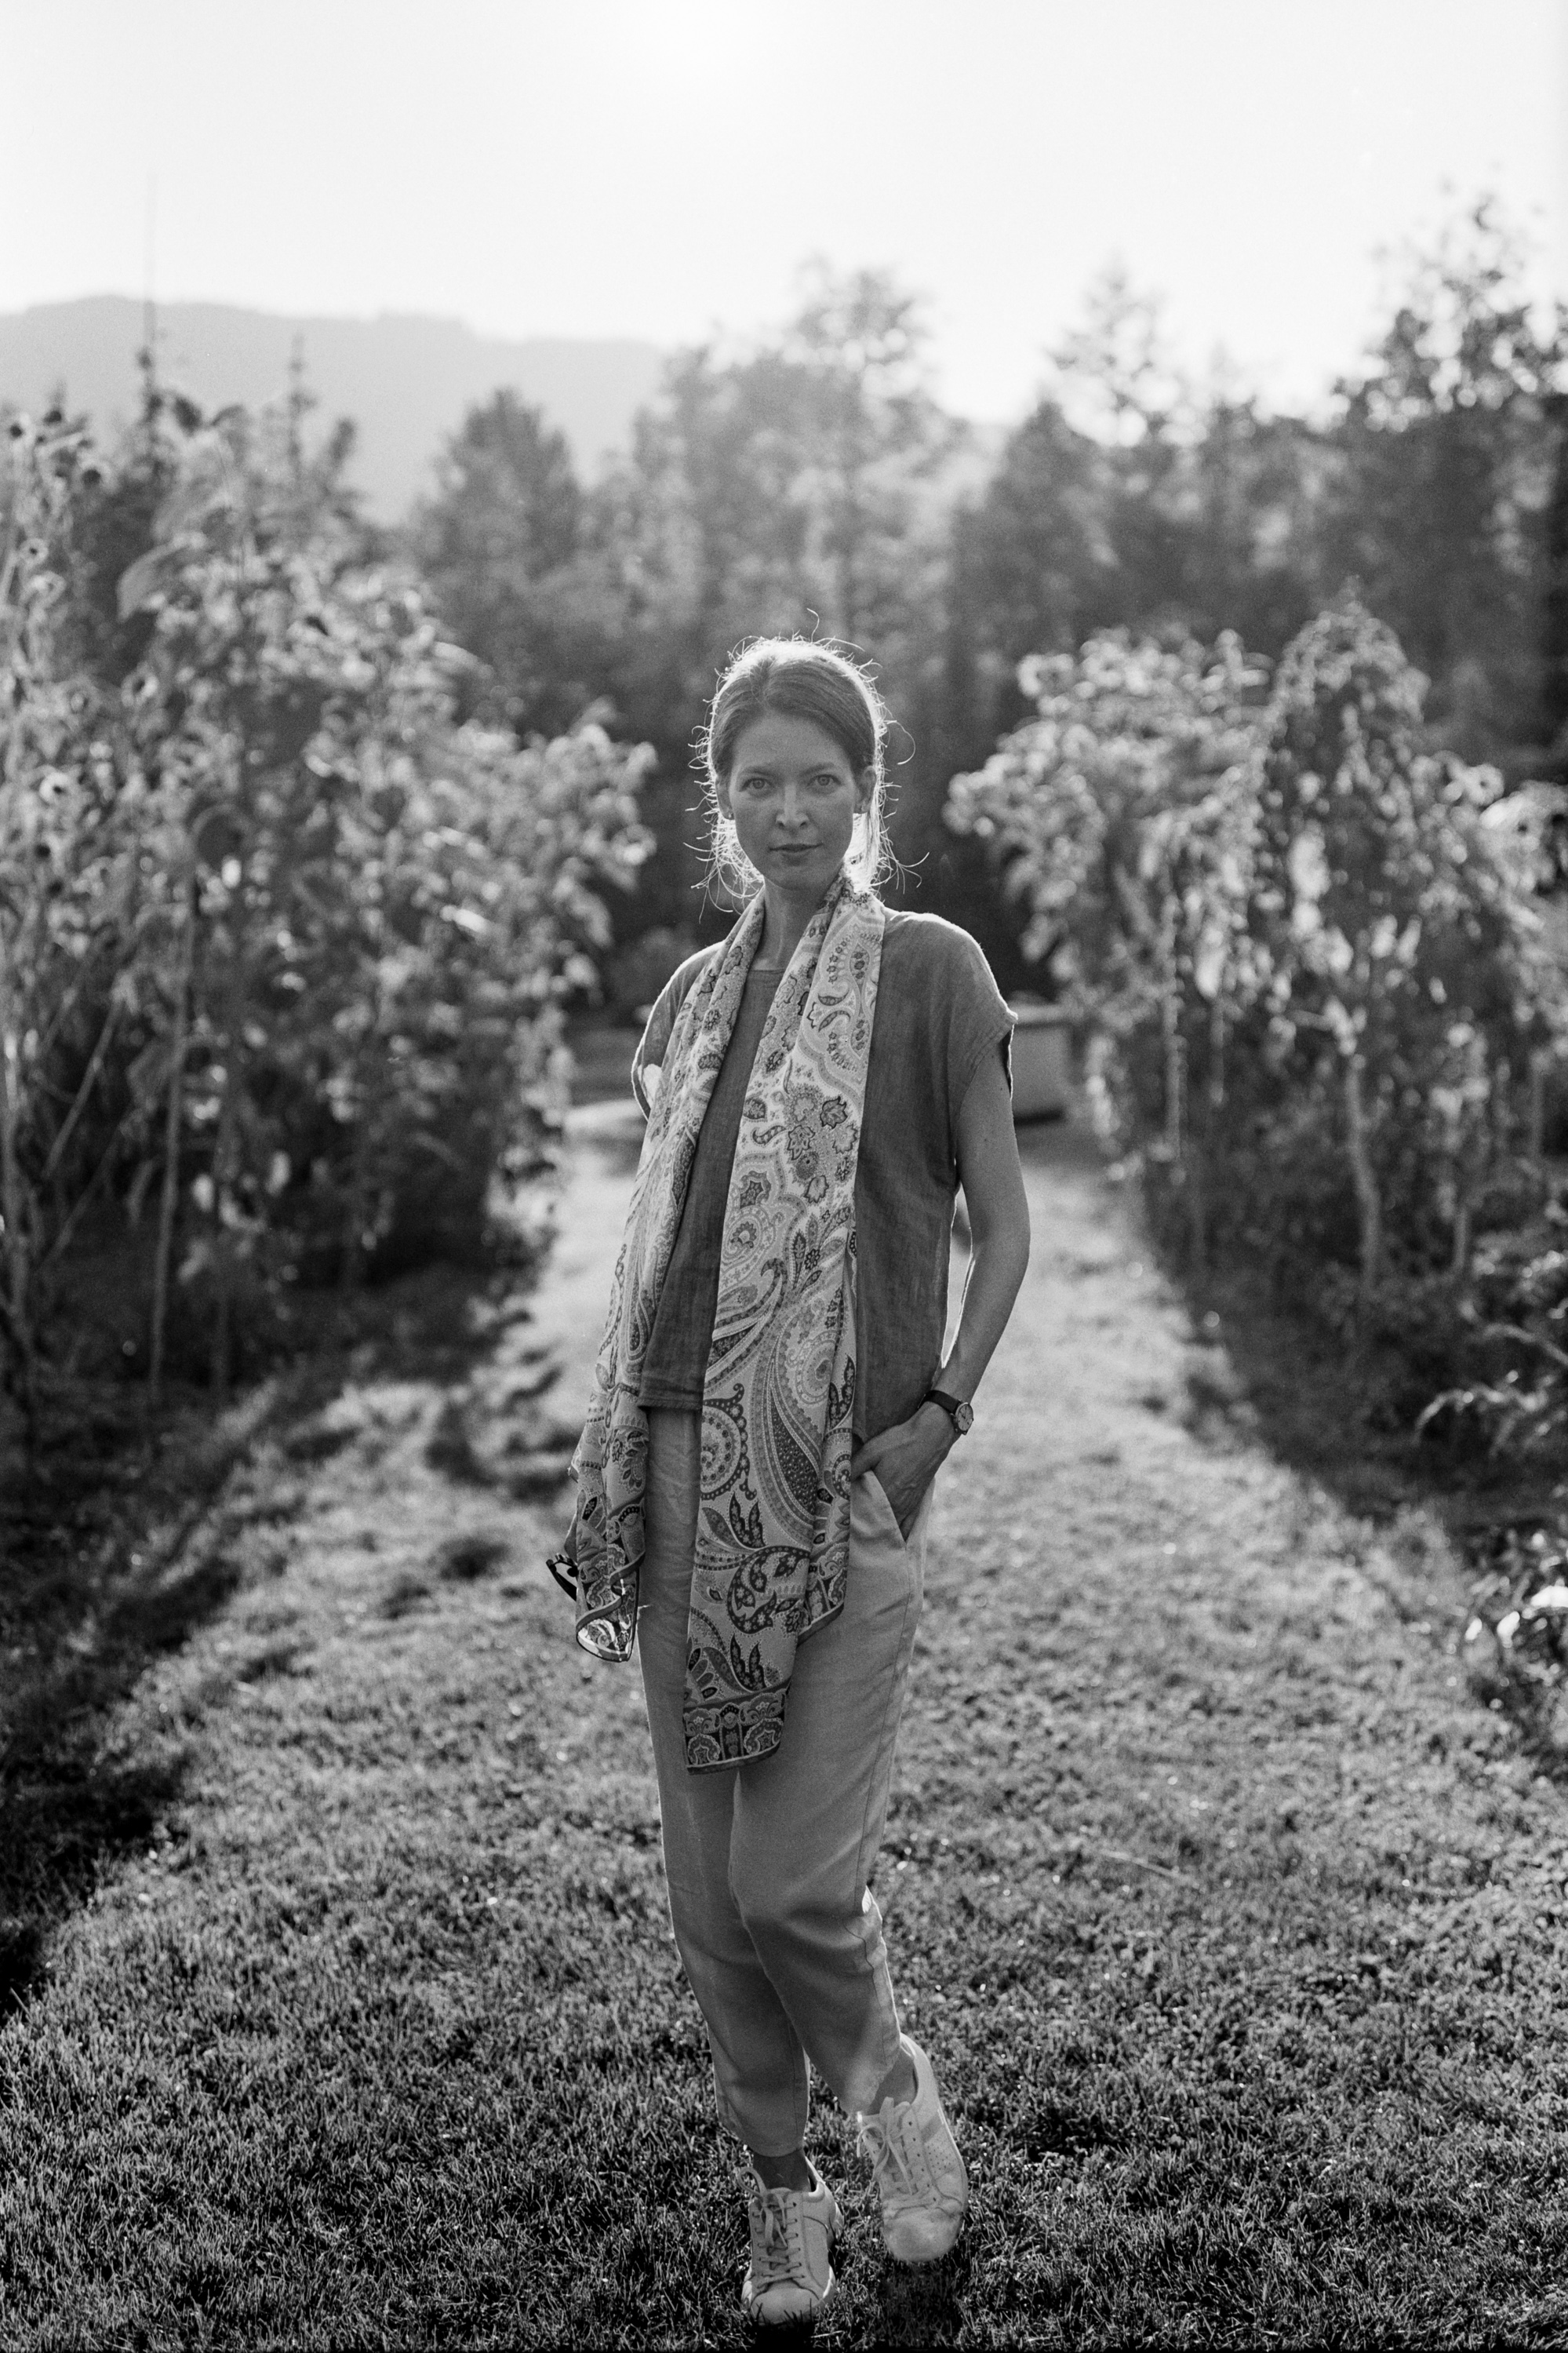
One of which was a girl in a park who happened to also shoot film with a gorgeous Olympus OM1. I got the chance to shoot a picture with that camera too which brought back great memories of my long-deceased OM4 Ti. I am still waiting to see the results of that shoot.

Girl in the park, Fujifilm GW690 III, Kodak Portra 160
Girl in the park with OM1, Intrepid 4×5, SCHNEIDER-KREUZNACH Symmar – S 135mm f/5,6, Ilford HP5+, Rodinal by Thomas

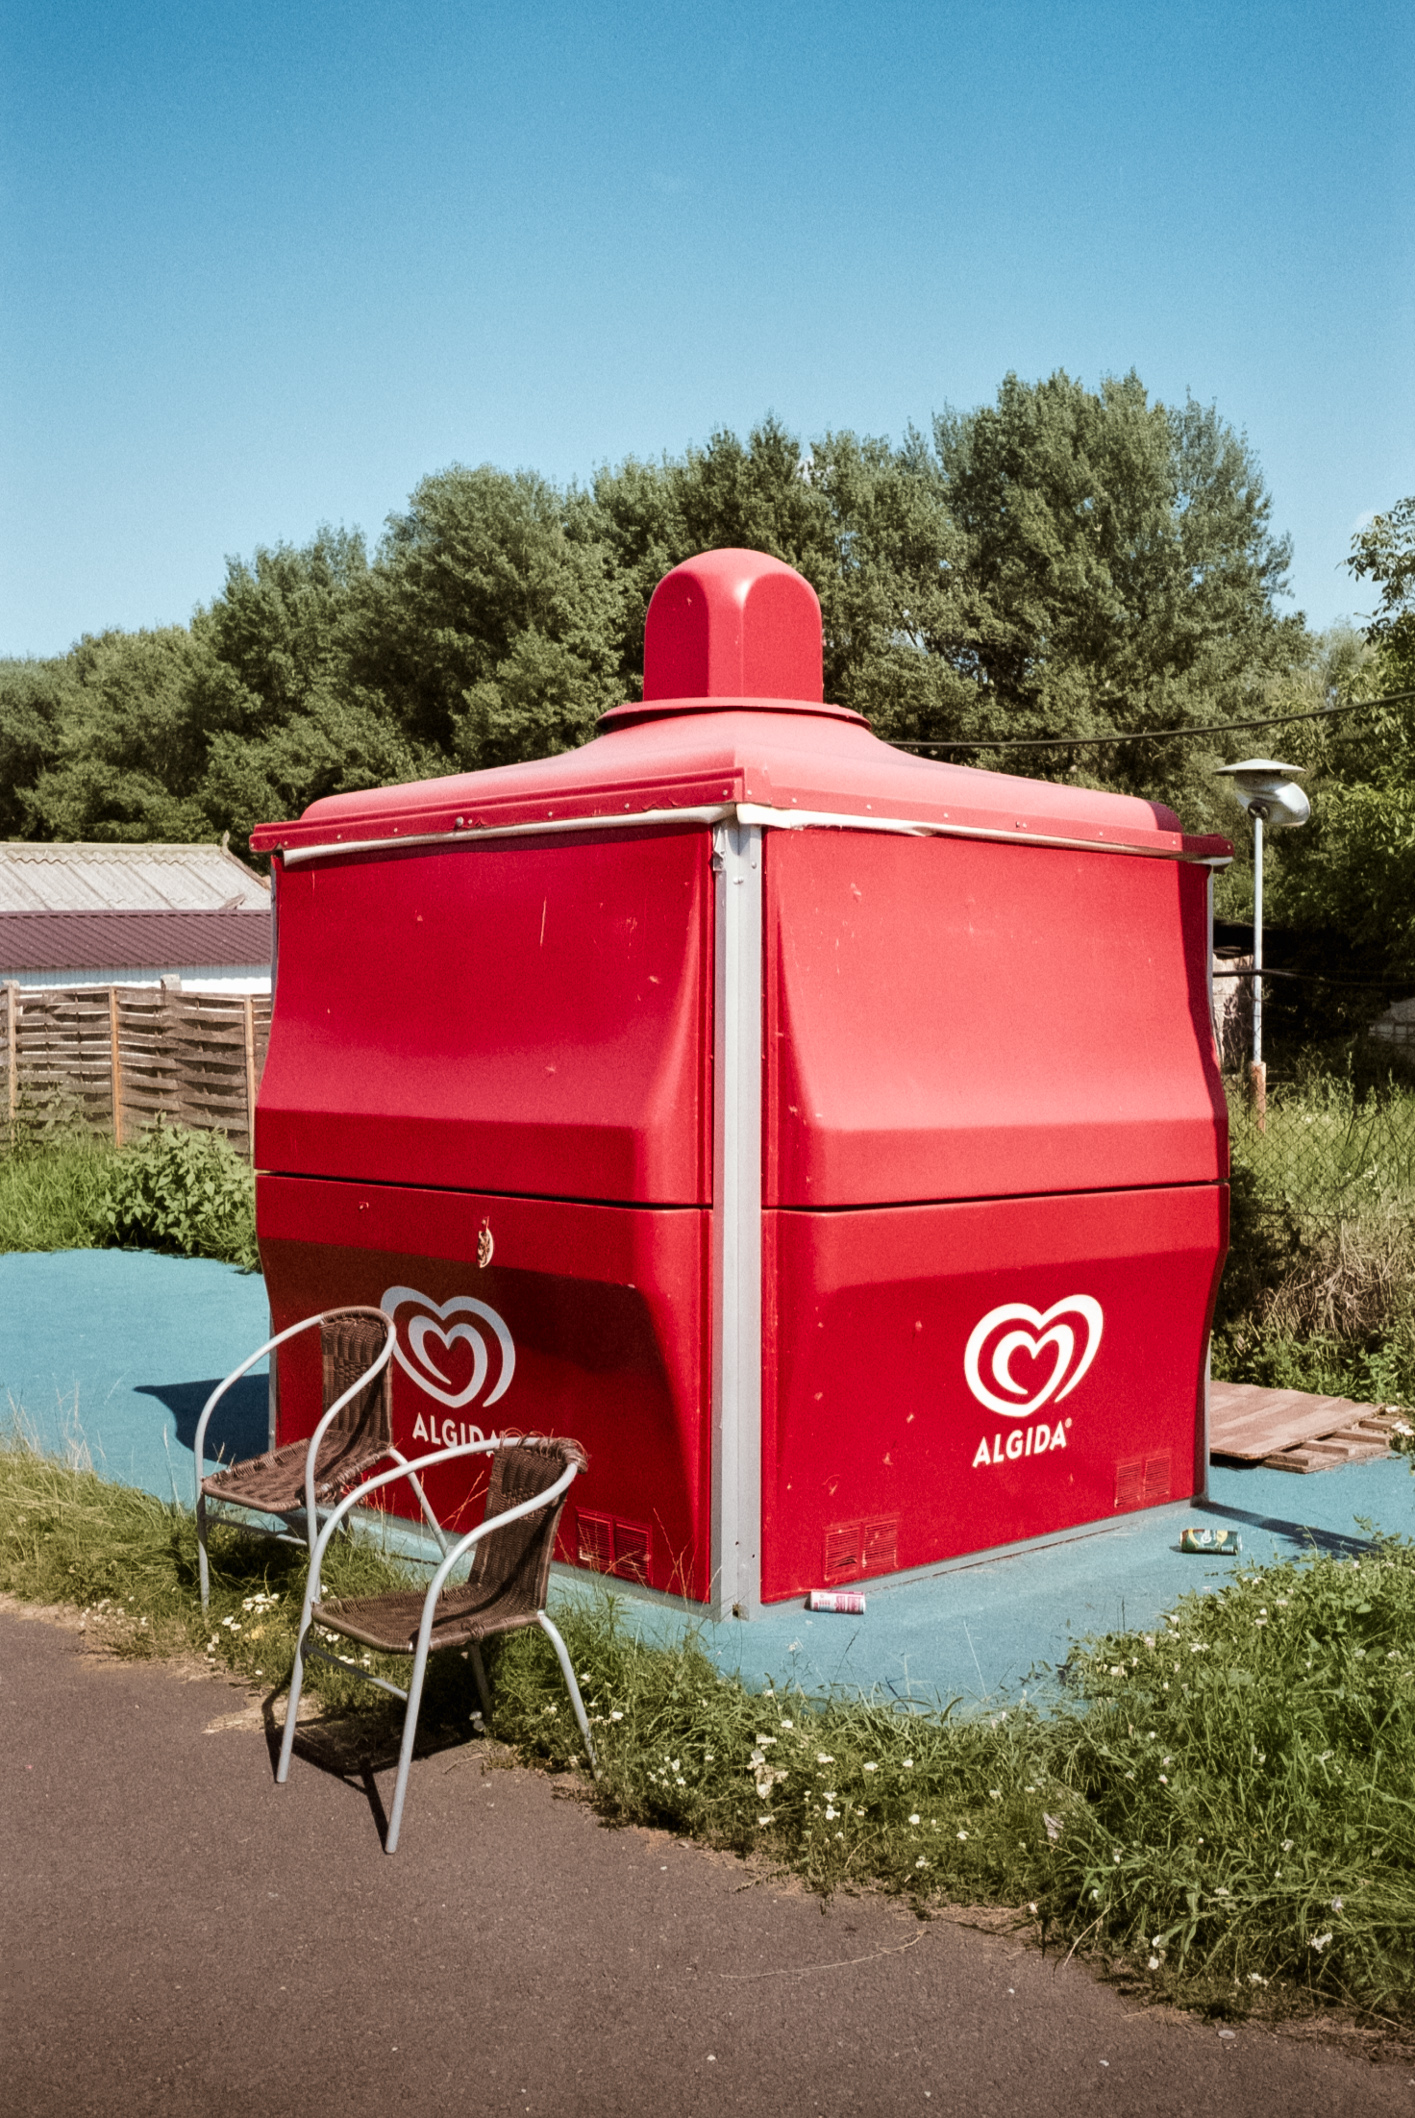
For the last sheet of 4×5 film, I composed an architecture shoot. I did not play with camera movements, partly because the lens had a limited image circle and because I simply forgot about the possibility. Oh well, I guess there will be something to play with the next time.

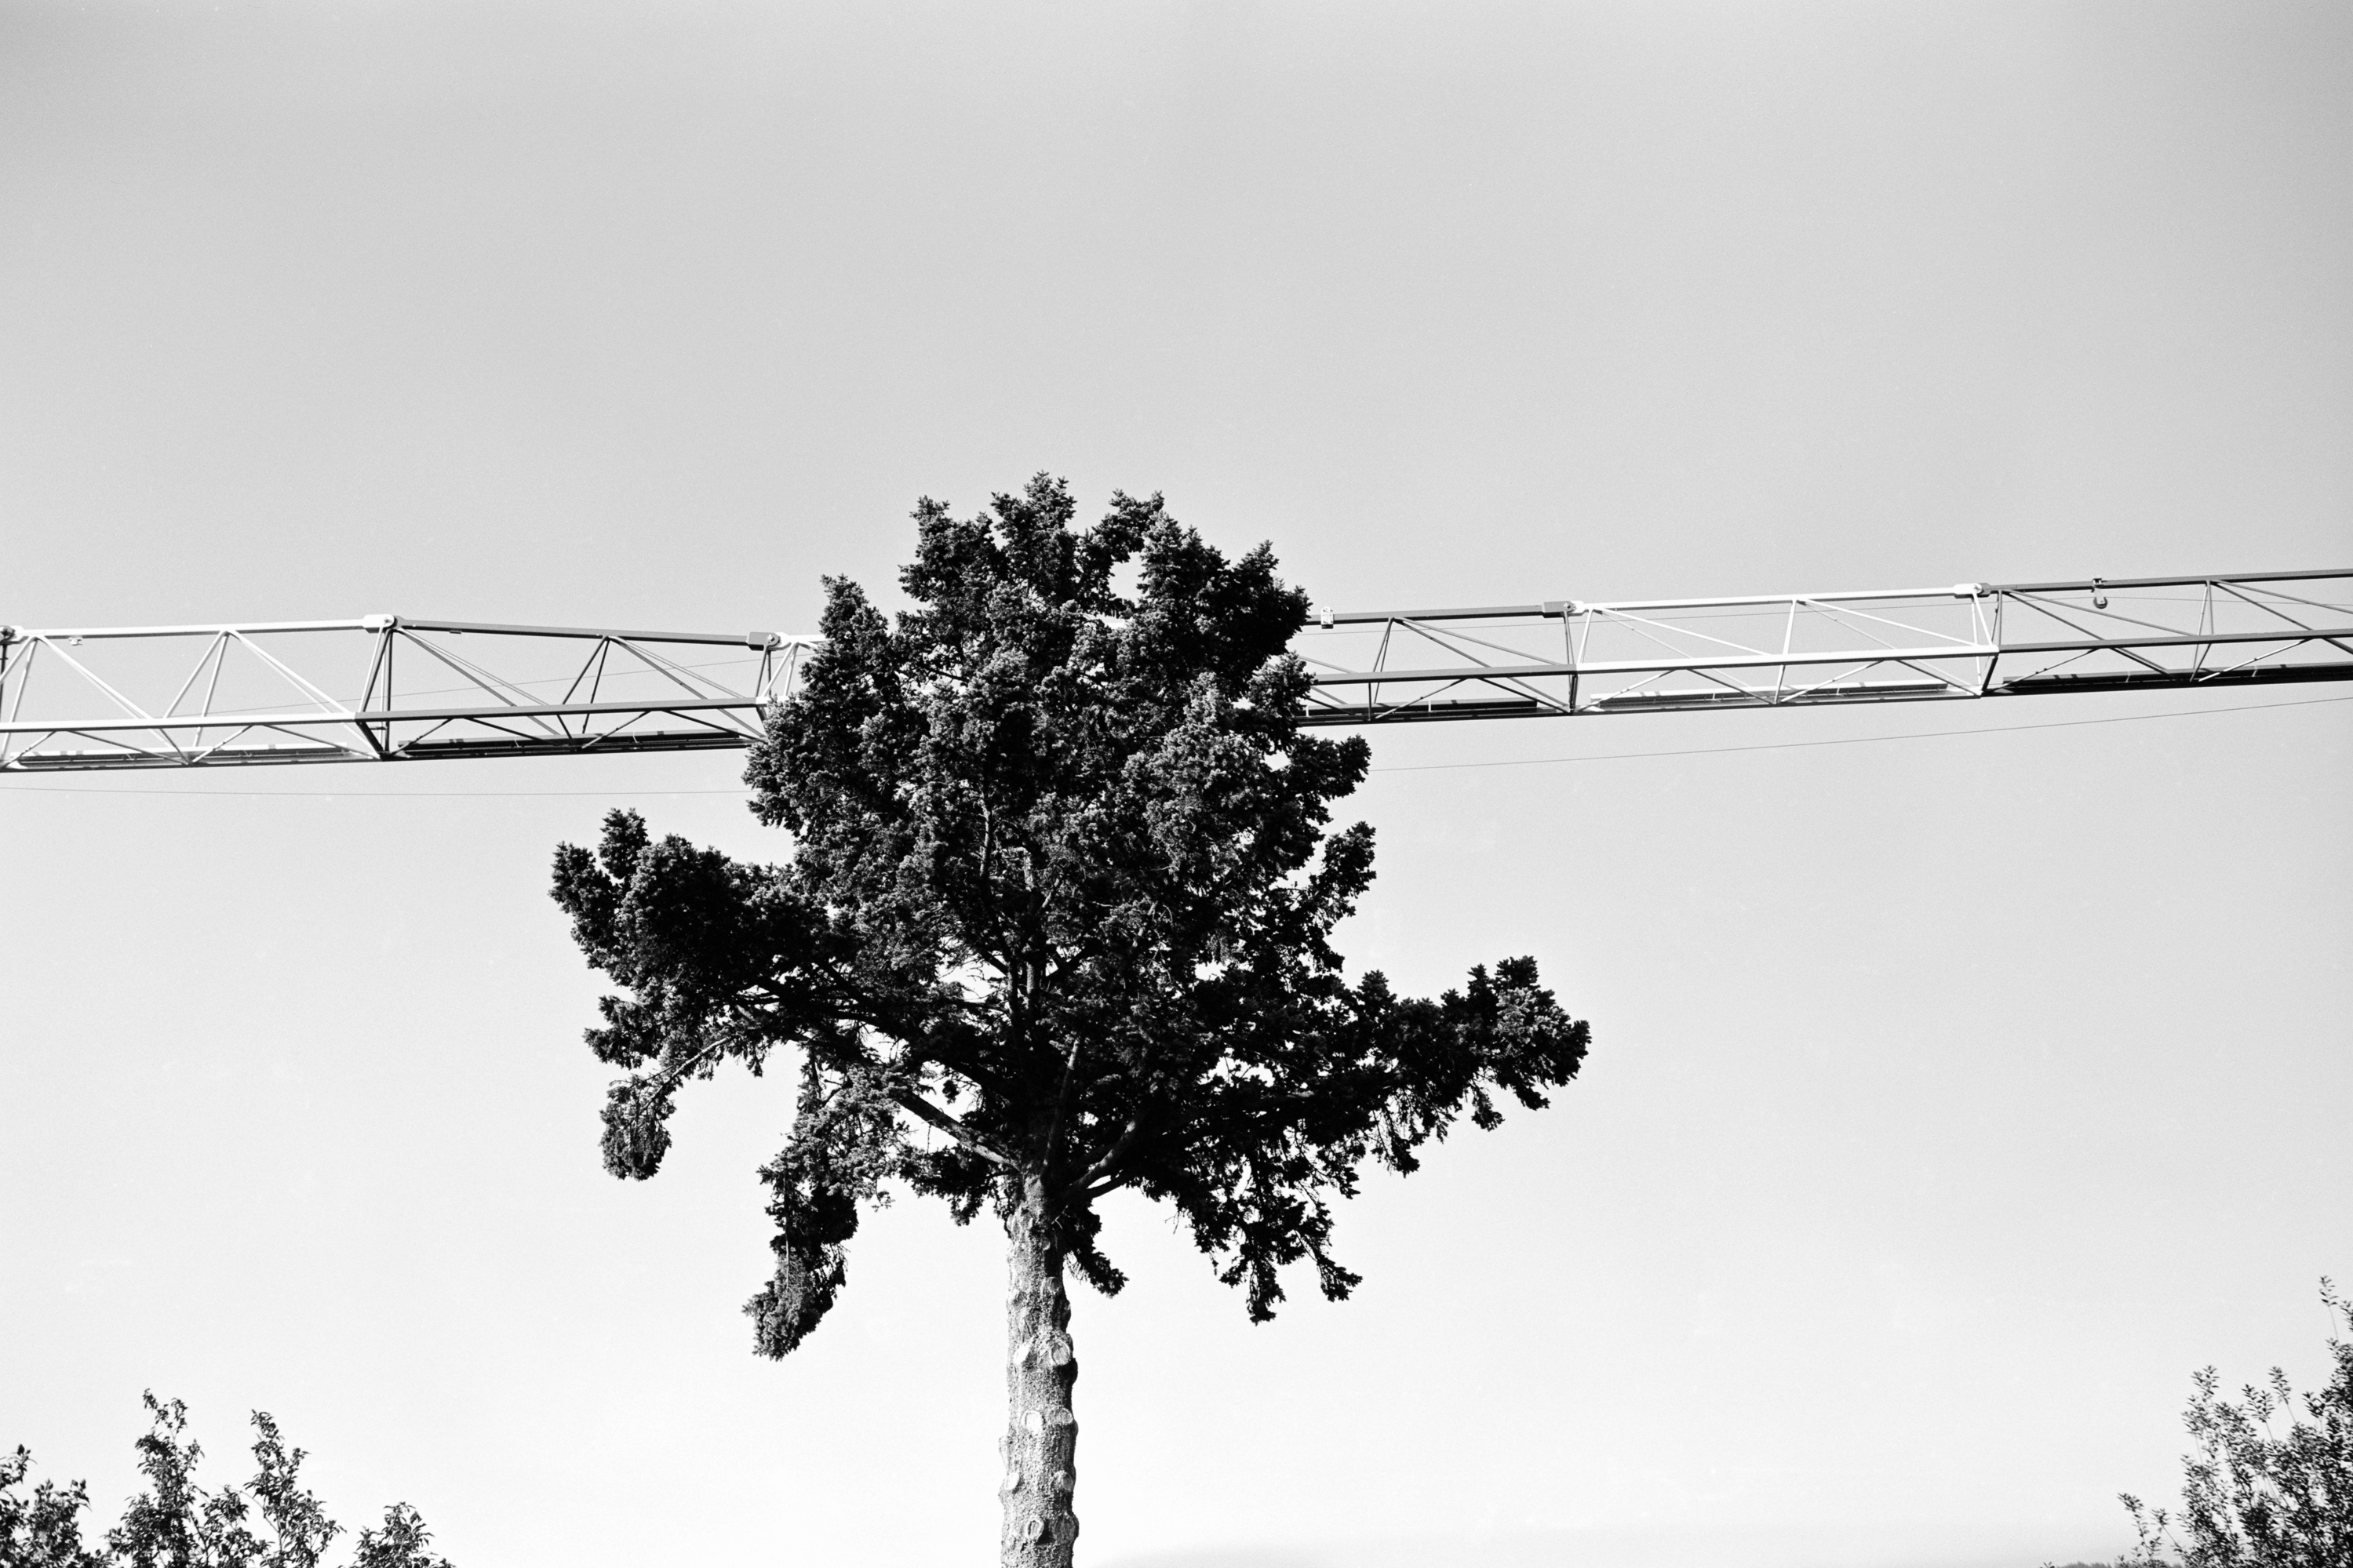
Intrepid 4×5, SCHNEIDER-KREUZNACH Symmar – S 135mm f/5,6, Ilford HP5+, Rodinal

It was a great experience to try the large format way of shooting. Looking through the ground glass, sliding in the film holder, removing the dark-slide, and operating the shutter is a greatly meditative process. It has higher stakes too, which makes it even more exciting. All that said, such a slow methodical, and expensive process might not be ideal for everyone or at least not in all situations.

Will I personally go for the path of large-format photography? I think in the long run it will be inevitable (hope that Mrs. Camerajunky is not reading this). I am successfully infected. But for my current life and shooting style, the GW690III is the biggest camera I can justify. It produces massive extremely high-quality images and I can shoot it handheld, quick, and dirty on the go. But the negative size and image quality are only part of the picture (pun intended). Large format is at least as much about the process itself as about the quality of the result. I highly recommend it for everybody interested to give it a shot. Affordable cameras like the Intrepid 4×5 makes the entry into this wonderful world if not cheap but within reach for more people than ever.

About Thomas

Thomas A. Galli-Magerl is a Graz based photographer who loves to shoot with his LC-A, a camera that he carries at all times. But he is also experimenting with other formats ranging from half-frame to 4×5 large format. He is a full-stack film photographer who is not only taking pictures but also feels at home in the darkroom. He is interested in documentary photography of the LGBTQ community, street portraits, studio portraiture, and the list is growing.

My goal is to inspire those who see my work to feel and see beyond the outlines of the world around them.

You can find more about him here:

Revival

Dear fellow photographers. As you have noticed I was not very active on the blog for quite some time now. Unfortunately it was not only the case with the blog but with my film photography in general. This had many reasons including shifting priorities, too much stress and work and the need for a creative break.

But I am not here today to be negative, in fact quite the contrary. There are many things to share and many things which made me super excited. There is new software which I love, new cameras to review, awesome youtube channels I have discovered and more. Essentially I have got motivated again and I hope this new energy will revive the blog as well. There were some not so positive events to talk about as well, but eventually I think they all collectively pushed me to shoot more and hopefully vitalize this blog.

So let’s get started and see what made me enthusiastic about film photography again.

Negative Lab Pro 

The software I needed to get control over my scans.
https://www.negativelabpro.com/
For a long time I was set on the journey to find a consistent high quality home scanning and processing pipeline. I was testing and tinkering with a lot of software and I ended up using Vuescan with an Epson V700. This is a great combo which I would recommend to anyone, but I was never truly satisfied with the result. The TIFF files I was getting were not very flexible compared to RAW files from digital cameras. Many things like curve settings were baked in the files at the time of scanning. It was very difficult to color match multiple images as bigger changes required re-scans which takes a lot of time.
I am aware that my skills are probably the main issue here, but I always lusted for a scan once edit freely type of solution.


Negative Lab pro gives me what I needed. It is a Lightroom plugin which converts the negative images itself by generating a Ligtroom settings which can be reverted or adjusted non destructively. Essentially taking away the responsibility of the inversion of the negative image from the scanner software and bringing it into Lightroom. Not only that but it works fantastically simulating popular lab scanner profiles and giving me colors that I absolutely love. Now I can match series of images together more easily and I can even benefit from new versions of the software later as I can reconvert any negative at any time.

The only catch is that the software is not exactly cheap with a 99$ one time charge. But if I factor in how much money I burn on film, chemicals and how much time I invest into my photos it is actually quite fair. I would also mention that Negative Lab Pro is a creation of a single person. He is actively maintaining the software and working together with the community to develop it further. There is a dedicated Forum and a Facebook page where support can be found for any related issues in no time.
As a software developer myself I deeply sympathize with the project which was yet another reason to support it. I find it very motivating that a single person can have such a massive and positive impact and bring new life into (certainly into my) film photography.

The king is dead, long live the king!

Unfortunately my old trusted Pentacon Six TL has stuck on a single shutter speed. I asked some local camera shops if a repair would be possible. But I got very little hope after my survey. At one place they told me that they don’t service such low quality cameras because it is impossible to adjust their shutter speeds anyways. At the end, I attempted to open the camera myself to see if, by any chance the issue is something so obvious that I could spot it. Needless to say that I managed to do more harm than good and currently the P6 sits in a box partially disassembled. Since then I have got a repair manual and I hope that one day I can get it back together and use it again. To put more salt to the wound, most of my Pentacon Six lenses got stuck aperture syndrome including the 50mm, 120mm and 180mm lenses. So, I would need a full CLA on pretty much everything I own in the system except the 80mm standard lens.

E with Pentacon Six TL and Sonnar 180mm

After many said months of not shooting any medium format film, I decided that I look for a replacement camera. Something totally different, something reliable and simple. It also had to be relatively manageable in size because I like to carry my cameras everywhere and shoot hand held. I was eyeballing the 645 system cameras for quite some time but then I ran into a wonderful Fuji GW 690 III which had recently a fully CLA. Needless to say that I could not resist. Best of all the seller is a really nice guy with a freezer full with film and with a really cool portfolio . You can check out his work here.

Fuji GW 690 III

I love rangefinders for many reasons, mainly because I can manage precise focus with them. The camera is a beast, it shoots 6×9 frames yet it fits into my messenger bag. It feels lighter to carry than the P6 kit. The built in lens makes it even more rugged plus I will not be tempted to get additional lenses to satisfy my GAS. Last but not least the lack of the mirror means I can still confidently use it handheld for the kind of pictures I usually take.

Needless to say that I am very excited because of this new addition to my collection. I have already shot 3,5 rolls with it although only 1 is developed and scanned so far.

I am really curious if it will be such a good fit as I think now. But in any case, it motivates me to shoot and develop more and brings new impulses into the game.

Lab torments

I have been always developing my black and white work because it gives me full control over the process, allows quick results because I don’t have to wait for the lab and last but not least it is a lot of fun. On the other hand I have never done color film development myself. I was conditioned to believe that it is extremely difficult and best to leave it to professionals.

But recent events have made me to take a deeper look on the C41 process and as it turns out it might not be that difficult after all.

But what pushed me over the fence on this matter? I brought 4 rolls of color film to my preferred camera shop in Graz. They told me that development will take about 2 weeks because of COVID . I had no problem with this as it usually takes 1-2 weeks anyways. I have received 3 out of the 4 rolls relatively quickly (in 10 days), cut up and flattened nicely, ready to be scanned. But the 4th roll was not there. In fact it was not there after a month despite my repeated calls. It seemed that no one knew where it was and I started to be worried that it really got lost. To make it worse, that roll was the most important in the bunch. A friend of mine asked me to take some photos of his family before his kids leave the house for the first university year.

In the end, the lab found the film and the story ends without big harm. The camera shop says that there is only 1 lab available and I was not the only one who went through the same torment. The timestamp on the index print was 3 weeks old when I got the film.

I know that the low demand and the current situation does not support film labs. I have no problem to wait even several weeks if I know that my film is in good hands, tracked and I will get it in the end. But my trust is shattered.

I will develop my color film myself. You will surely see some posts about my journey with color process. I am also very open for suggestions. I need to figure out how to do this economically. Batch sizes, shelf life and similar topics are all on my research list.

YouTube

I am quite addicted to YouTube which I need to get into check somehow. But at least I discover from time to time a channel which inspires my film photography. I am not sharing my full list of photography channel subscriptions at once, but here are some of my top pics without any particular ranking or ordering among them.

grainydays

The guy who runs the channel is completely crazy in the best possible way. If it is strange for the first time keep watching he has a special humor, a big punch of self irony and great photos. I like especially his night shoots.

Kyle McDougall

Kyle has fantastic camera reviews and I really enjoy his medium format architectural work. He is not only showing his work but also his way of working including, scanning, archiving and behind of scenes of his videos.

T. Hopper

Great moody videos with beautiful pictures and a lot of info about film stocks. She also makes great essays about photographers, film and art in general.

Jamie Windsor

Very informative educational videos mostly about digital photography and editing. But also very well thought through and intelligent video essays about art and photography.

This is all I had in mind for now. I hope you find this new type of post interesting and perhaps my enthusiasm makes some of you go out to shoot some film too. If so, please wear a mask and I wish you all good light.

Las Vegas on Portra

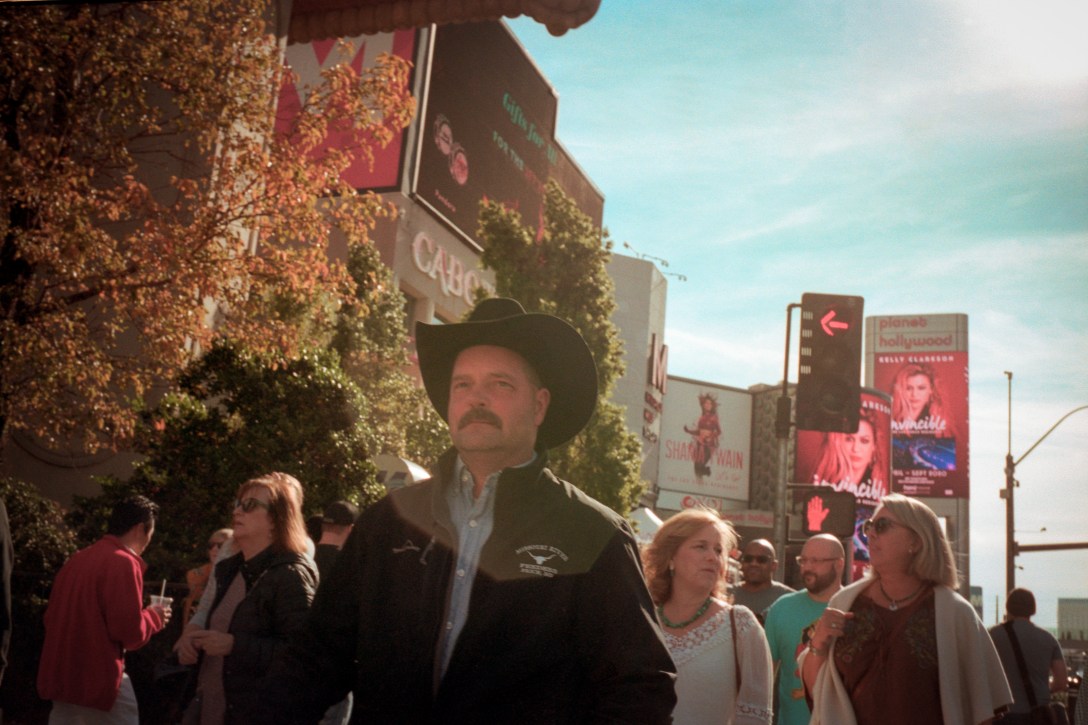
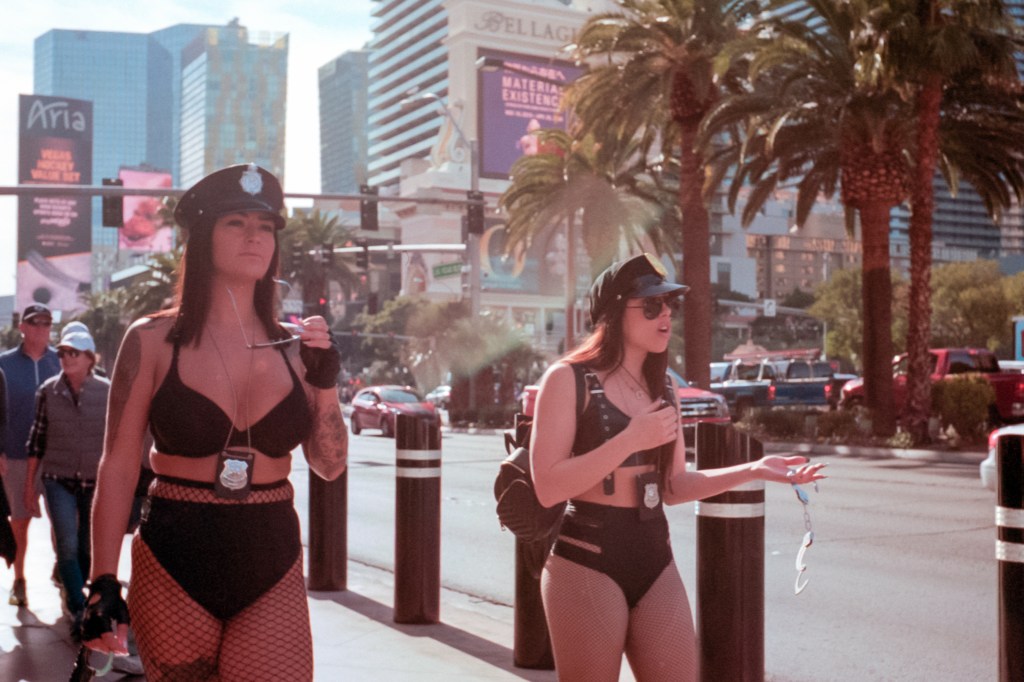
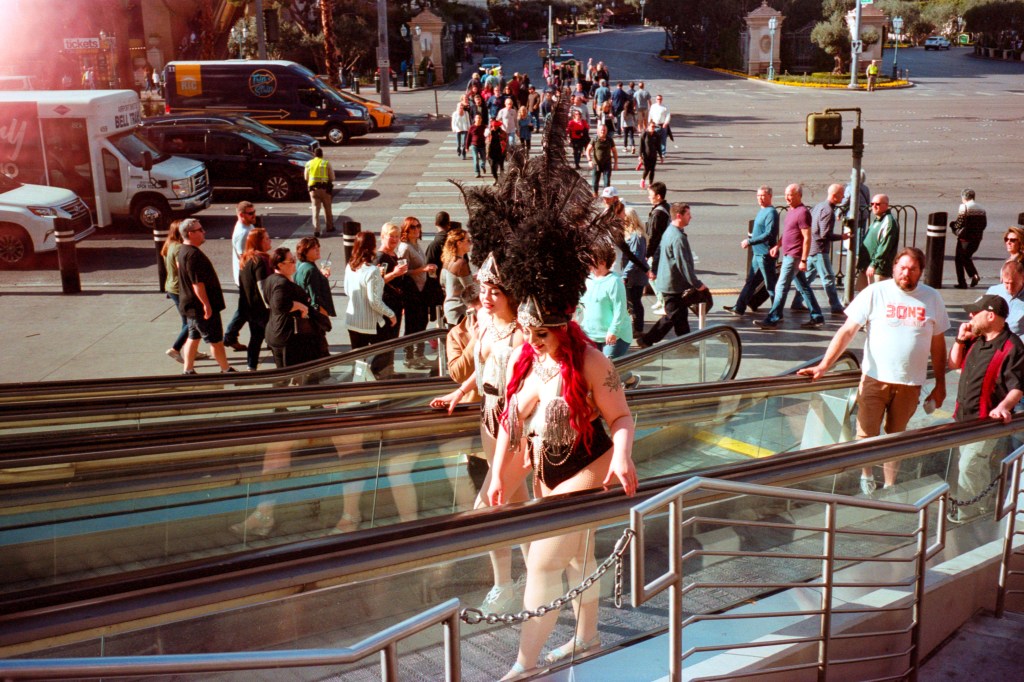
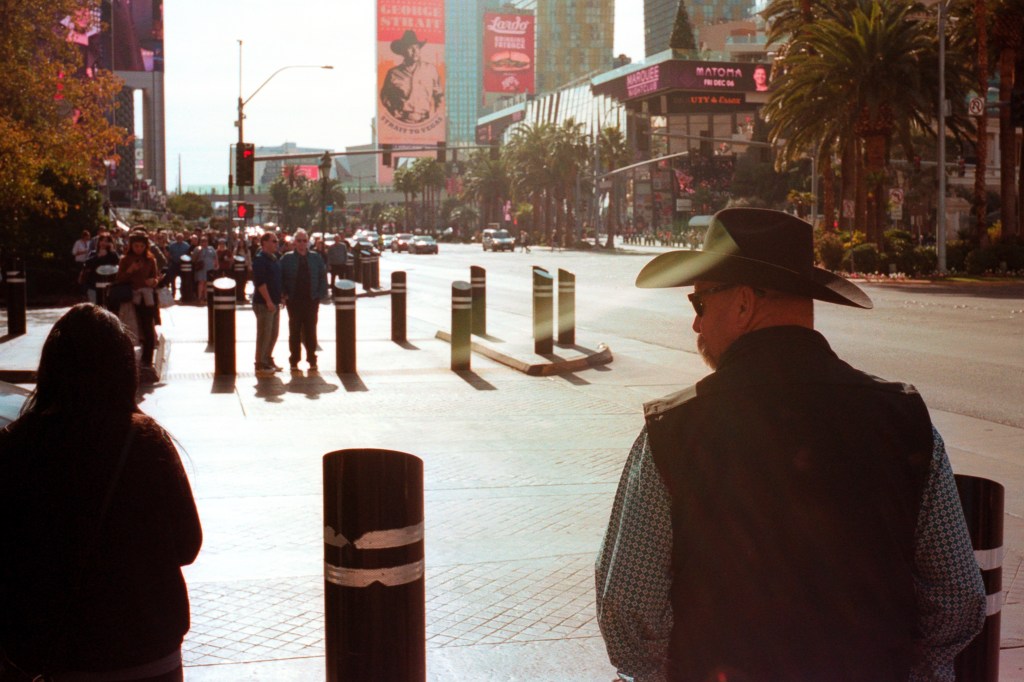
I have brought 2 types of film Las Vegas trip. CineStill for the night and Portra 160 for the day. The big mistake, however, was that I only had 1 camera. I planned to shoot the Portra first and then switch to the more sensitive tungsten-balanced film as it gets darker. Well planed I thought and loaded up the daylight film. I shoot only a few frames on the first day on the way between venues.

I had to quickly realize that I had very limited time during the day and I would better off by shooting at night. The though the decision was made and I winded back the film and made careful notes how many frames I have gone through. I switched to CinceStill for the rest of the trip. Needless to say that I’ve put back the roll of Portra into the camera as soon as I got back home and finished not much later. But the adventures of these photos were not over yet as the Covid-19 lock-down hit before I could get back the film from the lab which delayed this post with an extra 2 months. But at the end of the day, I have got back the developed film and I was able to scan it. The rewind seemingly had no negative effect and you can now see my little collection of Las Vegas street photos shoot on Kodak Portra 160.

Las Vegas on CineStill

Ever since I have started to take photographs I was always chasing a cinematic look. In fact, this is one of the reasons I shoot film. While it is undoubtedly possible to achieve film look with digital cameras I find it easier by using film. Also, it is a lot of fun to experiment with different film stocks. Discover the characteristics of each individual film types. Under which circumstances to use one over another and what artistic effects can be achieved by abusing a particular type of film.

One of my holy grail films I desperately wanted to put my hands on is CineStill. It is a tungsten-balanced motion picture film converted to be developed in a regular C41 process and thus more accessible for still photographers. In theory, this film can provide that cinematic look in terms of color, tonality, grain as it is, in fact, an emulsion used by Hollywood. Of course, the cinematic look is a product of many other factors than the film stock such as lens, subject, lighting, but it is one of the main contributors.

For their color negative films, Cinestill Film modifies Kodak motion picture cinema film, allowing it to be developed with the C-41 process rather than the Eastman Color Negative process. Cinestill Film converts the Kodak motion picture cinema film by removing the Remjet backing, a separate Anti-halation backing used to protect the film in motion picture cameras. Due to the removal of this anti-halation backing, Cinestill Film exhibits a glowing effect on the image in areas with strong highlights.

Wikipedia

It was clear that sooner or later I was going to try CineStill, but I needed an occasion or project to justify it. Thankfully at the end of 2019, I have got the chance to visit a conference in Las Vegas (AWS re:Invent 2019). I thought it was a brilliant opportunity to try this film so I bought 2 roles from eBay. It was a week-long conference so I hoped that I was going to have some possibility to explore the city and shoot film.

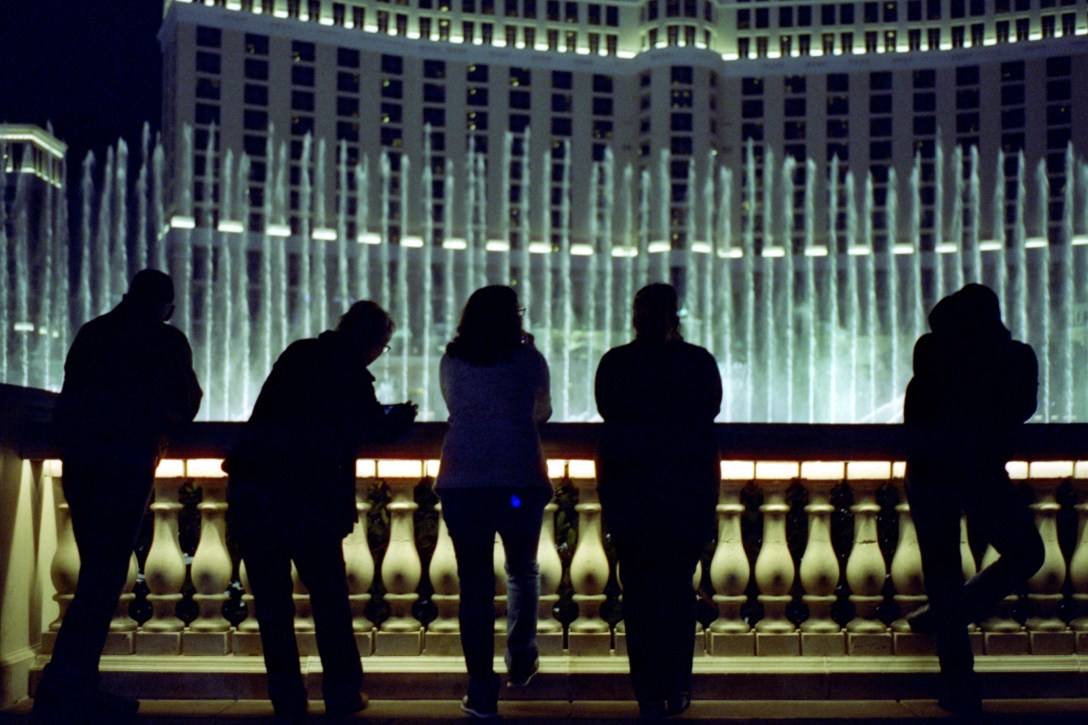
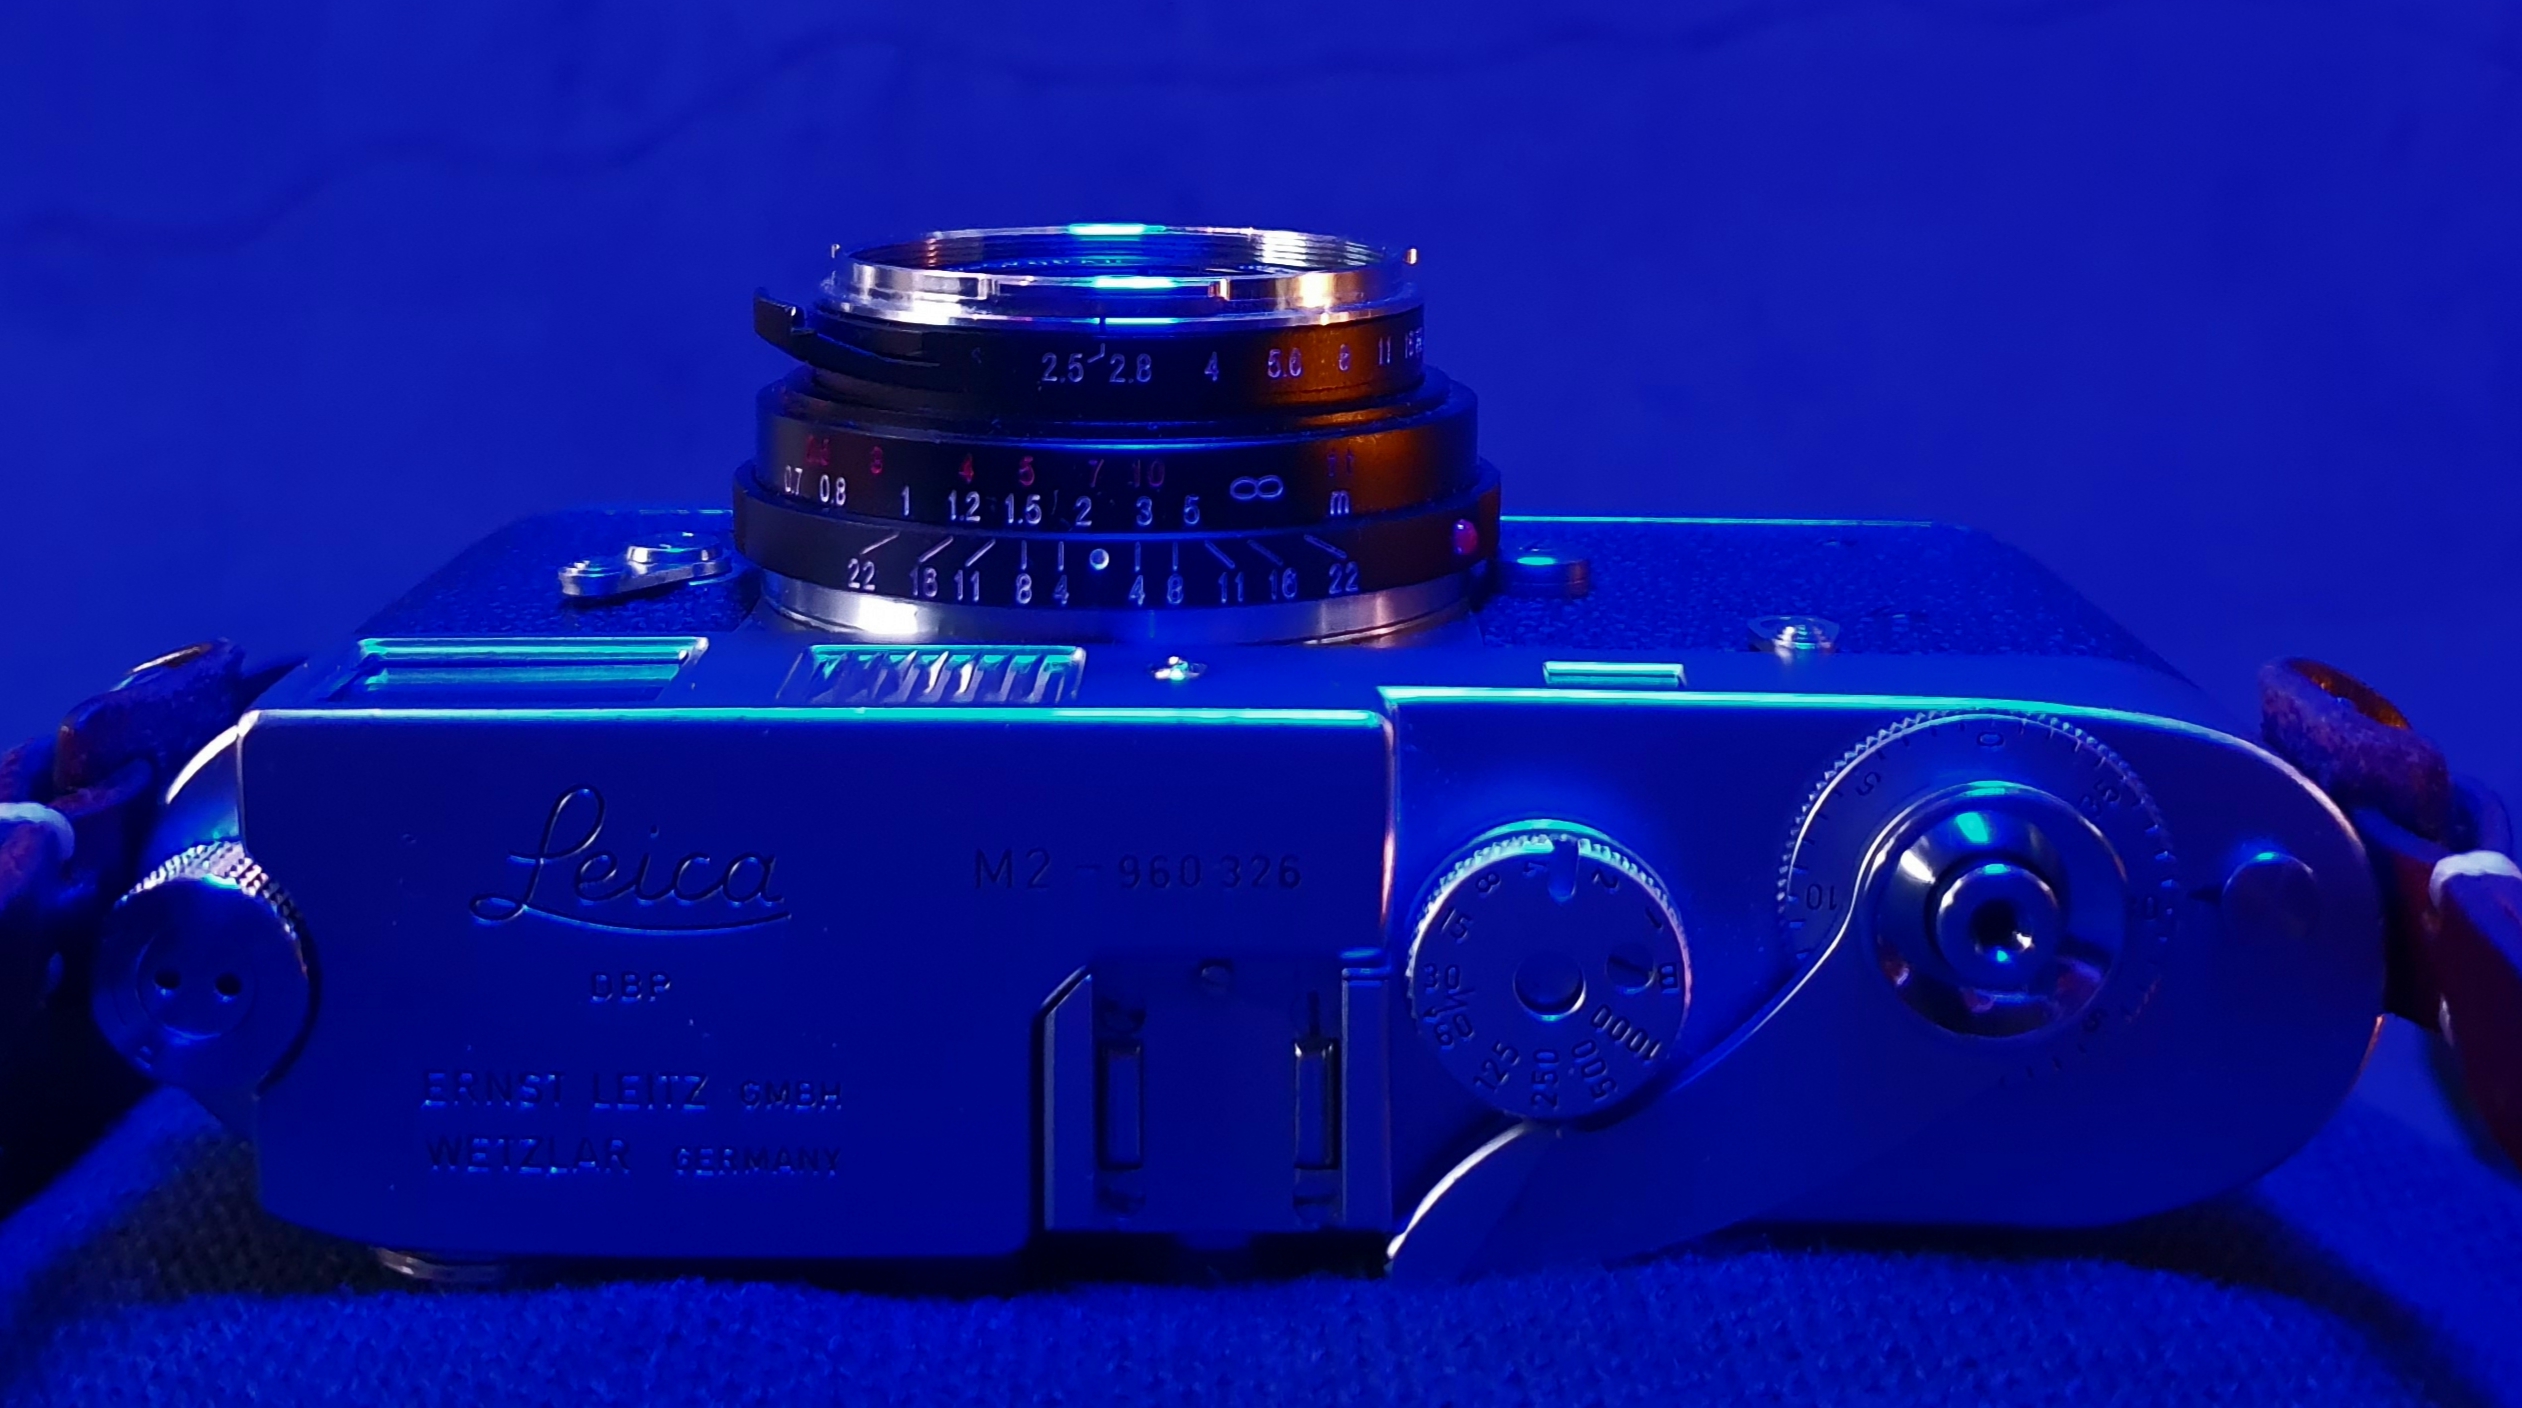
My camera of choice was the Leica M2 paired with a Voigtlander color skopar 35mm f/2.5 pancake lens. I also brought with me an 50mm f/1.5 Sonnar for the extra speed. But I ended up using the 35mm lens a lot more as it was easier to carry around and the wider field of view made a lot more sense too. The f/2.5 maximum aperture was bright enough because of the high speed of the film and because the city was brightly lit by the different advertisements at all times. My biggest problem during the night was not the amount of light but the ever-changing nature of it. Images on the screens were flashing, trucks were driving around with wall-sized LED light sources mounted on them. It was such chaos that I gave up on using a light-meter. Instead, I started to rely on gut feeling and intuition. I had to gamble on my exposure.

Use CineStill 800Tungsten when photographing:

  •  tungsten/incandescent light
  • candle light
  • fluorescent light
  • mixed tungsten and fluorescent
  • mixed tungsten and limited daylight

https://cinestillfilm.com/ QA

Night shift: He was trying to diagnose/fix the broken green section on the screen on the building’s facade. It was around 4 am.

As expected halation is very evident when bright light sources are in focus. This is due to the removal of the anti-halation remjet layer. I personally find this effect very interesting and unique. For the most part, this glow gives an extra punch to the atmosphere.

strong halation around the stop hand light.

Avoid using CineStill 800Tungsten (or expect a unique look) when photographing:

  • open shade
  • cool light
  • daylight overpowering tungsten
  • heavily backlit images
  • strong window light
  • ontent including intense points of light (christmas lights, chandeliers, neon signs, bright windows)

https://cinestillfilm.com/ QA

My impressions

I have to say that this film did not disappoint me. I shot it under numerous recommended and not recommended situations and as the expected unique look was delivered in a big way. I had been caught off guard regarding the amount of halation, but I must admit I like this effect very much. It helps to smooth out the otherwise not so great bokeh of the little pancake lens. I expected more noise given the 800 ISO rating, but I was pleasantly surprised about how well the noise is controlled. The colors are fantastic and it was very easy to set the white balance on the files in Lightroom. Not sure if it has anything to do with the film though. The only situation which produced results that I did not like and/or was very hard to color correct was in open shade. Especially if people were in the frame. Skin tone reproduction in shade is not the best application for this film based on my limited experience with it. It is also #1 on the not recommended situation on the CineStill website.

All in all, it is a great film with absolutely unique characteristics. I think it is worth to try.

A roll of Velvia

I have and always had a love-hate relationship with Velvia. It is a fantastic film stock for sure. When used for fitting subjects, it delivers results like no other film. It packs an extra punch in terms of color saturation, contrast, and resolution. My only problem is that I mostly shoot portraits and if anything this is not the best use for this film. Also, I am more careful with positive films as they need to be exposed very precisely, they cost more to buy and to get developed. That is why I kept a roll of Velvia 50 in my fridge for more than 10 years. I was waiting for the right moment to load it into a camera that moment has failed to come.
I think I became overly circumstantial with my precious film stash. So I decided to use up this roll of Velvia this summer. We have planned a holiday to visit friends next to Hamburg with plenty of opportunities to take pictures. I was especially excited about the seashore. In the end, we brought home many photos most of which were digital. Around the same time, we have got a nice telephoto zoom lens for our digital camera. We were eager to test the new lens and the little roll of Velvia got pushed back on the priority list once more.
Eventually, I have finished shooting this roll even though it has taken me months biting into the autumn. Despite the traditional wisdom, I have shot a lot of portraits on it besides the well-expected landscapes. I have used it for everything and I am glad I did. Most of the photos turned out just right. To be said, I had to dial back the reds in post-processing on all portraits. In this post, I would like to share some of these randomly captured moments. If you have any thoughts about them or about using Velvia, please leave me a comment.

Zsuki

During the Christmas holiday, I have managed to find the time to develop a few rolls of film. I am very happy about it because lately, I have struggled with my developing process. I have encountered many trivial issues including the use of an exhausted developer, air bubbles and the list goes on. This time I have tried everything to get better results. I have purchased a new developer tank so I could turn it over without pouring liquids out. I have also reverted to my trusted ID-11 developer which meant that I had to wait until enough rolls had been finished to make it worth to mix the chemicals.
All in all, I am pleased with the results even though there is plenty of room for improvement. My plan is to share some of the shots during the course of 2-3 posts depending on the themes I can find. Hopefully, I can get some feedback on from you.

This first set is from a family visit where I could take some portraits of my sister Zsuki. The color pictures are depicting me on the same occasion. I was having fun taking pictures of branches and other random objects at first. These digital shoots were taken by my lovely wife. I think they complement the analog pictures nicely as they show the camera and lens I used.

I am not sure why I am drawn to photograph branches like these. They are very rarely keepers. Still, it seems to be a good idea from time to time.

Finally, here are the portraits of Zsuki. Thankfully she is very relaxed at the front of the camera which made it very easy to photograph her.

I have used my C Sonnar 50mm f/1.5 lens on my favorite f/2 setting which results in a fantastic creamy bokeh. I find it challenging to focus with this lens wide open and the bokeh starts to fall into crazy territory at f/1.5. So f/2 is my sweet spot.

As for the development, I have used 1+1 dilution for the ID-11. Developed for 10,5 minutes on 20° Celsius with agitation in every 30 seconds. The film was Ilford FP-4 Plus and I shot it at stock speed. I have expected a bit less grain from the film, but I am almost certain that this is because I have slightly underexposed and pushed too hard during post-processing.

If you see anything obviously faulty in the description of my development method please let me know in the comments.

Digital Classic, Fuji X100

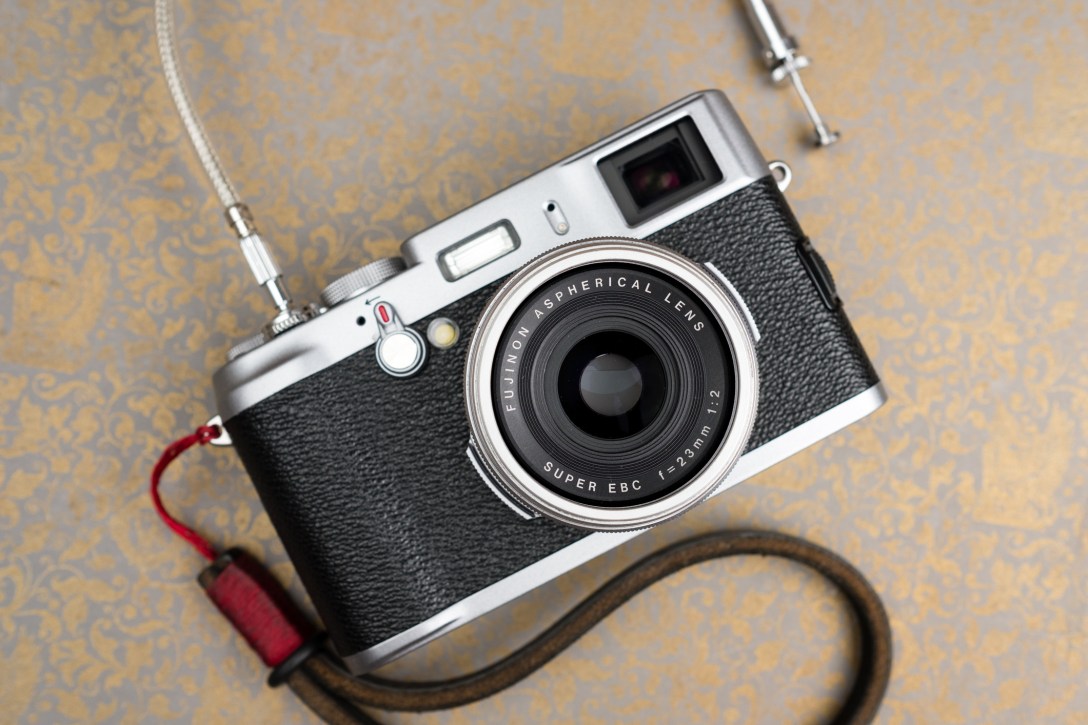
What qualifies a digital camera classic?  Certainly the age, popularity and the reputation of a camera are all important factors. These all contribute to the level a camera embedded into our collective photography consciousness.  I cannot tell if the original Fuji X100 (revealed in 2010) can already be considered as a classic camera by the general public, but it is definitely on my list.

_DSF1536_b

This little gem has grabbed my attention right at the time it was announced. Such a striking retro design spiced up with a big sensor and a rangefinder like a viewfinder which actually made sense in an autofocus camera. I fell in love with it immediately and spent quite some time on the elegant Fujifilm website dedicated to this camera. The hybrid viewfinder was something quite special. To be honest, I was a bit concerned about the longevity of the little screen which jumps in an out of sight. But it was very innovative at the time and unique to this day. The lens looked interesting too. A compact 35mm equivalent lens designed for the sensor specifically. The whole package was really appealing to me. But, I am a late adapter. I like to wait until a product matures. Indeed the X100 had several issues which were mainly addressed by firmware updates. Needless to say that newer incarnation of the X100 has reportedly improved on the early weak spots of the camera such as focus speed or easy to bump dials. At the end of the day, I have picked up a Leica M2 instead. After all, many of the so appealing design clues on the X100 likely originate from the Leica M.

_DSF1490.JPG

As the years passed by, I have almost lost sight of the small camera. Of course, I was reading the news about the releases of the revised versions of it. But was no longer particularly intrigued by it.

Until recently when a colleague of mine spotted my Leica on my desk. He casually mentioned that his camera looks almost the same the one front of me. Classic cameras are great conversation starters. So, we have started to talk and soon I learned many cool things about Dominic. I knew that he grew up in the US but I had no idea that it was the neighborhood where Ansel Adams lived at the time. I knew that he is a photographer, but I did not know that he is shooting with an X100. The best part is that he is not only owning the first generation X100, but he was also kind enough to borrow me so I could take pictures with and of it for the blog.

_DSF3590_DSF3594_DSF3606

My impressions

The camera is gorgeous. It felt in the hand just like I have imagined. It is small, compact and well built. Obviously, it is not the same feel as my M2, but I have never expected it to be. Brass has been replaced with magnesium alloy which makes the little Fuji lighter. But the less weight suits the X100. It is a camera which could come with me anywhere without noticing it much. I think this is probably the point of it. A camera which looks great even special takes brilliant images and small and lite enough to carry everywhere.

Menus and button layout

I have used other digital Fuji cameras before ranging from a 10-year-old point and shoot to the XT-2. It is interesting to see how Fuji carries over design characteristics over camera generations. For example, the delete photo animation is very similar to all the cameras I have used although more and more elegant and refined with each iteration. The X100 felt like a Fuji camera immediately even so it took some time to learn it’s special quirks. The menu system is slow and (unsurprisingly) looks dated compared to newer models. But once I set up everything to my taste, I could forget about the menus. I have programmed the Fn button for ISO and the Raw button to control the built-in ND filter. The button placement needed some practice time too. The AF point selection button felt out of place at first and I have still not completely figured out all the functions of the rotating ring around the D-pad. My biggest and possibly my only real complaint is that the exposure compensation dial is way too easy to move accidentally. I had many occasions of wrong settings after getting the camera out of my bag.

The viewfinder

My favorite part, on the other hand, is the hybrid viewfinder. I love to use it in optical mode. The projected information overlay is ingenious. We may take customizable information overlay granted today but we usually find it in full electronic finders. The instant preview in the viewfinder is also something I enjoy. The little display screen slips into place right after the photo has been taken to show the captured image without the need to ever remove the eye from the viewfinder. Since the image in the electronic preview mode different from the view seen through the optics, I am always full of curiosity before I press the shutter. I excited to know how the camera would interpret the exact same view I am seeing. To be said, this experience is not for everyone. My wife does not like the fact that the lens is visible in the viewfinder. She always has been more fascinated by the image on the ground glass of a medium format SLR. A rangefinder-style optical finder does not show the depth of field. Everything is up to the imagination of the photographer, except this case the camera shows the result an instant after the actuation of the shutter.

Eva & Adele, Watermusic, 2003/04

The lens

Over the years there were several changes to the X100 cameras. The sensor and the processor have been updated many times. Autofocus and operation speed have been greatly improved throughout generations. Even the viewfinder have seen some changes. As far as I know, the only remaining constant is the lens. If it ain’t broke don’t fix it. This lens is definitely noteworthy and I think it is a big part of the X100 experience. I enjoy using the aperture ring very much. Has a good feel to it and also good to look at. The leaf shutter built into the lens is very quiet and lets me sync flash with any shutter speed. Of course, the drawback of the leaf shutter is that the maximum shutter speed depends on the aperture. The more the lens is open, the lower the maximum shutter speed gets. Luckily there is a built-in ND filter in this tiny lens. This way it is possible to shoot wide open on a sunny day with mechanical shutter without any extra accessory. Because the lens is the same on any version of the X100 family the adapter lenses are compatible with all of them. Did I mention how small this lens is? It is very comparable with my Voigtlander Color Skopar 35mm f/2.5 pancake lens in size. I have always been a fan of pancakes despite the optical tradeoffs they need make for the sake of small size. In fact, the Fujinon 23mm f/2 is also not flawless. It could get a little soft wide open and it shows slight distortion as well as a moderate amount of vignetting. The latter two can be easily corrected in post-processing or in camera on later models.

Fujinon XF 23mm f/1.4 is massive compare to the built in 23mm f/2 lens built into the X100.

Bokeh

Bokeh is, of course, a very subjective quality. Personally, I find the bokeh of the lens mounted on the X100 alright. Not amazing by any stretch of the imagination, but pretty decent considering that it is a wide pancake lens with only a moderately fast f/2 maximum aperture. I have tried to compare it against my own 23mm f/1.4 Fujinon lens. You can find a comparison below. In the first example, the XF 23mm f/1.4 produces the smoother result in my eyes on f/2 but the difference is not very big.

If the background is further away it is even harder to tell the difference. Could you tell from this second example which photo was taken with which lens?

The XF 23mm f/1.4 is a sharper lens and it can open up more. At f/1.4 there is no competition anymore with the lens on the X100, but it is worth to notice the size and the price difference.

Samples

I have used the camera in as many situations as I could to gain experience with it and collect sample shoots. The following photos were taken during family weekends, walks in lunch breaks and I have even experimented with table-top camera photos with flash and softbox. Post-processing of the pictures varies from slight adjustments to heavy color grading to show what kind of results can be achieved with different approaches. I know that my little portfolio is far from a comprehensive demonstration, but I hope that it gives an idea and some of you will find it interesting.

More Leica M2 comparisons

I just cannot have enough comparison shots of these cameras. They are so similar yet very different.

I have even recreated one of my early Leica shoots with the X100. Originally I use the Leica M2 and it was about 4 years ago. This is a terrible comparison as the installation has changed. No plastic wrap on the metal frame anymore, but we have got an extra cactus. To make matters worse, I have probably taken the first photo with a 50mm lens. Just like the cameras, the photos are similar in some ways, but they are also very much different.

Klasse Tobias Rehberger. More information about this sculpture here.

Final thoughts

Do I like the Fujifilm X100 classic? Yes, I like it very much. It is light and small, good looking and at the same time very capable. But most importantly it provides a unique user experience. I love the viewfinder, the leaf shutter, the ND filter, the dials, the design and last but not least the photos I get out of it. A camera is more than the sum of its component and in this case, I can confirm that there is a character to it. Why haven’t I bought one if I like it so much? I have got some unique cameras already. My heart is still at the film side of the photographic spectrum when I want to enjoy myself taking pictures. That is why I have a Leica M2. For my choice for a digital camera had to be more practical with interchangeable lenses. But it is a Fujifilm camera and it was the original X100 which planted the idea to consider this route at the first place. Would I recommend it? I would definitely recommend the lineup. Perhaps a later model is a better choice with more mature AF system and a newer sensor. But I find the X100 classic perfectly usable today. Just make sure that the firmware is up to date.


Thank you Dominic to borrow me your camera and make this post possible.

If you have wondered, the map on the first picture is strange because it is a World Atlas from 1930. I have found this map in the paper garbage and found it fabulous for backgrounds. The inner side of the cover has the golden pattern which you can see on most of the pictures about the camera.

Sony E 35mm f/1.8 OSS vs Fujifilm FUJINON XF 35mm F2 R WR

In this post I compare the Sony 35mm F/1.8 OSS with the Fuji 35mm F/2 WR lens. Both lenses are for APS-C mirrorless system cameras, they feature the same focal length, virtually the same maximum aperture and they come for a comparable price. There are of course numerous differences to talk about. The Sony has image stabilization while the Fuji offers some level of weather resistance. But the biggest difference is of course lies on the camera system they respectively belong to.

I think it is a good idea to have a deep look into the lens lineup of any system before committing to one. Since I have currently both lenses in my household, I decided to compare them to help those who are considering these systems.

Flawed methodology

It is important to note that despite all my efforts this comparison is inherently flawed.

On Sony side I can use an ancient 16MP Sony Nex 6. While I mount the Fuji lens to the more recent 24MP Fuji XT-2. The resolution difference makes it hard to compare the images side by side at 100%. This could be a slight advantage for the Sony lens because it needs to resolve a bit lower resolution image.

On the flip side the Fuji clearly benefits from the newer generation sensor technology and image processor and of course from the lack of the anti-aliasing filter.

A more even playing field would be if I would be able to use a Sony Alpha 6300 for the comparison, but unfortunately, I don’t have that camera in my bag.

But of course, resolving power is only one parameter of a lens. Contrast, distortion control, flare resistance, bokeh and overall user experience can be compared good despite the differences of the cameras.
Because of a completely scientific comparison was not possible I have not attempted to execute one. I have not shot test charts and brick walls, but I have tried to measure them up against each other in situations in which I normally use these lenses. I also gathered quite some personal user experience with these lenses and thus I can share that as well.


Build and handing 

The Sony lens is very minimalistic in design. It is basically an almost perfect cylinder with very little variations in diameter. There are no external controls on the lens, apart from the focus ring.

The lens is metal (probably aluminum) from the outside, but it is likely to be plastic from the inside. This combination of materials makes the lens very lightweight (154g) and adequate in terms of quality feel. This is indeed a very compact and lightweight little lens despite the relatively big maximum aperture and image stabilization. The compact size and the fast aperture made this lens our primary lens on the Sony Nex 6 over 4 years now.

Both the rear and the front lens caps worn off or broke during this period under moderate family use. I am not very concerned about this as caps can be easily replaced, but it is a bit unfortunate. (The same happened with caps of the 50mm f/1.8 lens as well).

The included lens hood is a petal shaped plastic piece which does its job, but we just stopped using it as it adds to the size and flaring was never in our way with this lens. The filter thread is 49mm which is shared with the already mentioned 50mm f/1.8 lens.

The Fuji lens has a more traditional look with multiple different levels of diameters reducing towards the end. It has a physical aperture ring as well as the focus ring. Because the lens is weather resistant, it has a small rubber gasket at the mount. This lens is also made of metal and it is just as compact as the Sony. It weighs a tiny bit more (154g Sony vs 170g Fuji). Because of this small weight difference and probably because of the tighter and better sealed focus ring the Fuji lens feels more solid to me. The lens caps feel better made as well although I cannot tell yet if they will hold better on the long run.

There is a small screw in plastic lens hood included which I also rarely use, and a nicer looking but pricey metal hood is available separately. The filter thread is 43mm.

Lens mounts 

This has nothing to do with these 2 lenses, but I could not notice the similarities between the lens mounts when taking the pictures about these lenses. I have done a quick research and from the specifications point of view these mounts are very similar indeed. There is a minimal difference in diameter and flange distance. They both have 10 electronic connectors and a similar bayonet with the biggest difference in the angle of the configuration. Even the position of the screws at the back of the lenses are very similar. I am sure that the way the communication between camera and lens is implemented quite differently. It is just an interesting observation which leaves me wondering about a world where these systems are compatible just like in the M43 system and I could test both on the same camera.  

Maker Mount Flange focal distance (mm) Outer diameter (mm) Frame size (mm)
Sony E-mount 18 46.1 35.9×24.0, 23.6×15.6
Fujifilm X-mount 17.7 44 23.6×15.6

Source: Wikipedia

Focus

Both lenses feature an internal focusing mechanism, they don’t extend while focusing. Both lenses are virtually silent when focusing, no noise will be picked up by the internal mic of the camera.

I cannot compare focus speed of the lenses because of the very different camera bodies, but I can give generic observations.

The Sony 35mm one of the first lens which could utilize the phase detect autofocus of the Nex 6 and newer cameras with the stock firmware already. This lens focuses the fastest from our 3 Sony lenses among the 18-55 KIT zoom and the extremely sluggish 50mm f/1.8. It is not a speed demon by any means, but it is alright in good light. Note that running kids will give a hard time for the lens when paired with the Nex 6 or older cameras. I expect to have significantly better performance on a 6300 though.

The Fuji 35mm f/2 have no issues track running kids with high hit rate on the XT-2. I suspect that the result would be a lot worse on an X-Pro1 as focusing is not only depending on the lens. All in all, I am quite happy to use this lens with area tracking mode while the Sony (on my current body) is limited to center focus point and single shoot

Specialties

The Sony lens features optical steady shoot. I can confirm it working by sticking my ear to the lens while half pressing the shutter. It is quite nice when shooting video, but for stills I see little benefit for a 35mm lens.

The Fujinon lens is weather sealed which means it can take some splashes and probably light rain when paired with a similarly sealed body. I have used the lens in heavy snow fall and in some very light rain but honestly, I am trying not to rely on the weather sealing. It is always a slippery territory to judge what is still considered as a light rain. I take it as the lens would be not sealed at all and enjoy the better feel of the built.

Optical design

SONY E 35MM F/1.8 OS FUJIFILM FUJINON XF 35MM F2 R WR
Focal length F=35mm (35mm format equivalent: of 52.5 mm) f=35mm (35mm format equivalent: 53mm)
Angle of view 44° 44.2°
Max. Aperture F/1.8 F/2
Lens configuration 8 elements 6 groups (includes two aspherical and an Extra-low Dispersion element) 9 elements 6 groups (includes two aspherical elements)

The Sony lens has a very unusual concave front element with a surprisingly small diameter. It is hard to believe that it is a f/1.8 lens, but it checks out. The light gathered and the bokeh is both confirming the large aperture.

Wide open

For me, the wide open or close to wide open performance is the most interesting.  I expect good performance from any modern lens when stopped down to f/5.6 and not surprisingly these lenses are delivering excellent results on smaller apertures. On the other hand, wide open is where the character of a lens shows up. The depth of field is the smallest and the bokeh is the most prevalent especially when the subject is close to the camera. But also, this is the point where aberrations are the hardest to be kept under control.

In general, the Sony is a bit soft wide open and shows an average amount of chromatic aberration. Things get already better at f/2 and even more so from f/2.2.

Sony 35mm f/1.8 @f/2

Fuji 35mm f/2 @f/2

I have not much to complain about the Fuji lens.  Images are looking great even at the widest aperture. There is no noticeable softness, coma or other nasty things, and I had to work hard to find situation extreme enough to be able to produce color fringing.

I had no problems with distortion or vignetting with any of these lenses, but I rarely shoot subjects where it would be a problem anyways. Note that according to some sources the Fuji uses in camera magic to correct these issues while the Sony lens does not require such methods.

The right side with the bigger image is from the higher megapixel Fuji camera. Notice the difference of purple fringing at the contour of the face.

It seems that the Fuji also suffered from CA at the edges, but software helped out and desecrated the problematic part thus we can see a dark line at the contour of my shoulder. The Sony just left the lovely psychedelic color mix in place.

Bokeh

The amount and quality of background blur is very comparable of these lenses. The Sony is tiny bit smoother when shoot wide open but on matching apertures the amount of blur is basically the same.

The Fuji has a bit swirl effect if the background allows it to show up which gives some character to the lens.

Sony 35mm f/1.8 @f/1.8

Sony 35mm f/1.8 @f/2

Fuji 35mm f/2 @f/2

Perhaps the biggest difference in terms of bokeh between these two lenses is the amount of color fringing rendered in the out of focus areas. The Fuji have almost no visible color artifacts in the blurred area behind the plane of focus. In contrast the Sony shows some green and purple outlines around bokeh balls when photographing scenes with foliage in the background. Again, the difference is not very big, and I have no way to tell that it is the result of clever software or superior optical design, but this type of aberrations are harder to correct seamlessly with software.

Fuji on the left, Sony on the right

Conclusion and recommendations

Overall both lenses are quite capable, but I find the Fujinon more consistent. While the Sony creates great results for the most part there are occasions when the image falls apart when shoot at f/1.8. It might be due to focusing issues which are not so uncommon with older Nex cameras or because of the many knocks this little lens received during the years.  This is just my observation based on the very small sample size of 1. There is already less of a difference if I consider the Sony as an f/2 lens. It is probably not the highest priority for Fuji to be faster than f/2 in this case as there is an f/1.4 version available for the same focal length.
Both lenses are quite nice, I can recommend both while mentioning some strength and weaknesses.

For still shooters I would recommend the Fujinon because it performs better wide open with less CA and if f/2 would not be enough there is always the f/1.4 version to switch to.

For video shooters the Sony is clearly the better option because of the image stabilization and on video resolutions the softness wide open might not an issue.

If you already committed to one of these systems and want to get a nice 35mm lens these lenses would be on top of my list. The differences of these 2 lenses would not justify the system switch to me in any direction. On Sony side there is a slower Sigma and a pricier Zeiss alternative, while on the Fuji lineup there is the faster, but bulkier and louder f/1.4 version and the same Zeiss Touit as the E mount version.

Samples Sony

Samples Fuji

Zenit 3M Reloaded

Last time when I wrote about my Zenit 3M, I could not show any sample photos as the shutter was very slow and ran uneven. It was the case only until I have found a neat little article Zenit E: Shutter Curtain Repairs with repair tips. I noted the risks stated in the article, but eventually I decided to engage some screw tightening in hope of bringing the camera back to service. Thankfully the Zenit E on which the tutorial was based on is very similar to my older Zenit 3M, and so the important screws are located exactly at the same spot. I grabbed a screw driver and after 15 minutes of careful tinkering the shutter was good as new. All speeds became distinct and I have not noticed any more the uneven operation. I had no idea if the speeds very accurate, but considering what I had before, it was a definitive improvement.

The next step was to load some film, attach a stylish neck strap and take the camera with me everywhere for a while. Because the camera was with me for a longer time, I had a chance to take some photos of it in all it’s glory in different environments.

I have to say that shooting with the Zenit is a lot of fun, but at the very least a special experience. Operation is very minimalistic, I have hard time to imagine more stripped down SLR experience. The mirror does not return automatically after firing the shutter. When the shutter is not cocked, the viewfinder is dark, only when film is advanced the mirror is being lowered. Only when the mirror reached it’s position the full image is projected to the screen. Speaking of viewfinder, it is simply a ground glass with round edges and no additional information presented. My finder has a light orange tint and the world simply looks like if I were watching  an 80’s movie through it. The unique image in the finder is perfectly complementing the retro look of this camera which combined with the simplistic operation is what makes the experience appealing to me.

Zenit 3M finder
Zenit 3M finder

First I have shoot a roll of badly expired Kodak Gold 100 and I have left my light meter at home to thrown in some more variables into the mix. Despite all the odds, the first roll came out just fine. Swirly bokeh from the cult classic first generation Helios 44, plenty of noise and shifted colors from the expired film, but no issues with exposure.

Next I loaded a fresh roll of Ilford HP5 Plus and I taken the camera to a trip to the mountains. The camera worked fine for the most part. But the temperature started to drop as we hiked higher. At the end the camera was really cold and the shutter sounded like it has started to struggle again. I guess my fix was not flawless after all.

I (over) developed the film in Rodinal and again it came out with flaws which was due to my errors and not because of the shutter except the very last frames where the shutter got “frozen”.

Nowadays, I am experimenting more with the Helios 44 lens on digital bodies, but it is good to know that I can mount this really lovely lens to it’s native camera. The Zenit will come in handy because my desire for old school SLR experience is proven to be recurring.

At the end of this post, I have to place here a warning. Repairing cameras are always risky, one may damage the camera and film could be also lost if repair is not successful. Please be careful and let your gear serviced by experts unless you are really know your way. In any ways always watch out for the risks.