Dear fellow photographers. As you have noticed I was not very active on the blog for quite some time now. Unfortunately it was not only the case with the blog but with my film photography in general. This had many reasons including shifting priorities, too much stress and work and the need for a creative break.
But I am not here today to be negative, in fact quite the contrary. There are many things to share and many things which made me super excited. There is new software which I love, new cameras to review, awesome youtube channels I have discovered and more. Essentially I have got motivated again and I hope this new energy will revive the blog as well. There were some not so positive events to talk about as well, but eventually I think they all collectively pushed me to shoot more and hopefully vitalize this blog.
So let’s get started and see what made me enthusiastic about film photography again.
Negative Lab Pro
The software I needed to get control over my scans.
https://www.negativelabpro.com/
For a long time I was set on the journey to find a consistent high quality home scanning and processing pipeline. I was testing and tinkering with a lot of software and I ended up using Vuescan with an Epson V700. This is a great combo which I would recommend to anyone, but I was never truly satisfied with the result. The TIFF files I was getting were not very flexible compared to RAW files from digital cameras. Many things like curve settings were baked in the files at the time of scanning. It was very difficult to color match multiple images as bigger changes required re-scans which takes a lot of time.
I am aware that my skills are probably the main issue here, but I always lusted for a scan once edit freely type of solution.
Negative Lab pro gives me what I needed. It is a Lightroom plugin which converts the negative images itself by generating a Ligtroom settings which can be reverted or adjusted non destructively. Essentially taking away the responsibility of the inversion of the negative image from the scanner software and bringing it into Lightroom. Not only that but it works fantastically simulating popular lab scanner profiles and giving me colors that I absolutely love. Now I can match series of images together more easily and I can even benefit from new versions of the software later as I can reconvert any negative at any time.
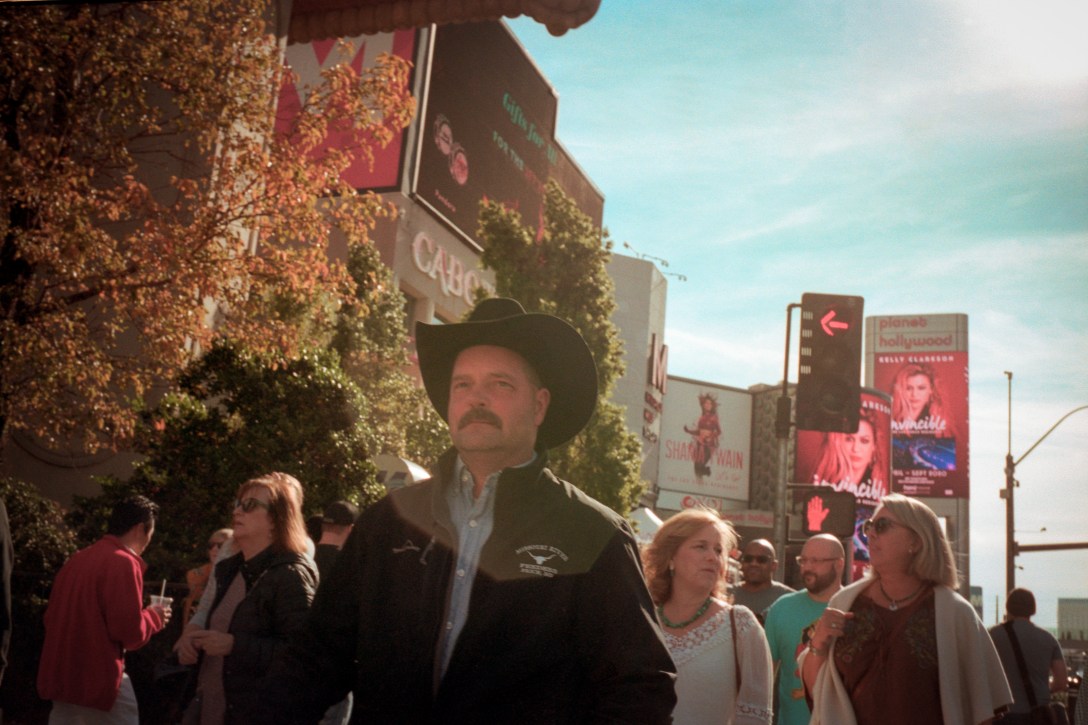
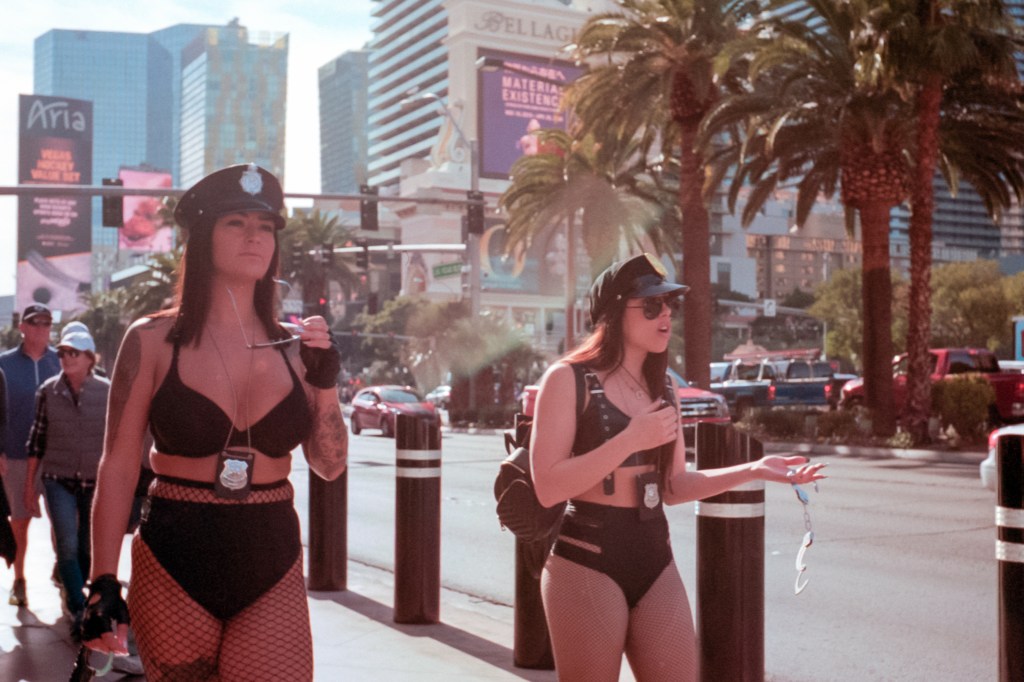
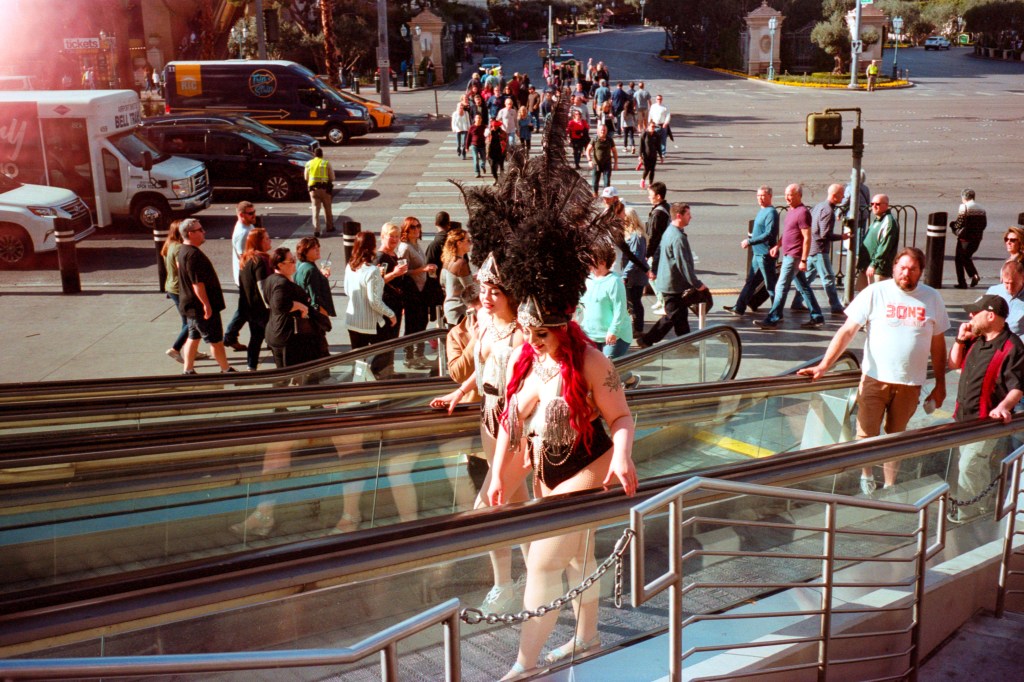
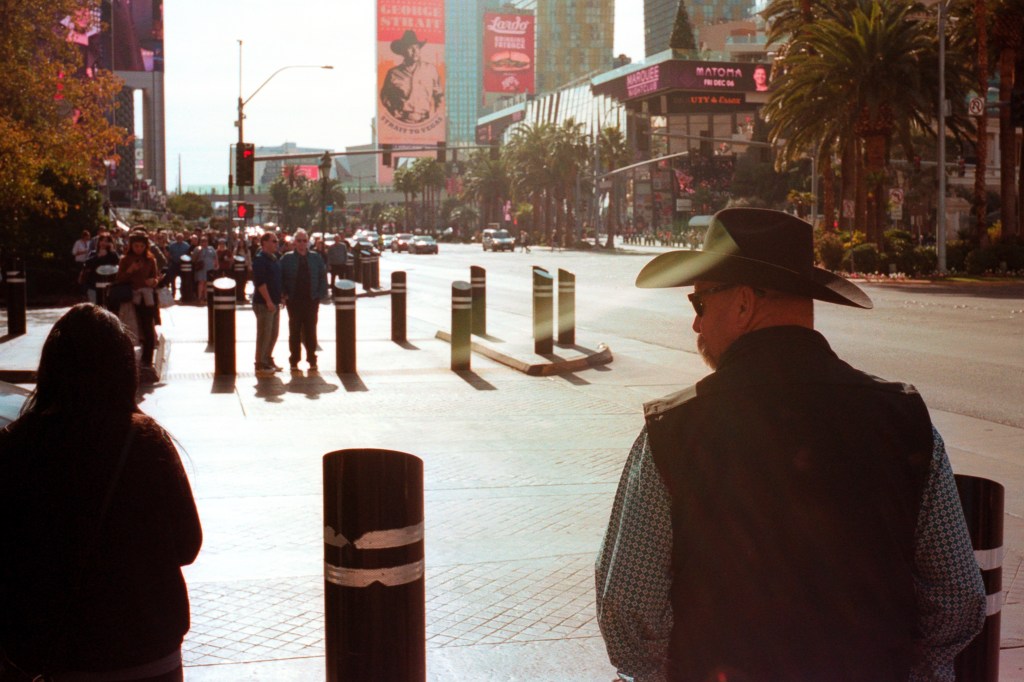
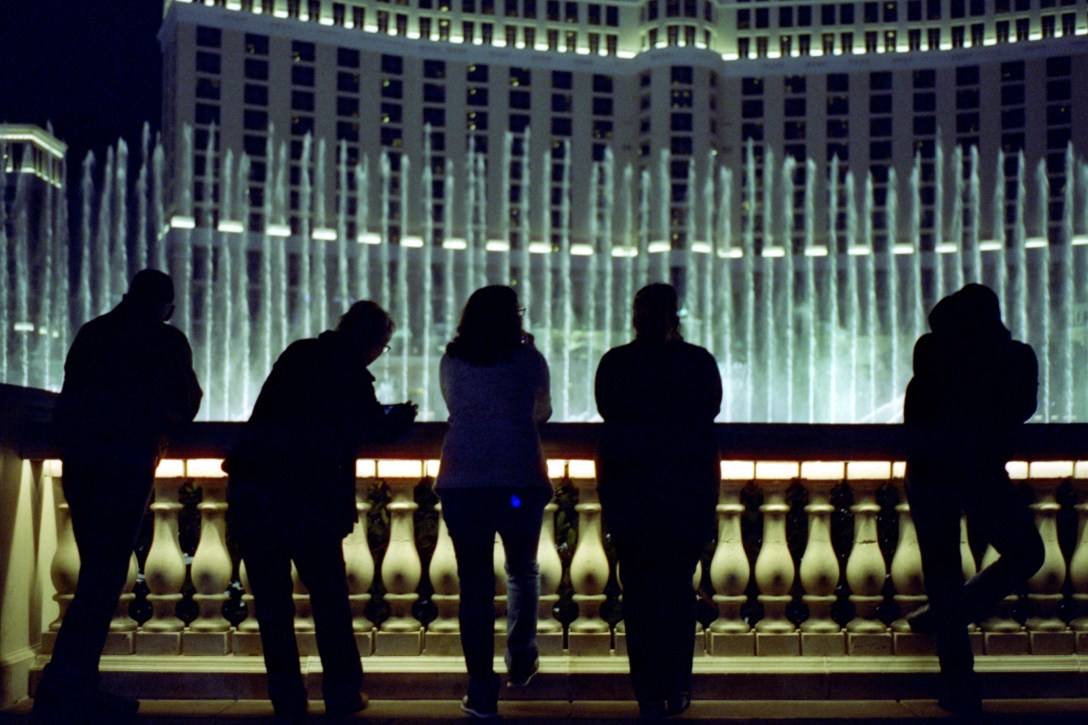
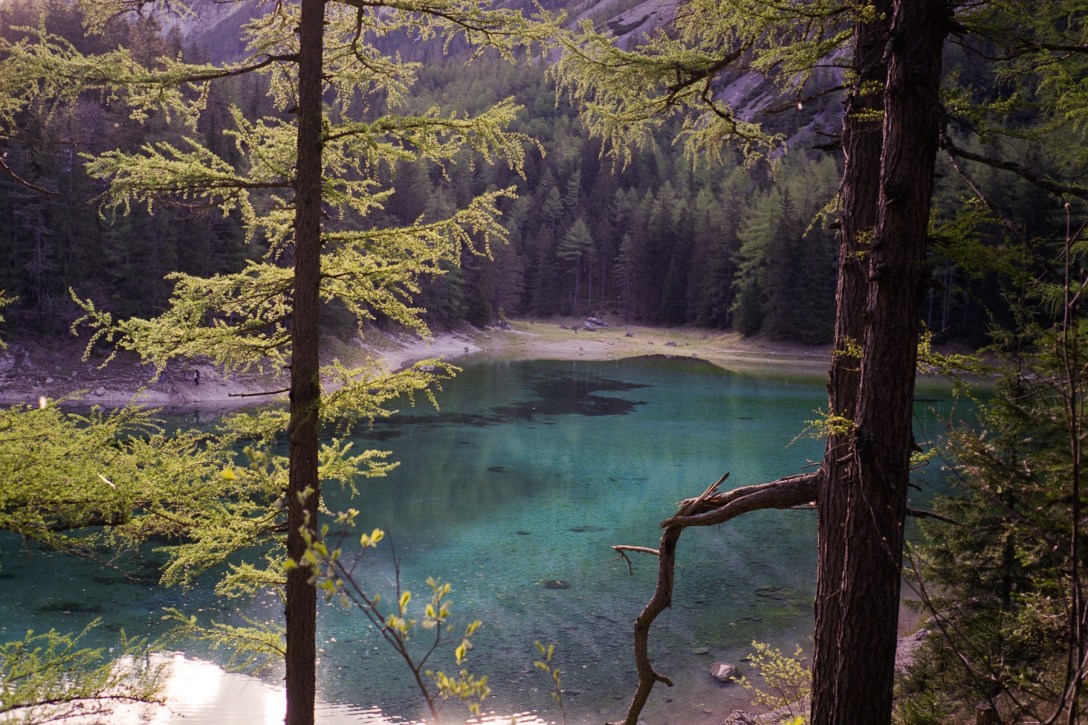
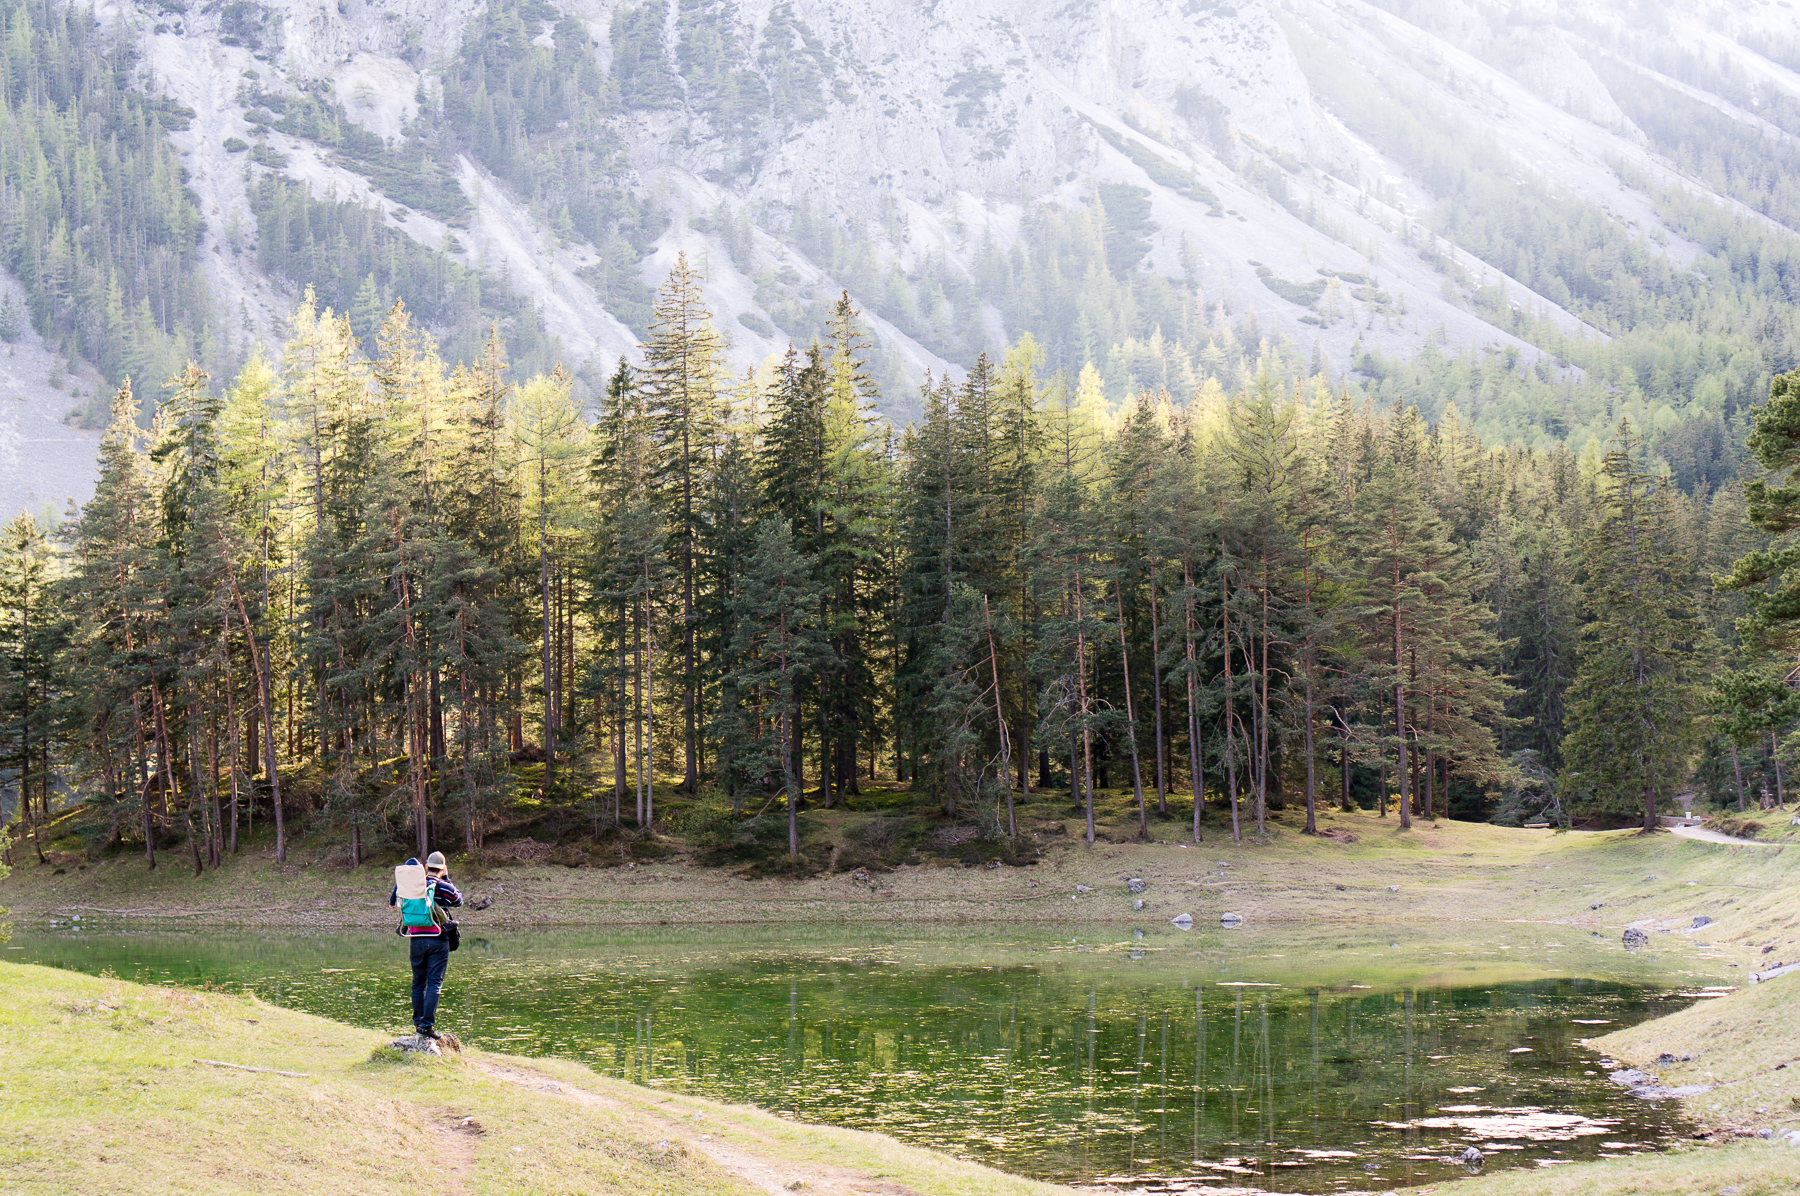
Leica M2, Color Skopar 35mm, Fujifilm 200, Negative Lab Pro 
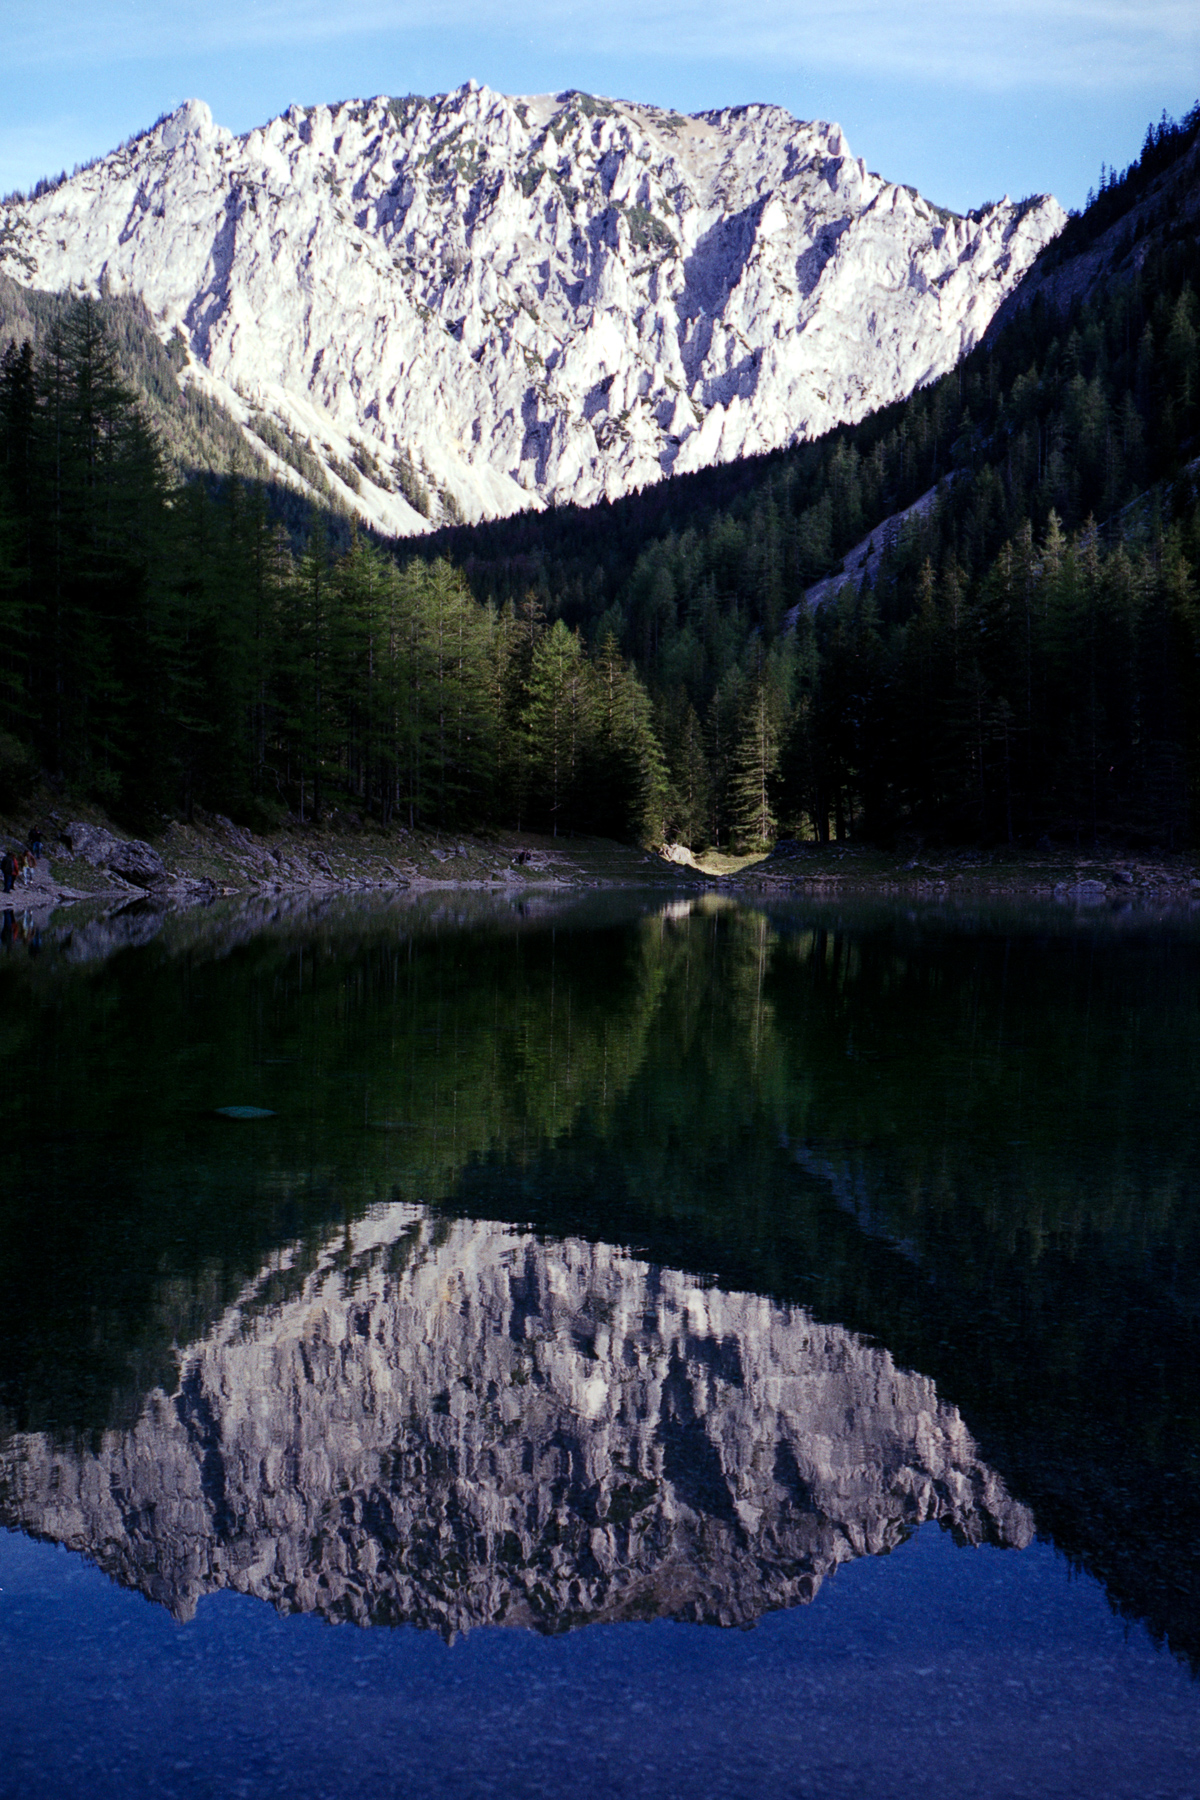
Leica M2, C Sonnar 50mm, Ektar 100 , Negative Lab Pro 
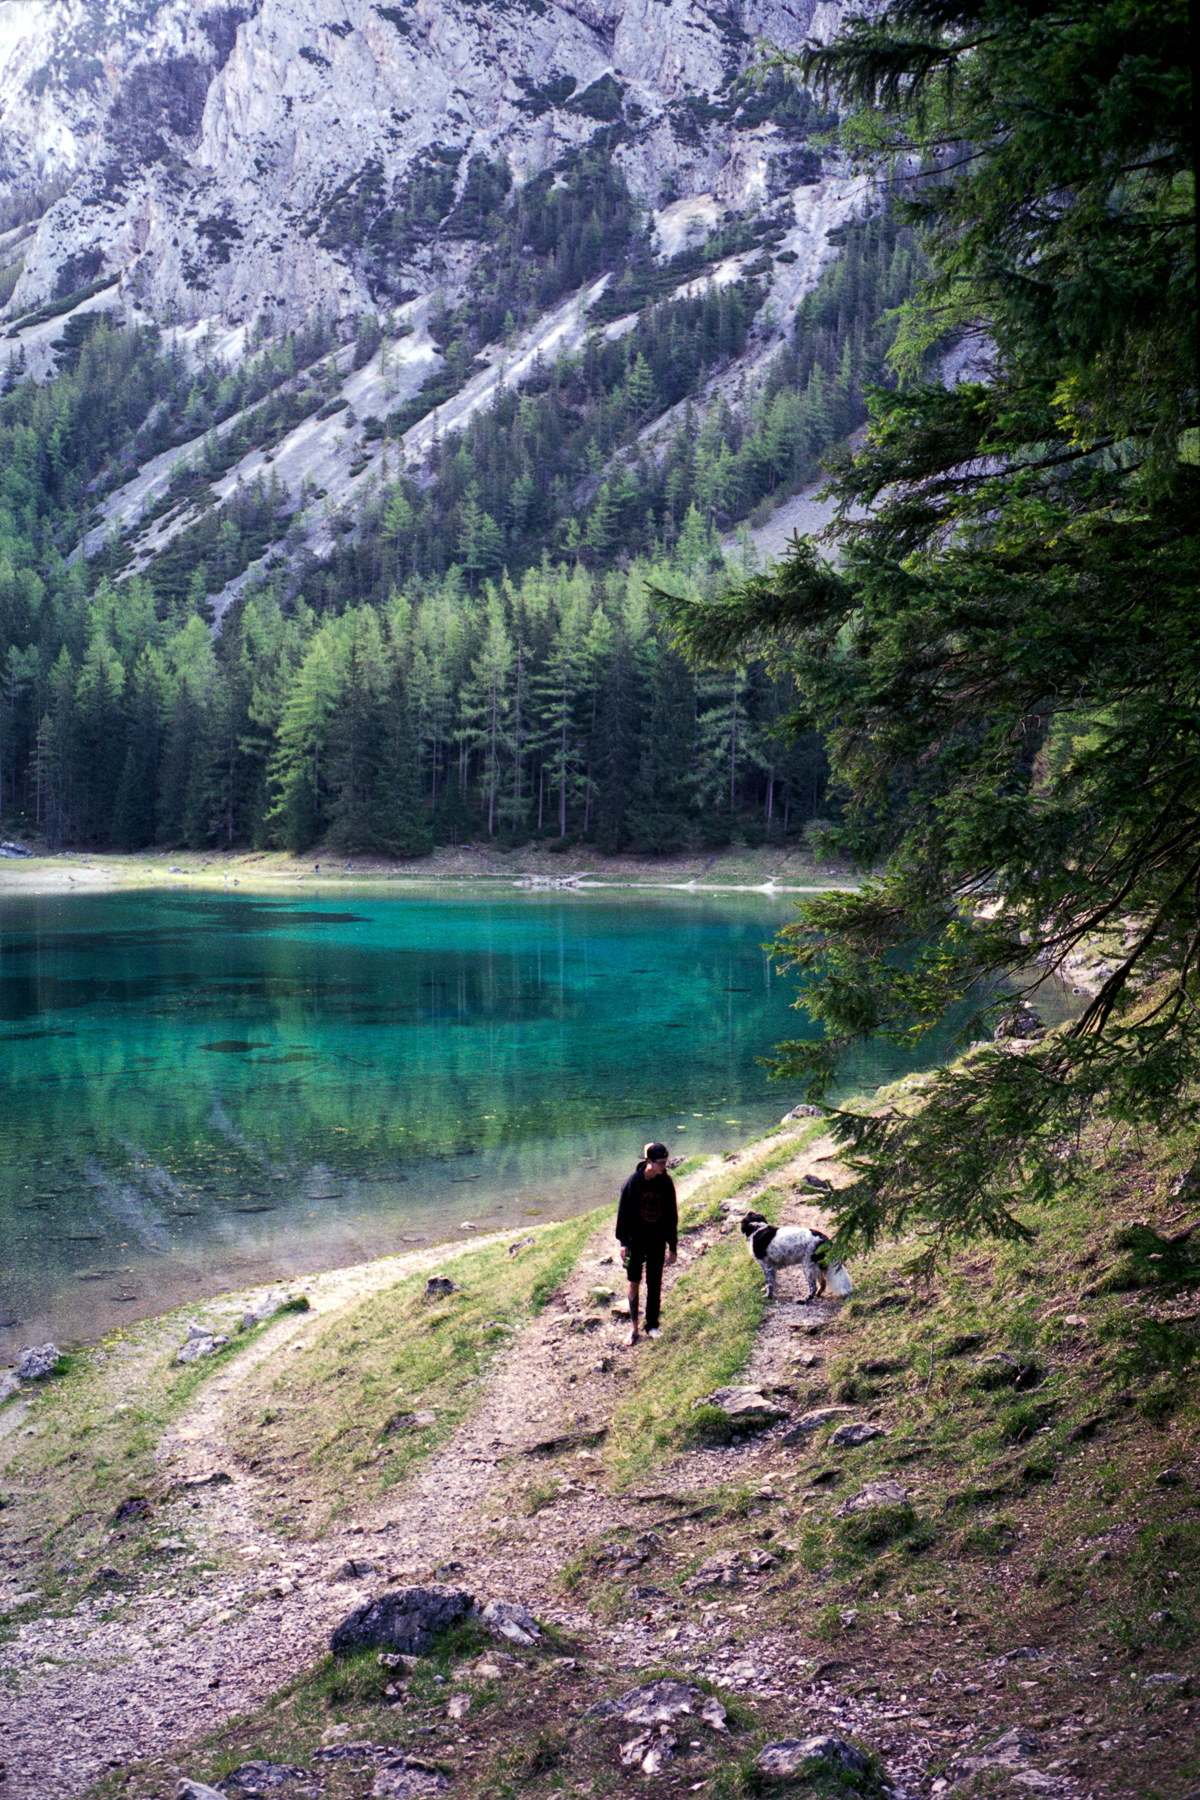
Leica M2, Color Skopar 35mm, Fujifilm 200, Negative Lab Pro 
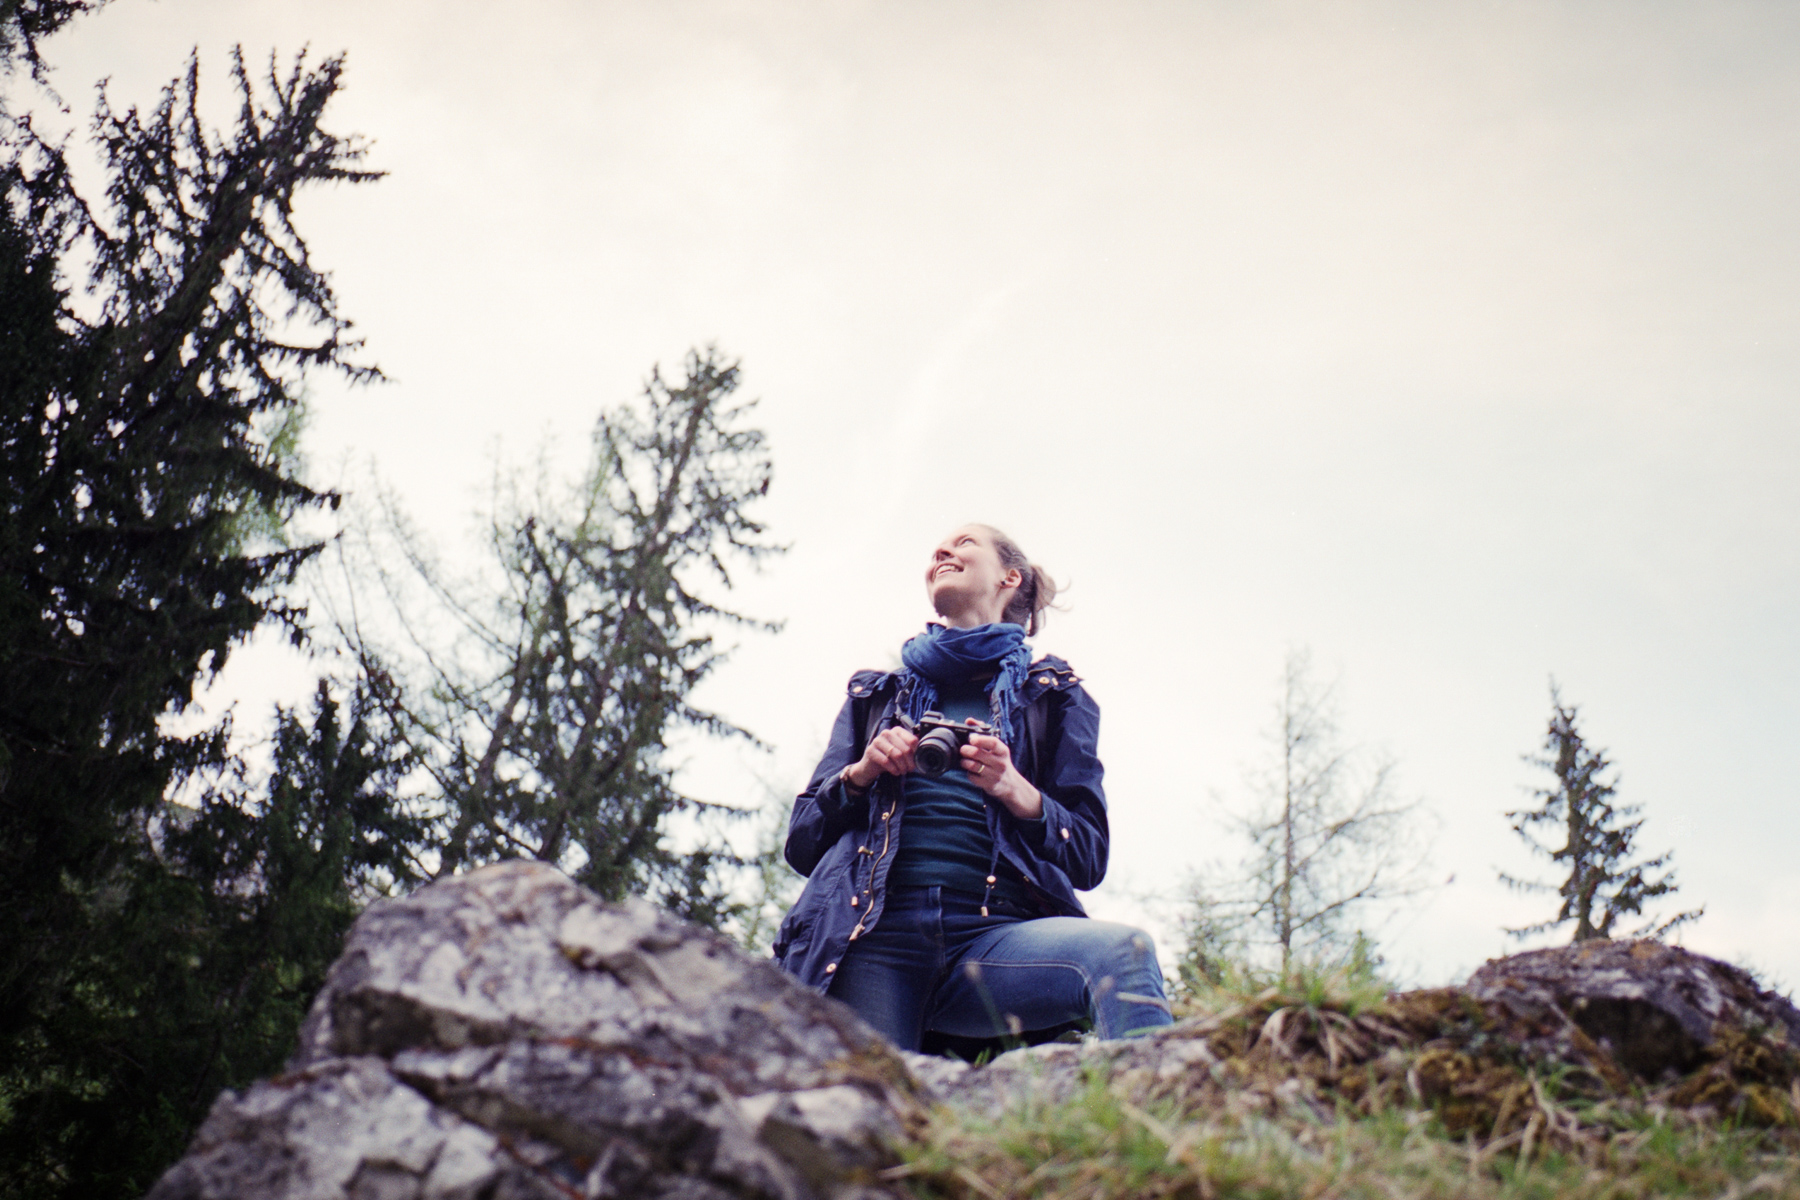
Leica M2, Color Skopar 35mm, Fujifilm 200, Negative Lab Pro
The only catch is that the software is not exactly cheap with a 99$ one time charge. But if I factor in how much money I burn on film, chemicals and how much time I invest into my photos it is actually quite fair. I would also mention that Negative Lab Pro is a creation of a single person. He is actively maintaining the software and working together with the community to develop it further. There is a dedicated Forum and a Facebook page where support can be found for any related issues in no time.
As a software developer myself I deeply sympathize with the project which was yet another reason to support it. I find it very motivating that a single person can have such a massive and positive impact and bring new life into (certainly into my) film photography.

E, Leica M2, Color Skopar 35mm, Ektar 100, NLP 
G, Leica M2, C Sonnar 50mm, Fujifilm Pro 400 H, NLP
The king is dead, long live the king!
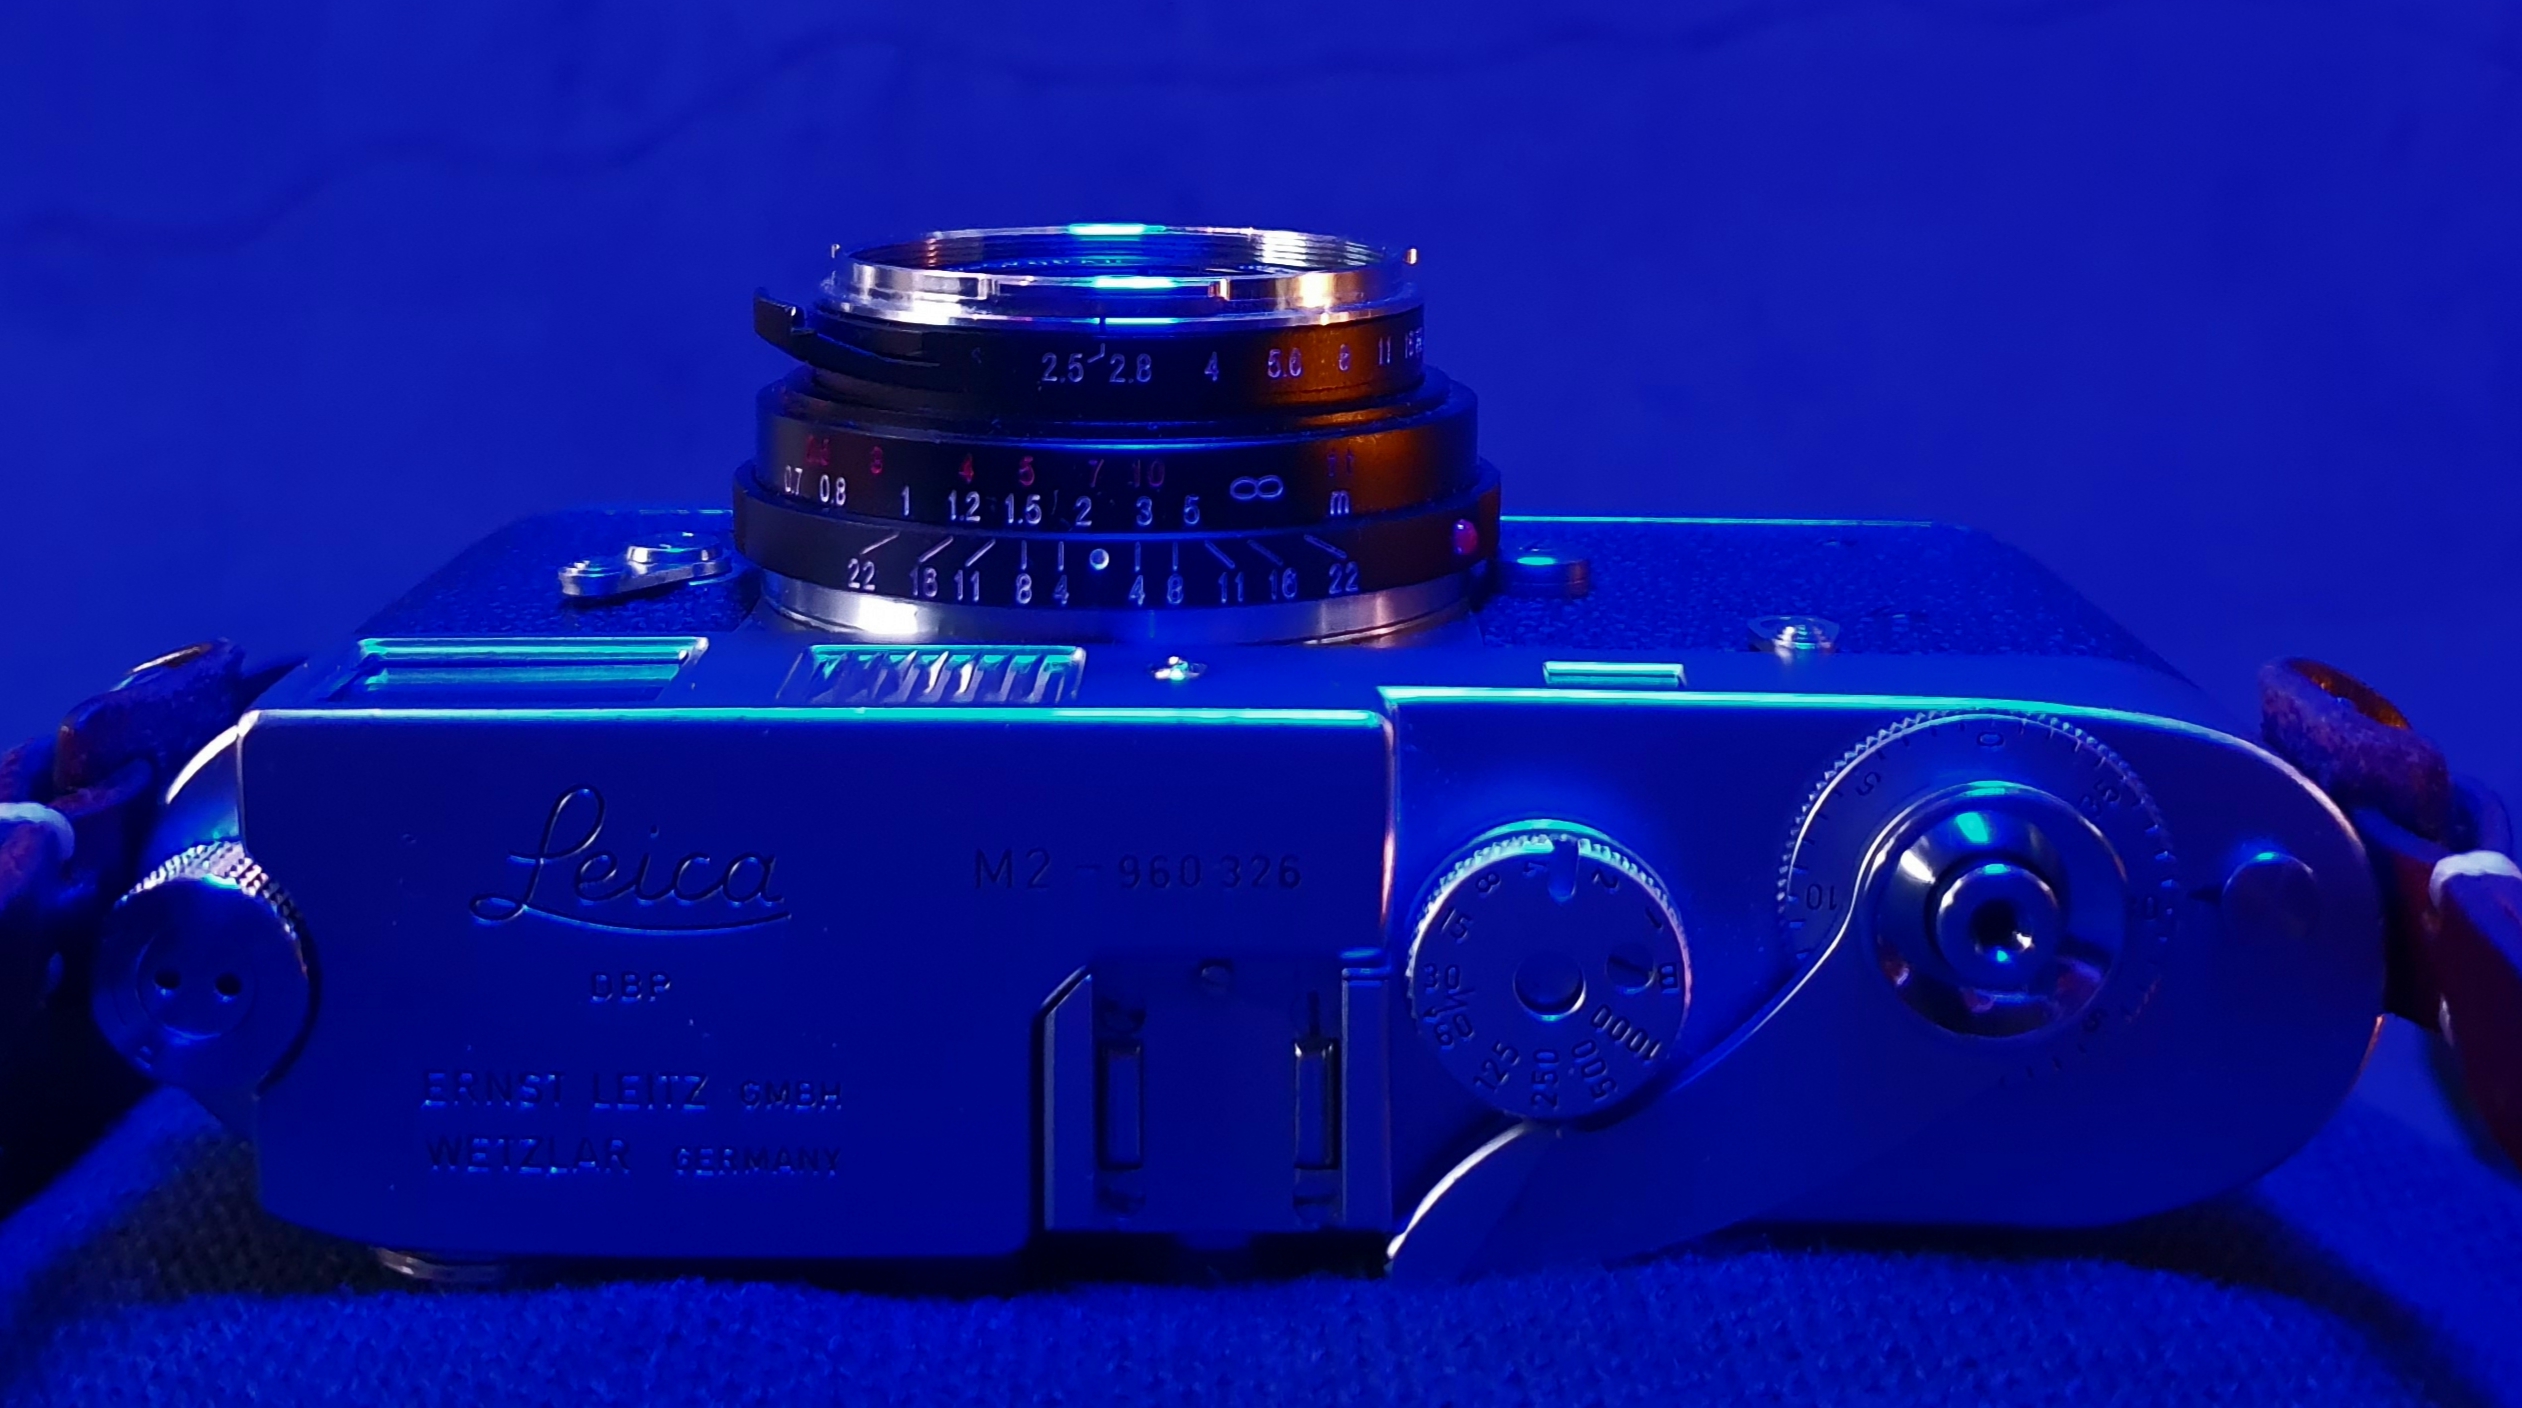
Unfortunately my old trusted Pentacon Six TL has stuck on a single shutter speed. I asked some local camera shops if a repair would be possible. But I got very little hope after my survey. At one place they told me that they don’t service such low quality cameras because it is impossible to adjust their shutter speeds anyways. At the end, I attempted to open the camera myself to see if, by any chance the issue is something so obvious that I could spot it. Needless to say that I managed to do more harm than good and currently the P6 sits in a box partially disassembled. Since then I have got a repair manual and I hope that one day I can get it back together and use it again. To put more salt to the wound, most of my Pentacon Six lenses got stuck aperture syndrome including the 50mm, 120mm and 180mm lenses. So, I would need a full CLA on pretty much everything I own in the system except the 80mm standard lens.

After many said months of not shooting any medium format film, I decided that I look for a replacement camera. Something totally different, something reliable and simple. It also had to be relatively manageable in size because I like to carry my cameras everywhere and shoot hand held. I was eyeballing the 645 system cameras for quite some time but then I ran into a wonderful Fuji GW 690 III which had recently a fully CLA. Needless to say that I could not resist. Best of all the seller is a really nice guy with a freezer full with film and with a really cool portfolio . You can check out his work here.

I love rangefinders for many reasons, mainly because I can manage precise focus with them. The camera is a beast, it shoots 6×9 frames yet it fits into my messenger bag. It feels lighter to carry than the P6 kit. The built in lens makes it even more rugged plus I will not be tempted to get additional lenses to satisfy my GAS. Last but not least the lack of the mirror means I can still confidently use it handheld for the kind of pictures I usually take.
Needless to say that I am very excited because of this new addition to my collection. I have already shot 3,5 rolls with it although only 1 is developed and scanned so far.


I am really curious if it will be such a good fit as I think now. But in any case, it motivates me to shoot and develop more and brings new impulses into the game.
Lab torments
I have been always developing my black and white work because it gives me full control over the process, allows quick results because I don’t have to wait for the lab and last but not least it is a lot of fun. On the other hand I have never done color film development myself. I was conditioned to believe that it is extremely difficult and best to leave it to professionals.
But recent events have made me to take a deeper look on the C41 process and as it turns out it might not be that difficult after all.

But what pushed me over the fence on this matter? I brought 4 rolls of color film to my preferred camera shop in Graz. They told me that development will take about 2 weeks because of COVID . I had no problem with this as it usually takes 1-2 weeks anyways. I have received 3 out of the 4 rolls relatively quickly (in 10 days), cut up and flattened nicely, ready to be scanned. But the 4th roll was not there. In fact it was not there after a month despite my repeated calls. It seemed that no one knew where it was and I started to be worried that it really got lost. To make it worse, that roll was the most important in the bunch. A friend of mine asked me to take some photos of his family before his kids leave the house for the first university year.
In the end, the lab found the film and the story ends without big harm. The camera shop says that there is only 1 lab available and I was not the only one who went through the same torment. The timestamp on the index print was 3 weeks old when I got the film.

From the 4th roll. Cosina CSM, Pancolar 80mm, Expired Agfa Vista 200, NLP
I know that the low demand and the current situation does not support film labs. I have no problem to wait even several weeks if I know that my film is in good hands, tracked and I will get it in the end. But my trust is shattered.
I will develop my color film myself. You will surely see some posts about my journey with color process. I am also very open for suggestions. I need to figure out how to do this economically. Batch sizes, shelf life and similar topics are all on my research list.
YouTube
I am quite addicted to YouTube which I need to get into check somehow. But at least I discover from time to time a channel which inspires my film photography. I am not sharing my full list of photography channel subscriptions at once, but here are some of my top pics without any particular ranking or ordering among them.
grainydays
The guy who runs the channel is completely crazy in the best possible way. If it is strange for the first time keep watching he has a special humor, a big punch of self irony and great photos. I like especially his night shoots.
Kyle McDougall
Kyle has fantastic camera reviews and I really enjoy his medium format architectural work. He is not only showing his work but also his way of working including, scanning, archiving and behind of scenes of his videos.
T. Hopper
Great moody videos with beautiful pictures and a lot of info about film stocks. She also makes great essays about photographers, film and art in general.
Jamie Windsor
Very informative educational videos mostly about digital photography and editing. But also very well thought through and intelligent video essays about art and photography.
This is all I had in mind for now. I hope you find this new type of post interesting and perhaps my enthusiasm makes some of you go out to shoot some film too. If so, please wear a mask and I wish you all good light.