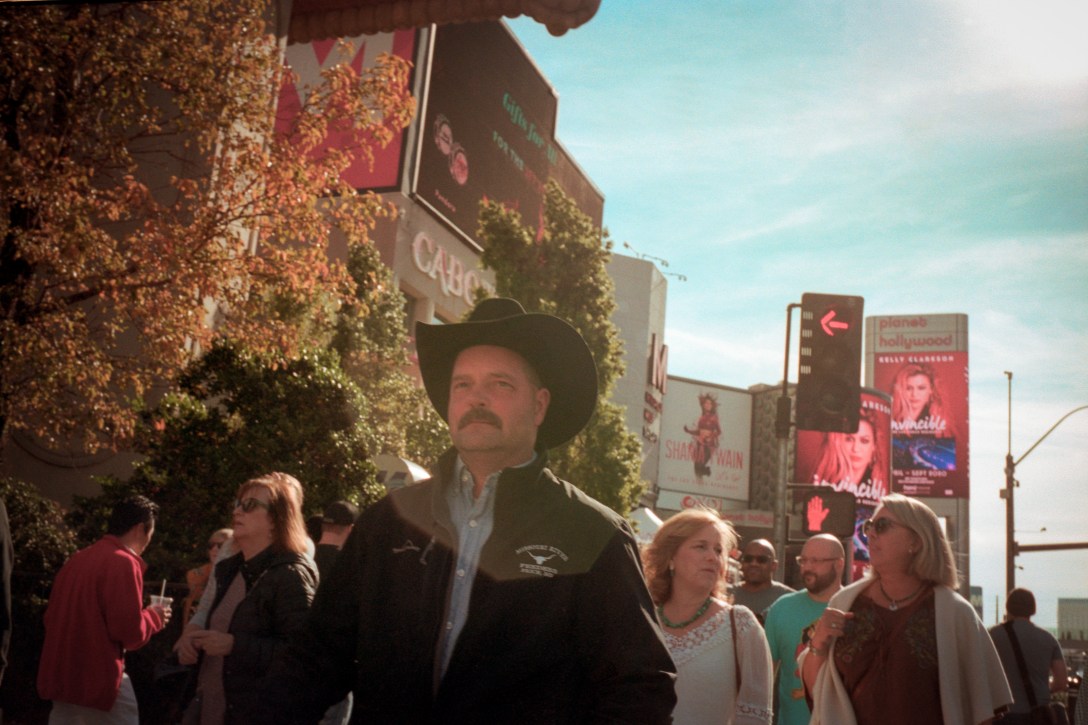
I have brought 2 types of film Las Vegas trip. CineStill for the night and Portra 160 for the day. The big mistake, however, was that I only had 1 camera. I planned to shoot the Portra first and then switch to the more sensitive tungsten-balanced film as it gets darker. Well planed I thought and loaded up the daylight film. I shoot only a few frames on the first day on the way between venues.
I had to quickly realize that I had very limited time during the day and I would better off by shooting at night. The though the decision was made and I winded back the film and made careful notes how many frames I have gone through. I switched to CinceStill for the rest of the trip. Needless to say that I’ve put back the roll of Portra into the camera as soon as I got back home and finished not much later. But the adventures of these photos were not over yet as the Covid-19 lock-down hit before I could get back the film from the lab which delayed this post with an extra 2 months. But at the end of the day, I have got back the developed film and I was able to scan it. The rewind seemingly had no negative effect and you can now see my little collection of Las Vegas street photos shoot on Kodak Portra 160.
Ever since I have started to take photographs I was always chasing a cinematic look. In fact, this is one of the reasons I shoot film. While it is undoubtedly possible to achieve film look with digital cameras I find it easier by using film. Also, it is a lot of fun to experiment with different film stocks. Discover the characteristics of each individual film types. Under which circumstances to use one over another and what artistic effects can be achieved by abusing a particular type of film.
One of my holy grail films I desperately wanted to put my hands on is CineStill. It is a tungsten-balanced motion picture film converted to be developed in a regular C41 process and thus more accessible for still photographers. In theory, this film can provide that cinematic look in terms of color, tonality, grain as it is, in fact, an emulsion used by Hollywood. Of course, the cinematic look is a product of many other factors than the film stock such as lens, subject, lighting, but it is one of the main contributors.
For their color negative films, Cinestill Film modifies Kodak motion picture cinema film, allowing it to be developed with the C-41 process rather than the Eastman Color Negative process. Cinestill Film converts the Kodak motion picture cinema film by removing the Remjet backing, a separate Anti-halation backing used to protect the film in motion picture cameras. Due to the removal of this anti-halation backing, Cinestill Film exhibits a glowing effect on the image in areas with strong highlights.
It was clear that sooner or later I was going to try CineStill, but I needed an occasion or project to justify it. Thankfully at the end of 2019, I have got the chance to visit a conference in Las Vegas (AWS re:Invent 2019). I thought it was a brilliant opportunity to try this film so I bought 2 roles from eBay. It was a week-long conference so I hoped that I was going to have some possibility to explore the city and shoot film.
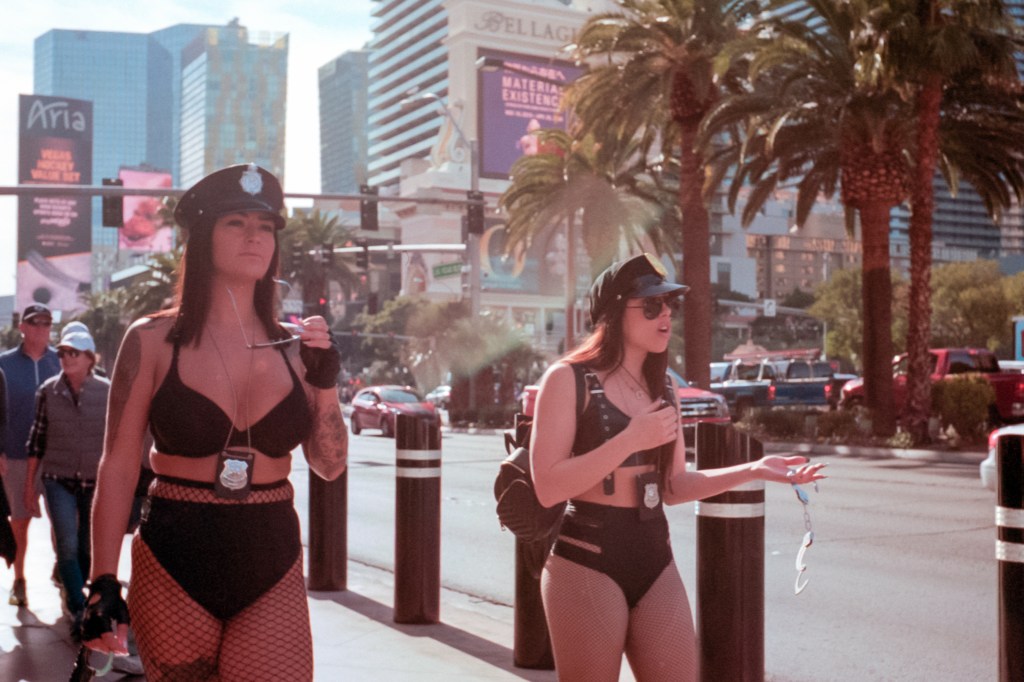
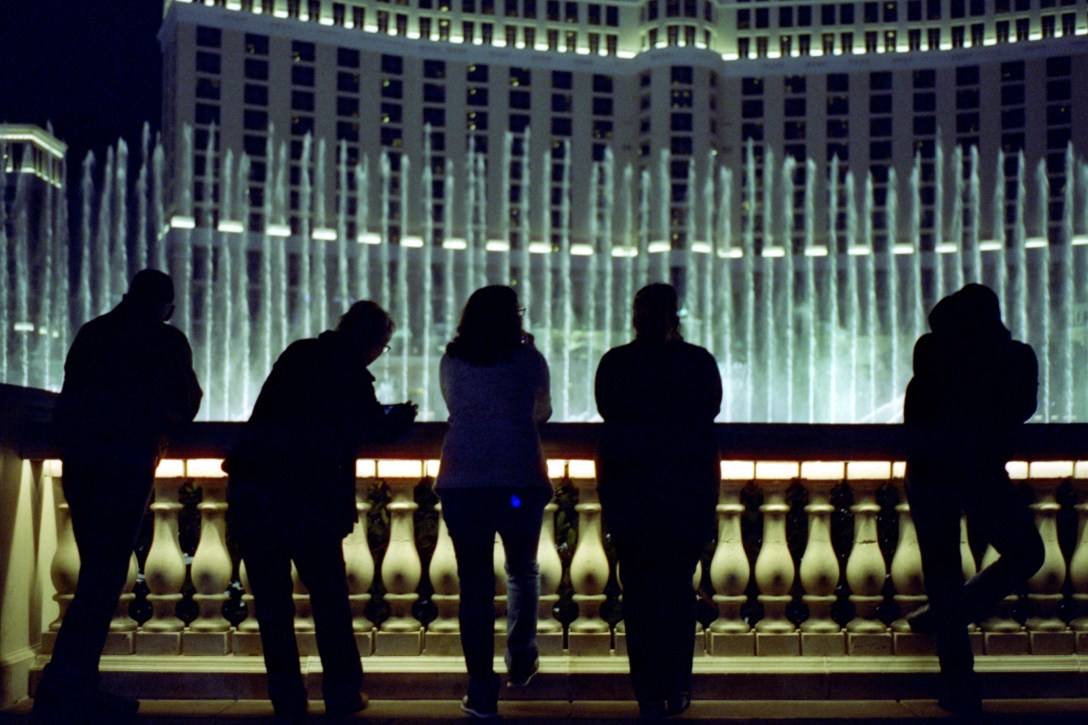
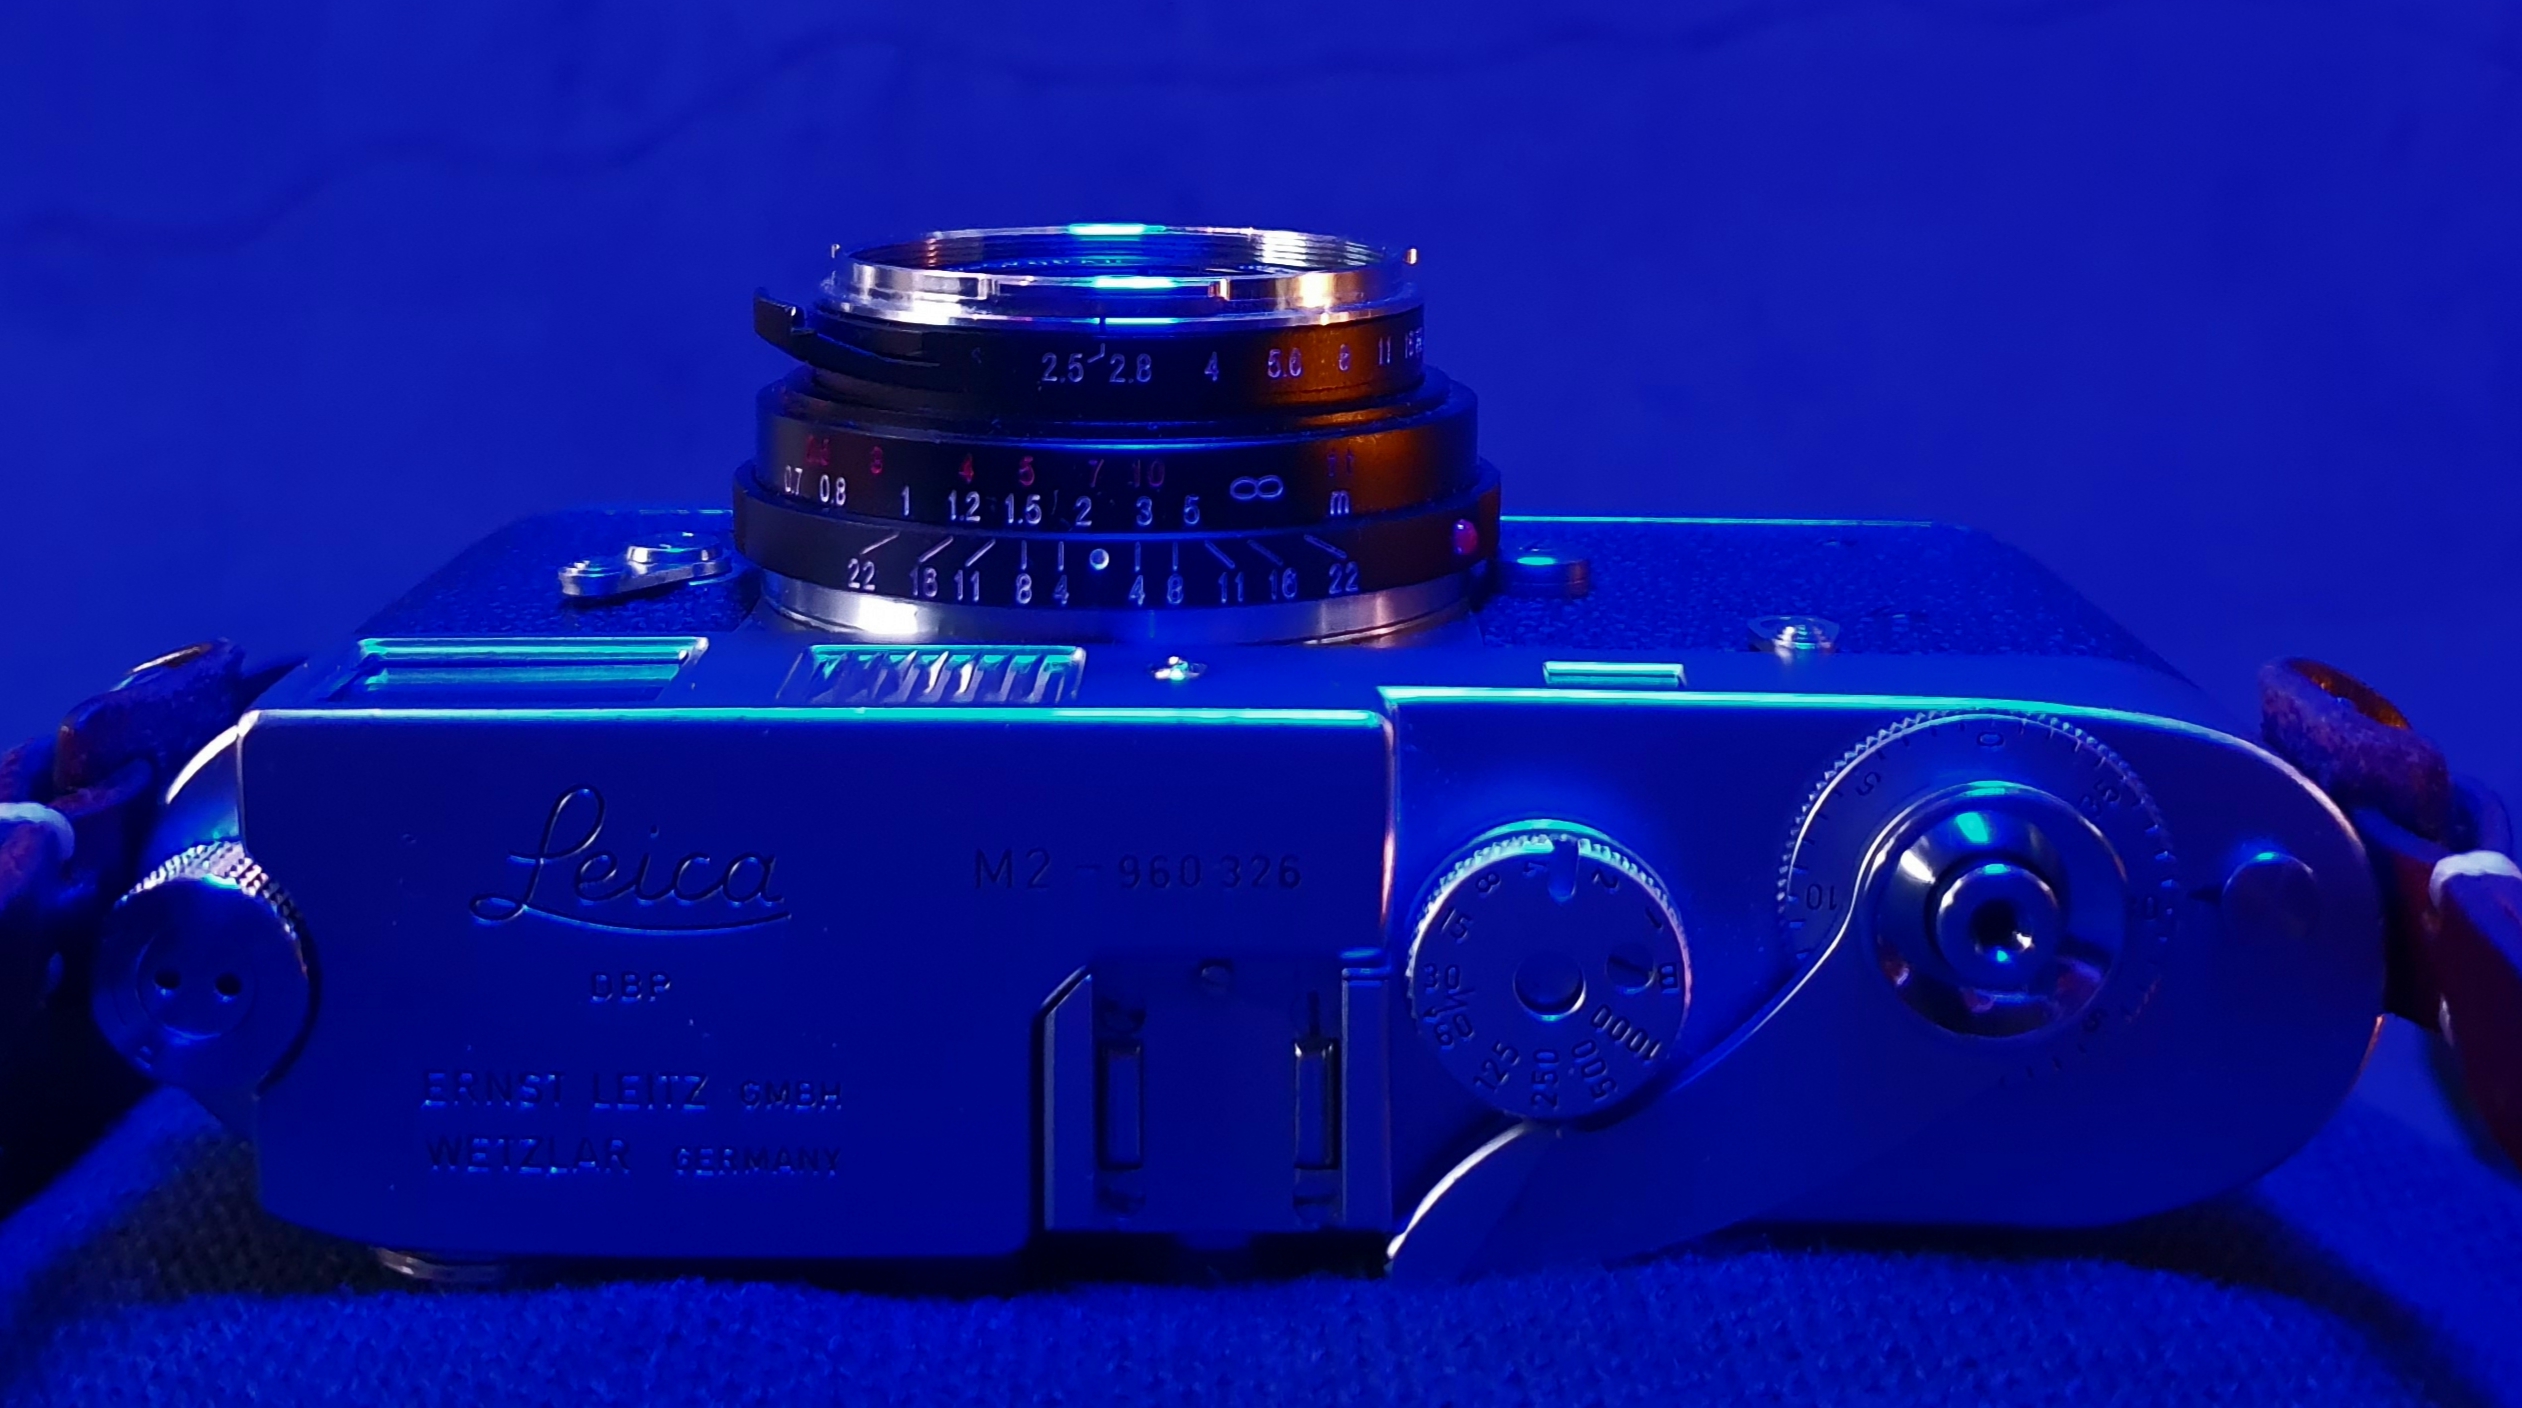
My camera of choice was the Leica M2 paired with a Voigtlander color skopar 35mm f/2.5 pancake lens. I also brought with me an 50mm f/1.5 Sonnar for the extra speed. But I ended up using the 35mm lens a lot more as it was easier to carry around and the wider field of view made a lot more sense too. The f/2.5 maximum aperture was bright enough because of the high speed of the film and because the city was brightly lit by the different advertisements at all times. My biggest problem during the night was not the amount of light but the ever-changing nature of it. Images on the screens were flashing, trucks were driving around with wall-sized LED light sources mounted on them. It was such chaos that I gave up on using a light-meter. Instead, I started to rely on gut feeling and intuition. I had to gamble on my exposure.
Night shift: He was trying to diagnose/fix the broken green section on the screen on the building’s facade. It was around 4 am.
As expected halation is very evident when bright light sources are in focus. This is due to the removal of the anti-halation remjet layer. I personally find this effect very interesting and unique. For the most part, this glow gives an extra punch to the atmosphere.
strong halation around the stop hand light.
Avoid using CineStill 800Tungsten (or expect a unique look) when photographing:
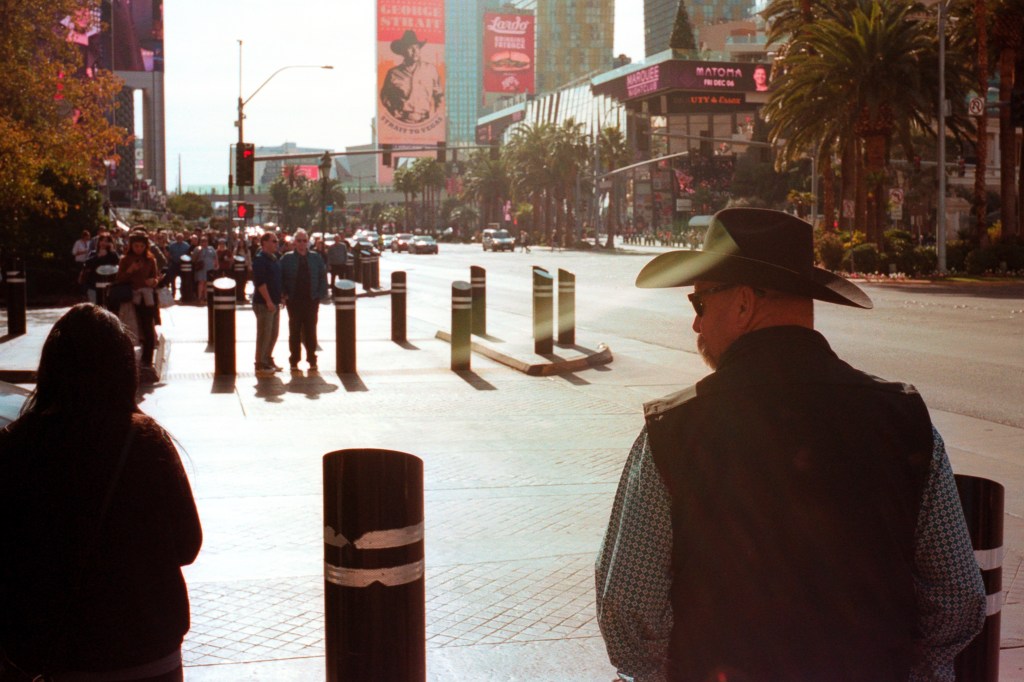
open shade
cool light
daylight overpowering tungsten
heavily backlit images
strong window light
ontent including intense points of light (christmas lights, chandeliers, neon signs, bright windows)
I have to say that this film did not disappoint me. I shot it under numerous recommended and not recommended situations and as the expected unique look was delivered in a big way. I had been caught off guard regarding the amount of halation, but I must admit I like this effect very much. It helps to smooth out the otherwise not so great bokeh of the little pancake lens. I expected more noise given the 800 ISO rating, but I was pleasantly surprised about how well the noise is controlled. The colors are fantastic and it was very easy to set the white balance on the files in Lightroom. Not sure if it has anything to do with the film though. The only situation which produced results that I did not like and/or was very hard to color correct was in open shade. Especially if people were in the frame. Skin tone reproduction in shade is not the best application for this film based on my limited experience with it. It is also #1 on the not recommended situation on the CineStill website.
All in all, it is a great film with absolutely unique characteristics. I think it is worth to try.
I have and always had a love-hate relationship with Velvia. It is a fantastic film stock for sure. When used for fitting subjects, it delivers results like no other film. It packs an extra punch in terms of color saturation, contrast, and resolution. My only problem is that I mostly shoot portraits and if anything this is not the best use for this film. Also, I am more careful with positive films as they need to be exposed very precisely, they cost more to buy and to get developed. That is why I kept a roll of Velvia 50 in my fridge for more than 10 years. I was waiting for the right moment to load it into a camera that moment has failed to come.
I think I became overly circumstantial with my precious film stash. So I decided to use up this roll of Velvia this summer. We have planned a holiday to visit friends next to Hamburg with plenty of opportunities to take pictures. I was especially excited about the seashore. In the end, we brought home many photos most of which were digital. Around the same time, we have got a nice telephoto zoom lens for our digital camera. We were eager to test the new lens and the little roll of Velvia got pushed back on the priority list once more.
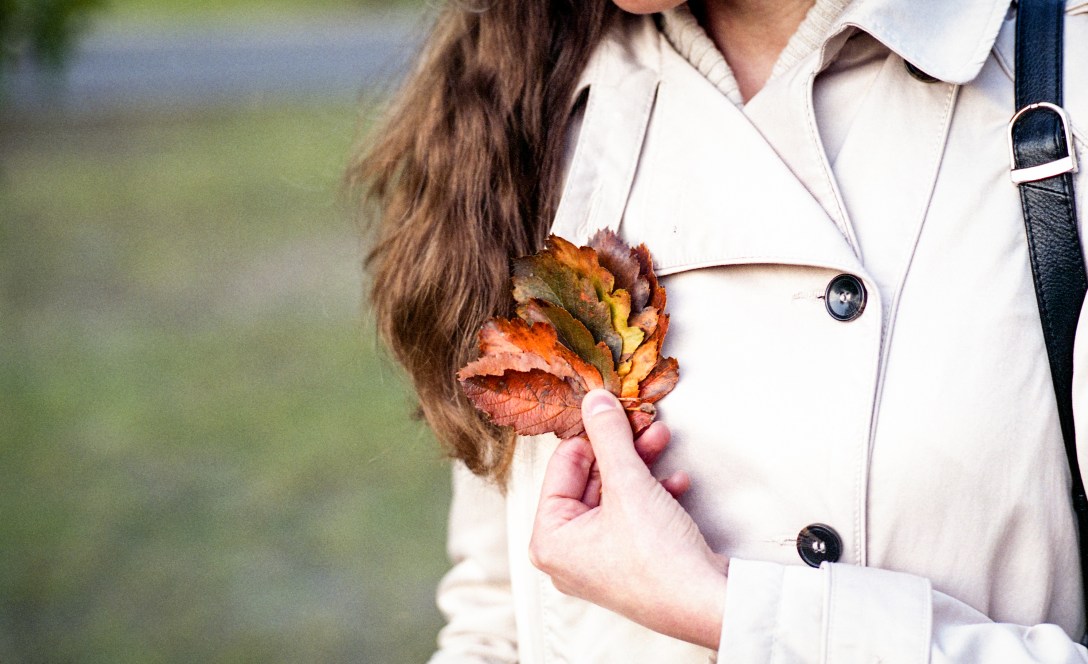
Eventually, I have finished shooting this roll even though it has taken me months biting into the autumn. Despite the traditional wisdom, I have shot a lot of portraits on it besides the well-expected landscapes. I have used it for everything and I am glad I did. Most of the photos turned out just right. To be said, I had to dial back the reds in post-processing on all portraits. In this post, I would like to share some of these randomly captured moments. If you have any thoughts about them or about using Velvia, please leave me a comment.
During the Christmas holiday, I have managed to find the time to develop a few rolls of film. I am very happy about it because lately, I have struggled with my developing process. I have encountered many trivial issues including the use of an exhausted developer, air bubbles and the list goes on. This time I have tried everything to get better results. I have purchased a new developer tank so I could turn it over without pouring liquids out. I have also reverted to my trusted ID-11 developer which meant that I had to wait until enough rolls had been finished to make it worth to mix the chemicals. All in all, I am pleased with the results even though there is plenty of room for improvement. My plan is to share some of the shots during the course of 2-3 posts depending on the themes I can find. Hopefully, I can get some feedback on from you.
This first set is from a family visit where I could take some portraits of my sister Zsuki. The color pictures are depicting me on the same occasion. I was having fun taking pictures of branches and other random objects at first. These digital shoots were taken by my lovely wife. I think they complement the analog pictures nicely as they show the camera and lens I used.
I am not sure why I am drawn to photograph branches like these. They are very rarely keepers. Still, it seems to be a good idea from time to time.
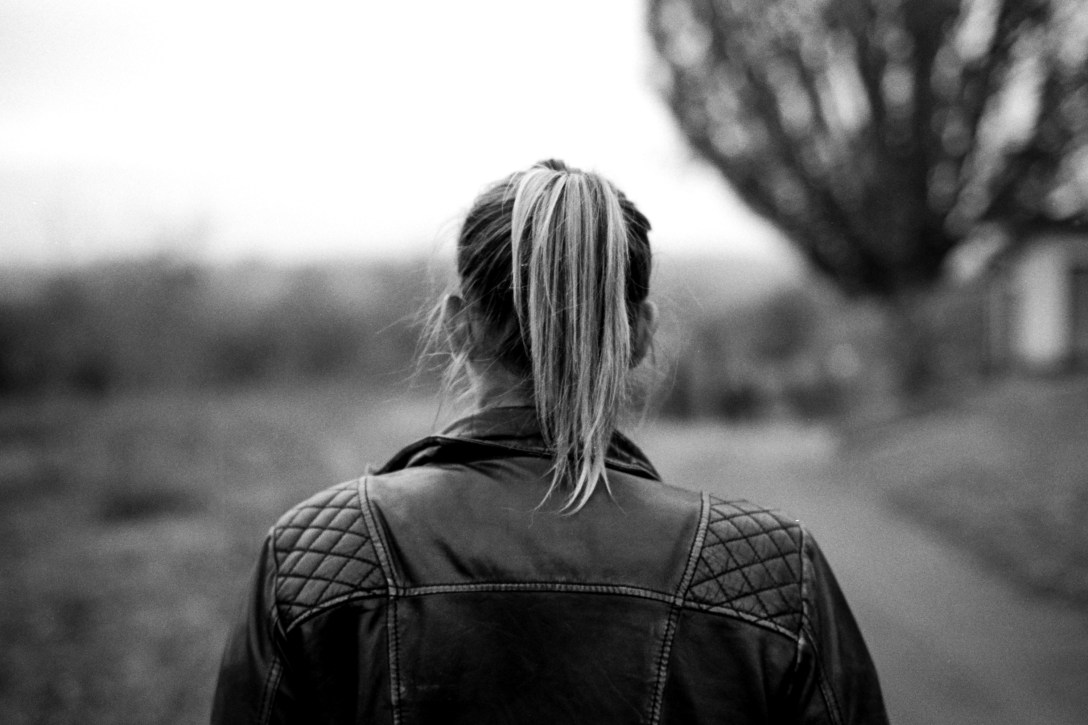
Finally, here are the portraits of Zsuki. Thankfully she is very relaxed at the front of the camera which made it very easy to photograph her.
I have used my C Sonnar 50mm f/1.5 lens on my favorite f/2 setting which results in a fantastic creamy bokeh. I find it challenging to focus with this lens wide open and the bokeh starts to fall into crazy territory at f/1.5. So f/2 is my sweet spot.
As for the development, I have used 1+1 dilution for the ID-11. Developed for 10,5 minutes on 20° Celsius with agitation in every 30 seconds. The film was Ilford FP-4 Plus and I shot it at stock speed. I have expected a bit less grain from the film, but I am almost certain that this is because I have slightly underexposed and pushed too hard during post-processing.
If you see anything obviously faulty in the description of my development method please let me know in the comments.
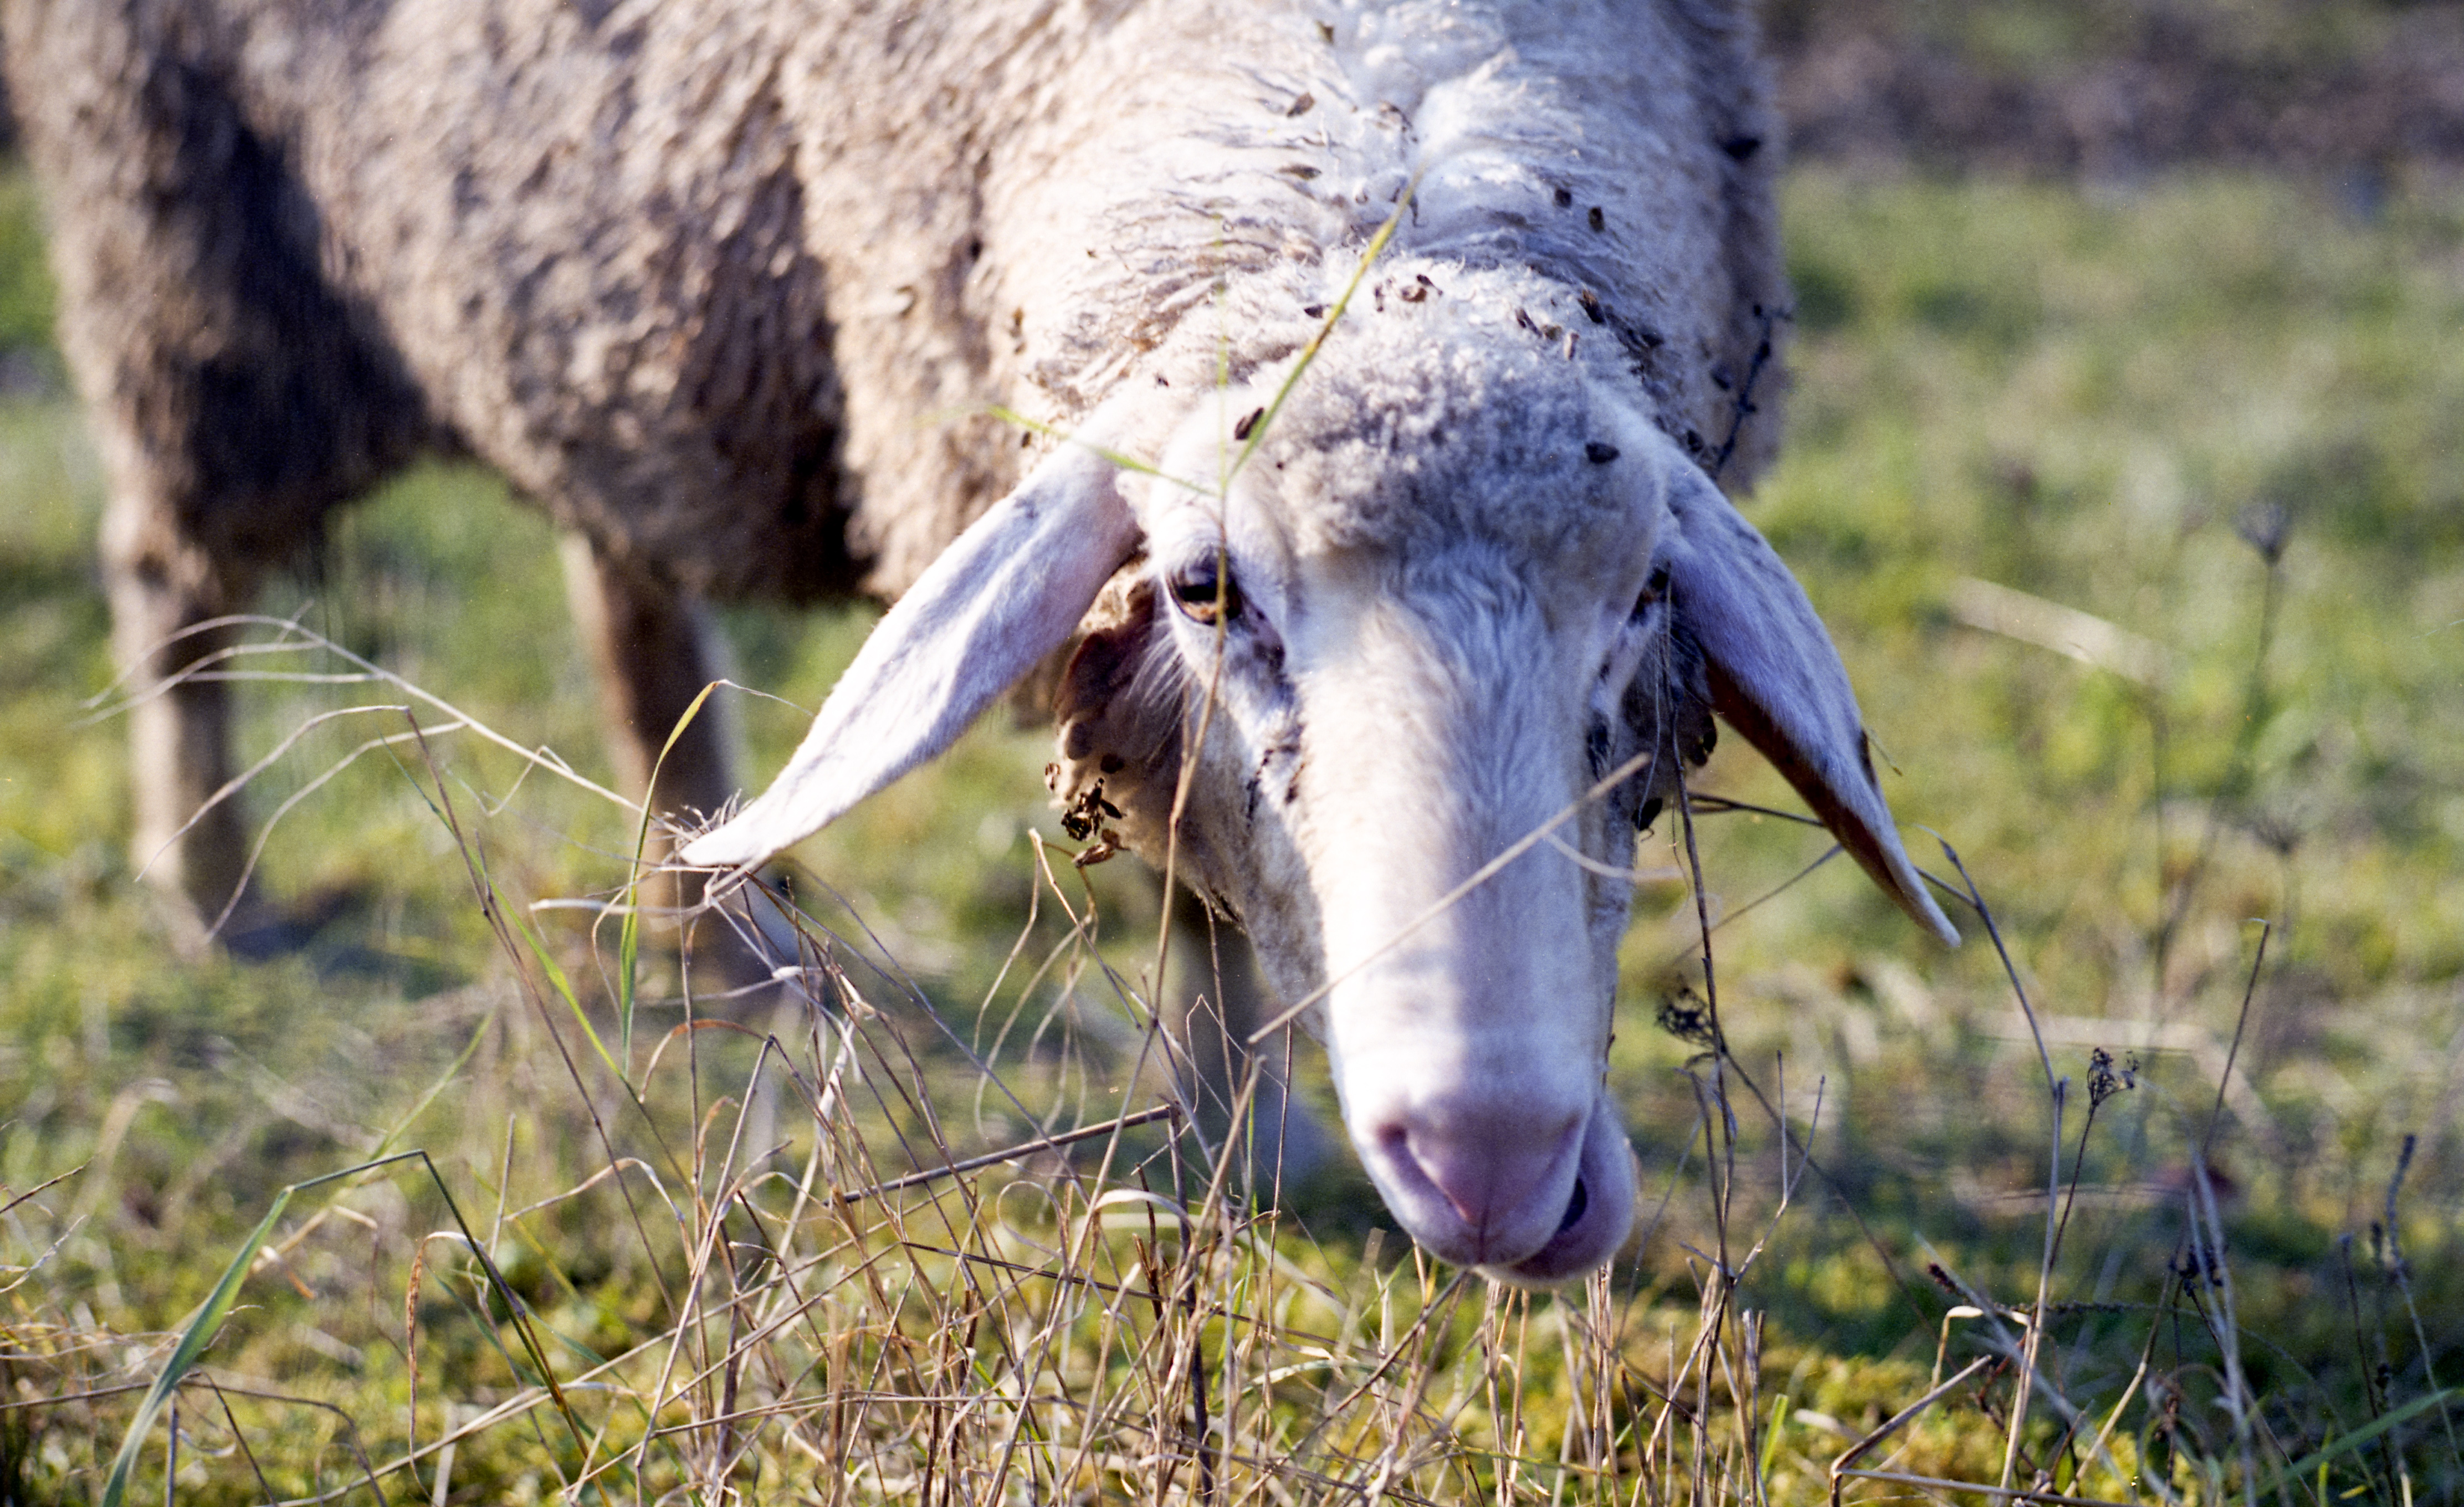
The second half of the Fuji Superia 400 in the Yashica had been shot during a wonderful family trip at the south of Austria. We have picked an easy trail close to Arnfels this time but one packed with nice scenery and experiences. We have passed by beautifully taken care of wine yards and a forest filled with life and with the colors of the autumn. We have picked some chestnuts, had a closer look of a variety of strange mushrooms and met with all sorts of wild and domestic animals including a little deer.
I was equipped with the Yashica TL Super with the Pancolar 80 attached to it plus I had my old Weimar Lux Cds light-meter with me. Eszter was shooting with her Nex 6, and of course we shared the duty of carrying the little one (who did not get lighter), but at least he could also run around a bit on his own due to the easy terrain.
The lights were initially quite harsh but inside the woods we were rewarded with some nice beams of light filtered through the branches of the trees. I find it very difficult to capture the delicate atmosphere created by such light conditions on any medium, but this small format film has done a decent job.
As we moved out from the forest, I started to look for details. This pole of an electronic fence seemed to be a good idea to take a picture of. Now, I find it quite boring unless I use it to evaluate the creamy background blur of the mighty Pancolar even slightly stopped down to around f/2.2. Notice the orange blob at the top left quarter of the frame. It is obviously my 2 years old running around.
Portraits of feeding animals are essential for any family photo book.
Not sure what happened with the top part of the cabbage photo. I think I must have overexposed so much that the film decided to make some color shift. In any case, I was indeed pushing the boundaries of the film because I tried to shoot as wide open as possible despite the abundance of light.
All in all it was a great trip with a handful of shoots we like both analog and digital. The Yashica served well once again, but I cannot deny that this camera especially with a bigger lens is not easy to carry all day. The weight can become a real problem if the camera is not the only extra weight one needs to take care of. Would I take it once again for a hike now that the much lighter Leica came back from service? I think will still take it occasionally, but more because of the lens not so much for the sake of camera.
To follow up the previous post where the focus was on the retro stylish look of the Yashica TL Super, here are some of the shoots out the roll which was in the very same camera. All of these photos have been taken during our last visit to Hungary in the middle of October. The film is Fuji Superia 400, which is lately my choice of color negative film due to it’s versatility and because I had quite a few rolls of it left from my Irish trip from last year. This film works great for me in almost all circumstances from low light situations (when combined with fast glass) to sunny daylight. This time I had mostly enough though not plenty of light as the weather was generally overcast. But the colors of the autumn are well retained and the scattered light helped with the portraits.
I used a single lens, my big favorite the Pancolar 80mm for the entire roll. I try to force myself to carry only one lens at the time. This helps me learn the quirks of the given setup by focusing on it for a longer period. Also if I have only one lens available I need to solve every situation with it which could help me leave my comfort zone and thus contribute to my creative development.
This lens has it’s caveats and sweet spots to learn as well. Others may observe these differently as many aspects of the character of a lens can be judged subjectively. I find myself shooting with the Pancolar most of the time wide open or close to it. This is where the character is mostly evident in the form of beautiful smooth bokeh when the background is right. The lens is plenty sharp in the center at least for my eyes and subjects. Stopping down to medium apertures where the depth of field is still small enough to have some background blur makes it evident that the iris is very far from circular. This case the background can be very busy which is not always desirable. In addition contrast can be too high to my taste especially for portraits.
Of course the photos from this post were not the only ones from this roll. The Yashica was with me on a family hike in the south of Austria where both the light and my subjects were different. I will publish a selection from those shoots in the next post with the hope that I can show the versatility of this film and my single lens approach.
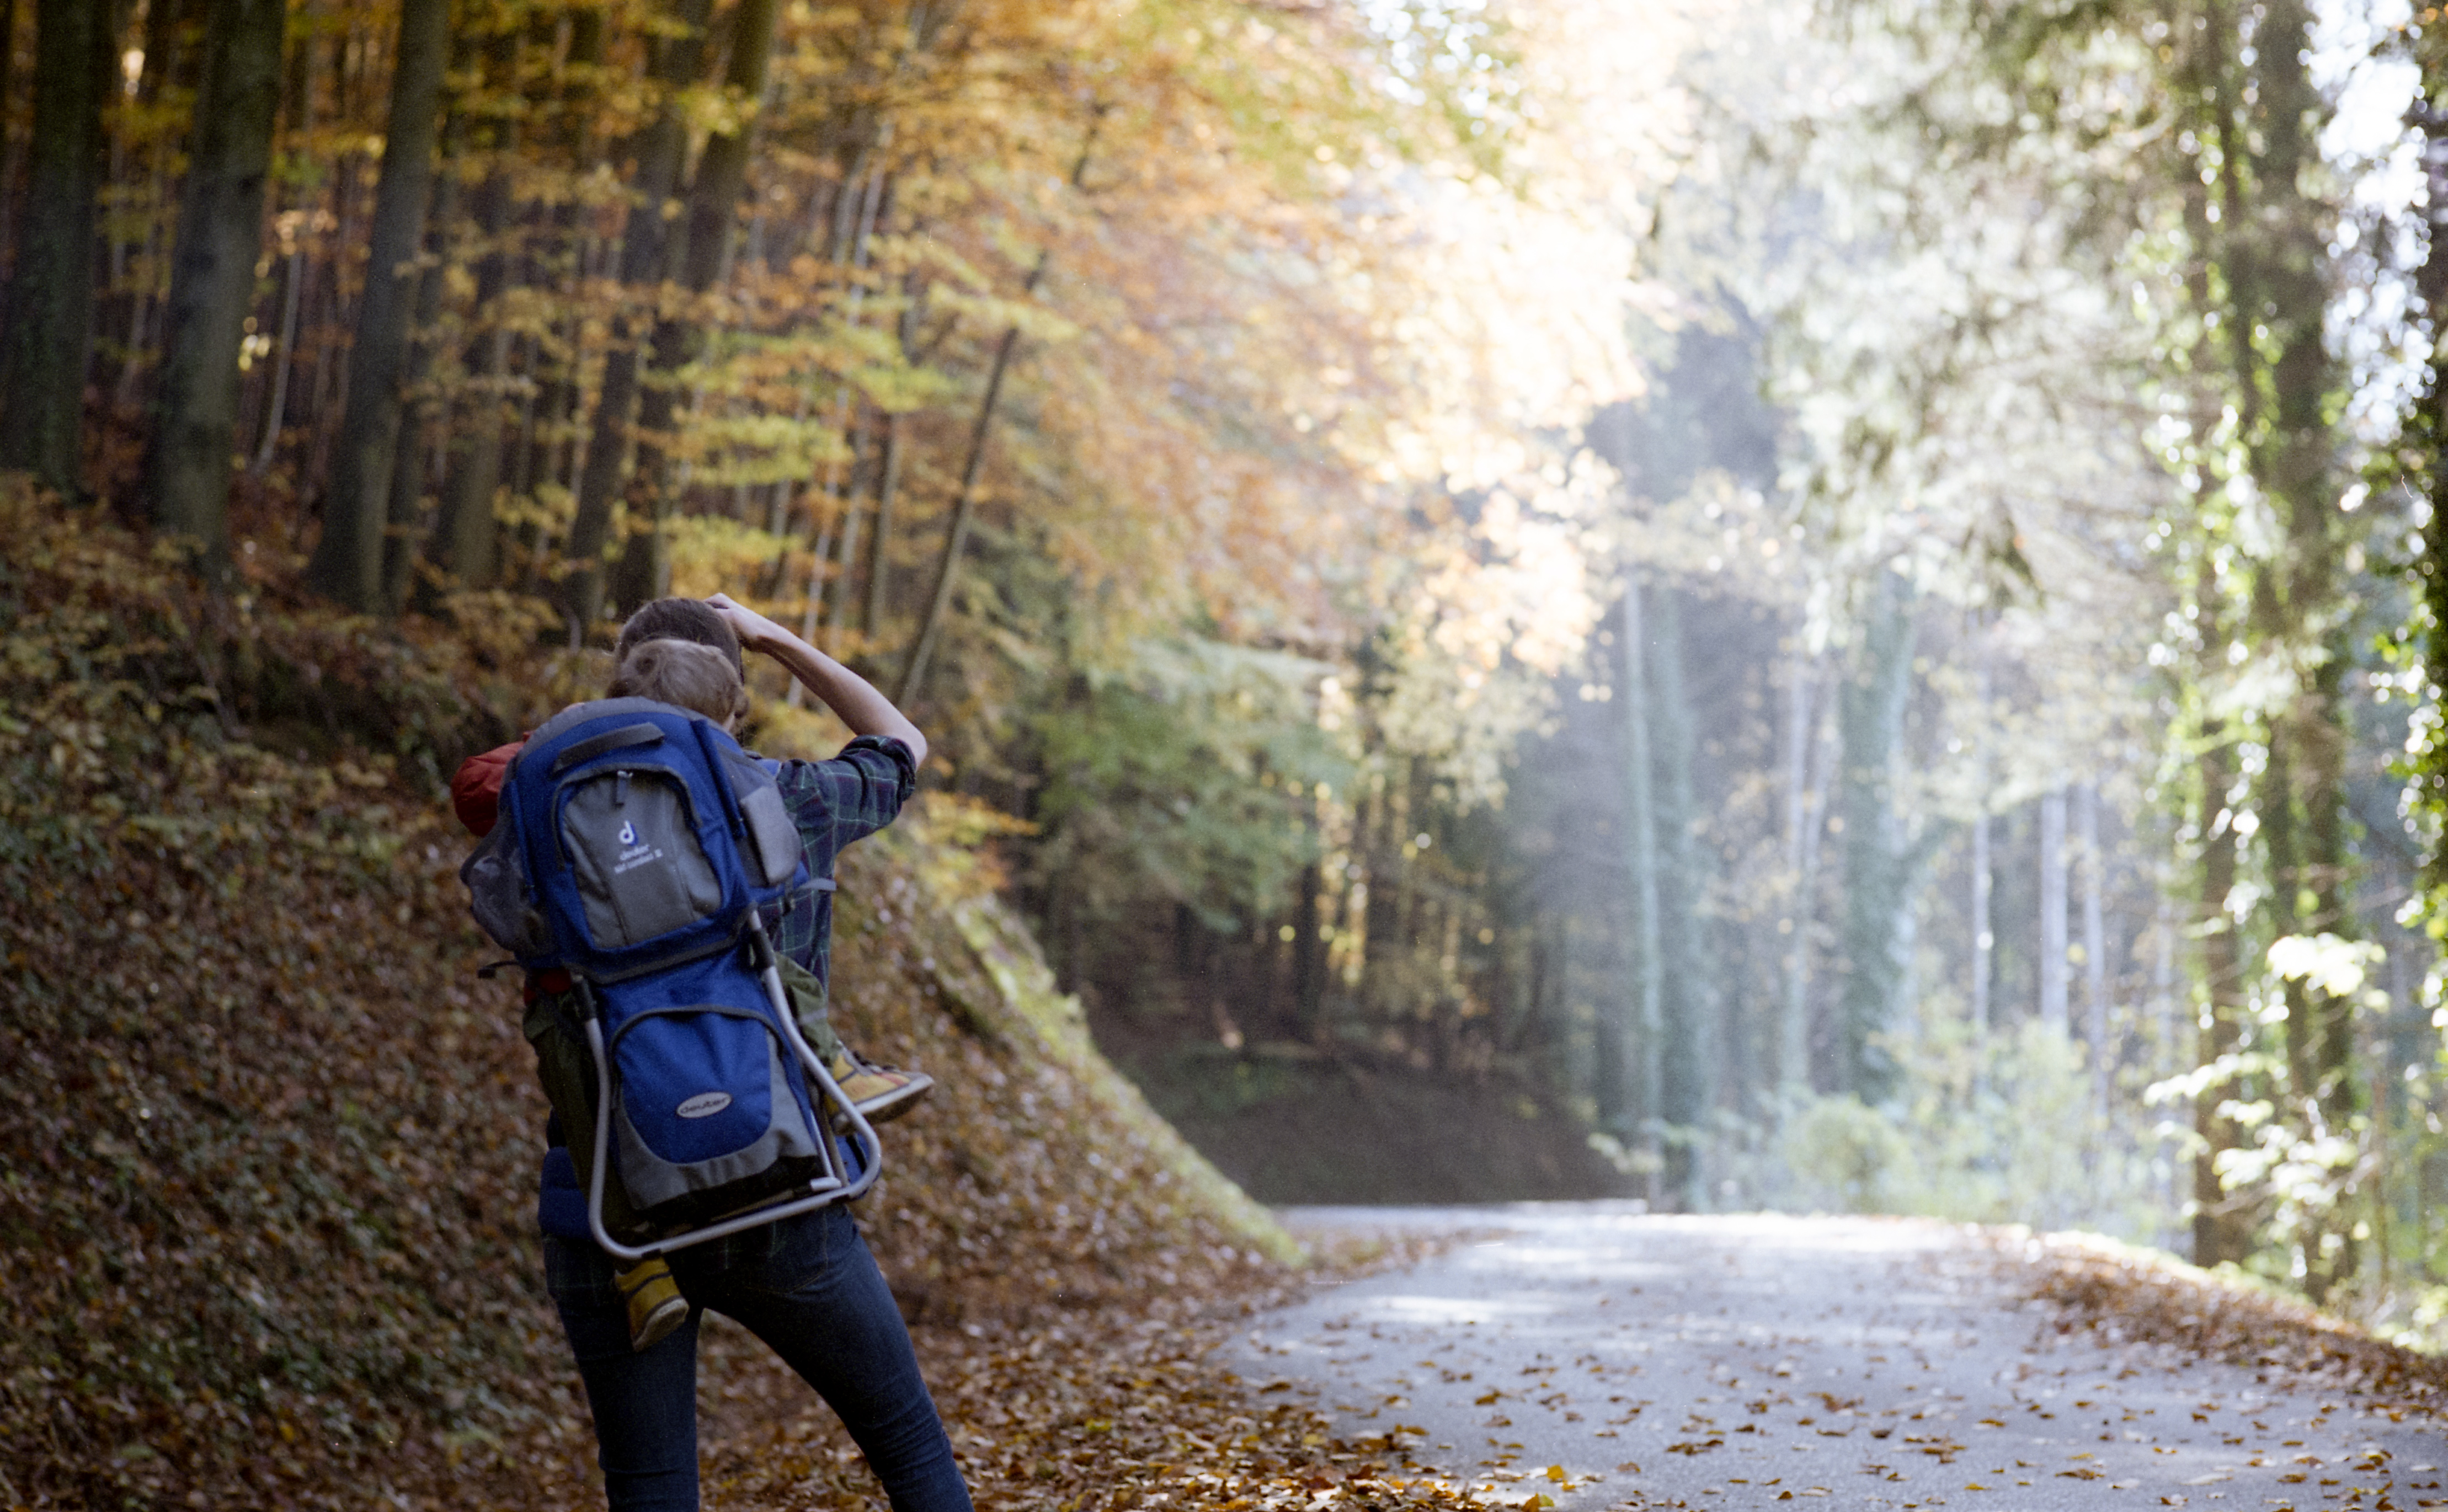
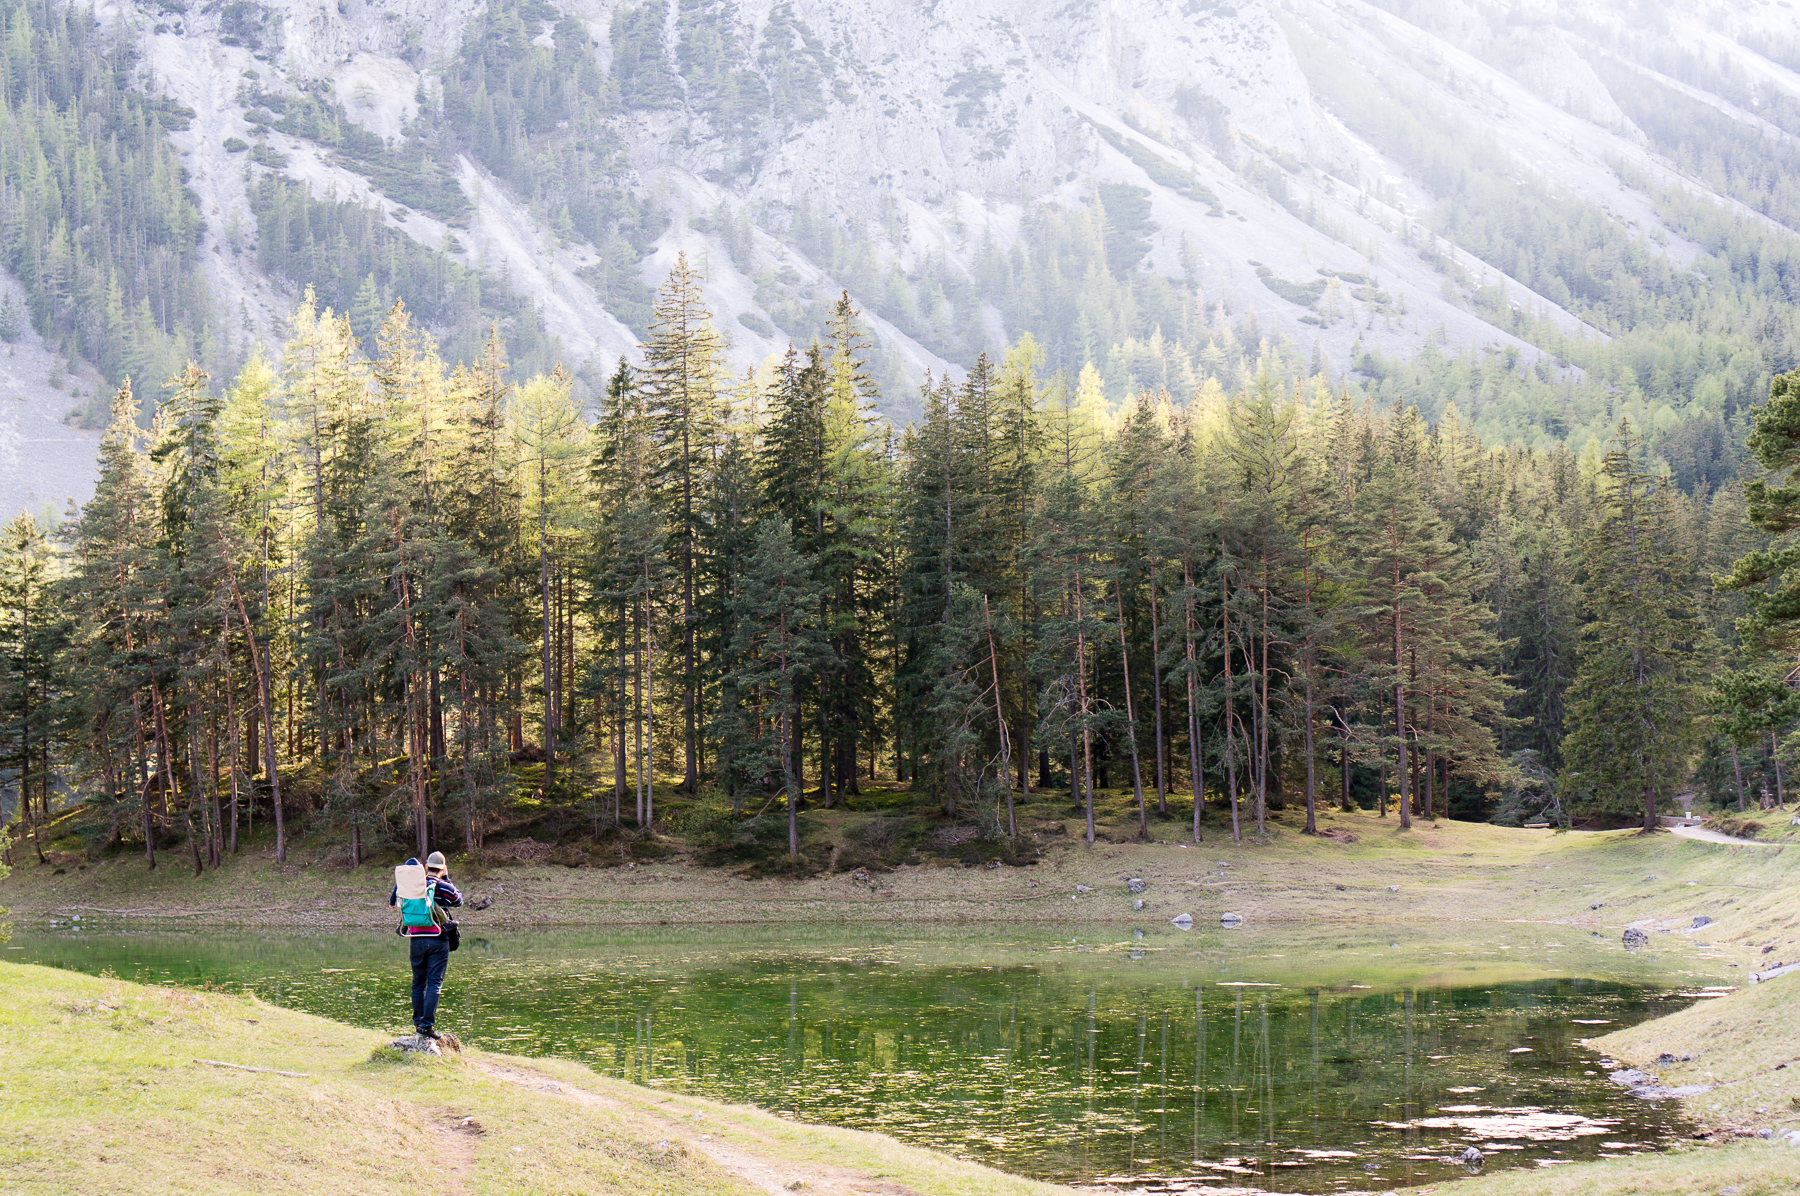
What would a photographer do if he would suddenly need to carry an ever moving child on his back to every location he would take photos?
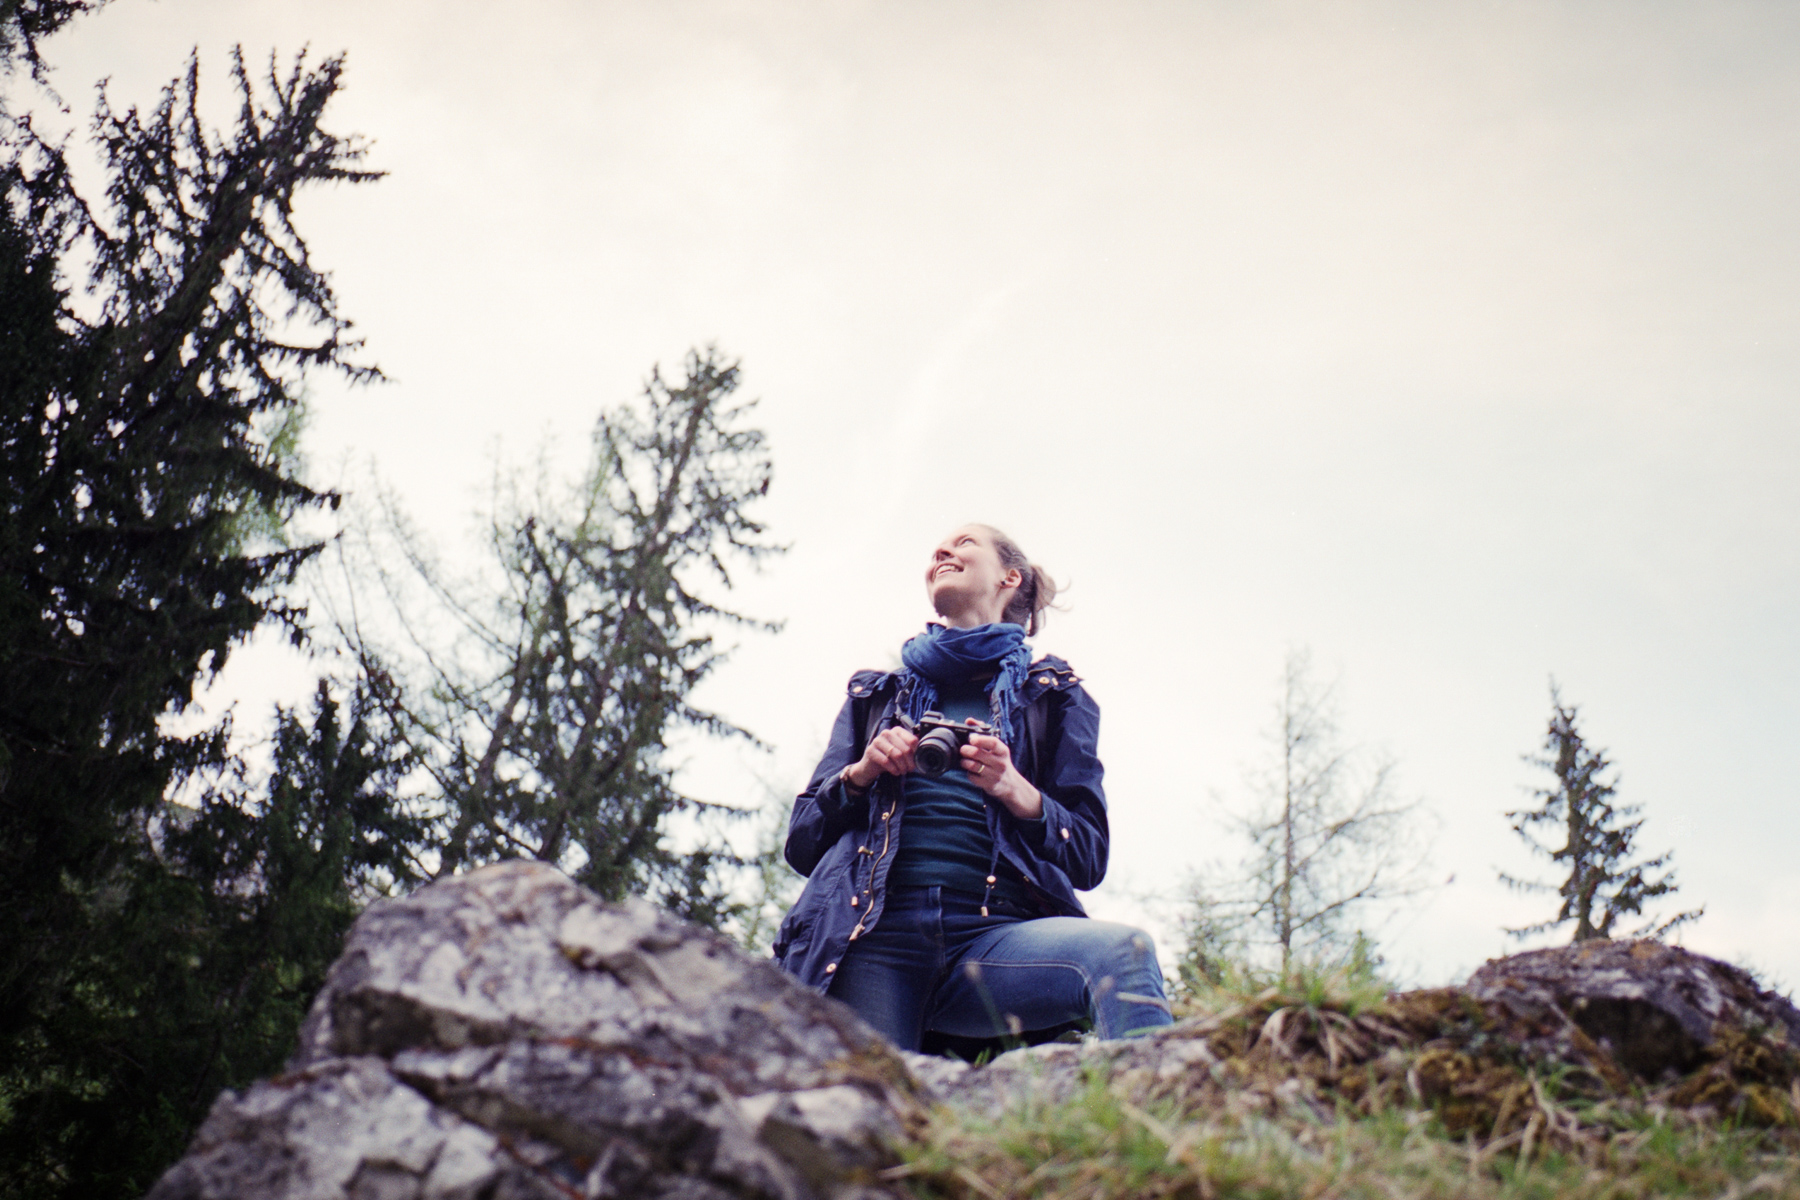
Photographer with extras, Sony nex 6, Sony 35mm f/1.8 OSS (taken by Eszter)
Of course he would use the new situation in order to justify a new purchase of a lens for the sake of portability to compensate the extra weight he now has to carry. This is how I ended up buying a Voigtlander Color-Skopar 35mm f/2.5 pancake II. It is tiny, extra light and being a wide lens, it is slightly less prone to the shaking introduced by the little one in the carrier. The price is not too steep neither for a native M mount lens plus I have found a quite handsome copy on a local trading site. It was literally no way out of this deal and so far I am very happy with my decision. Thanks to Ben (Flickr) for selling me the lens.
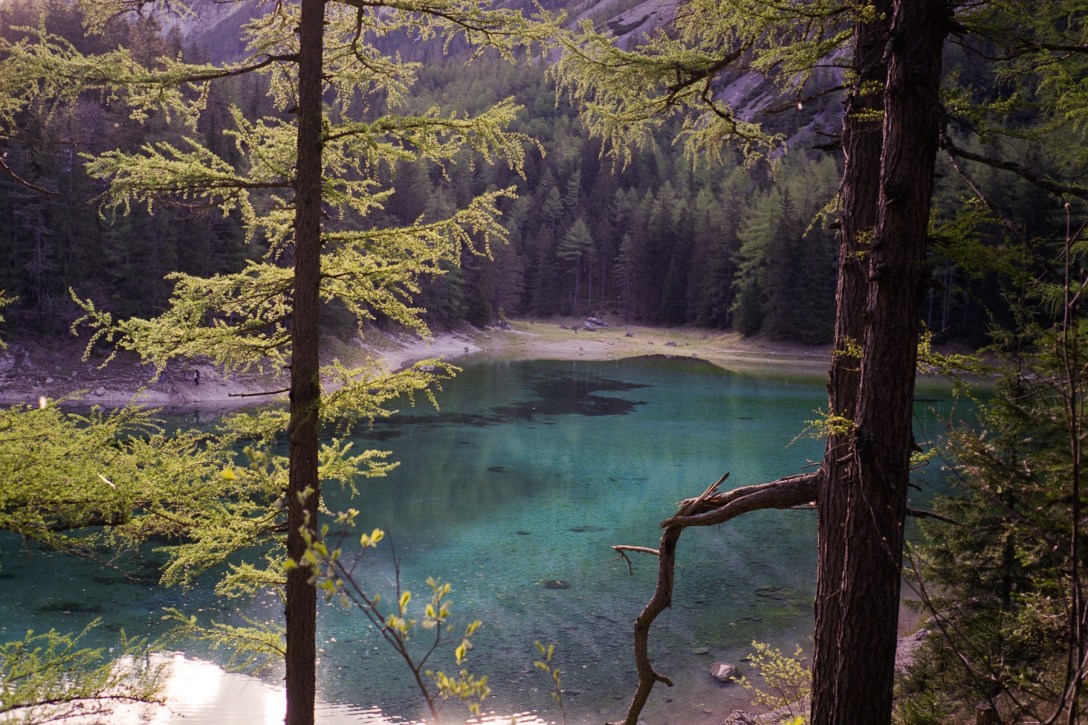
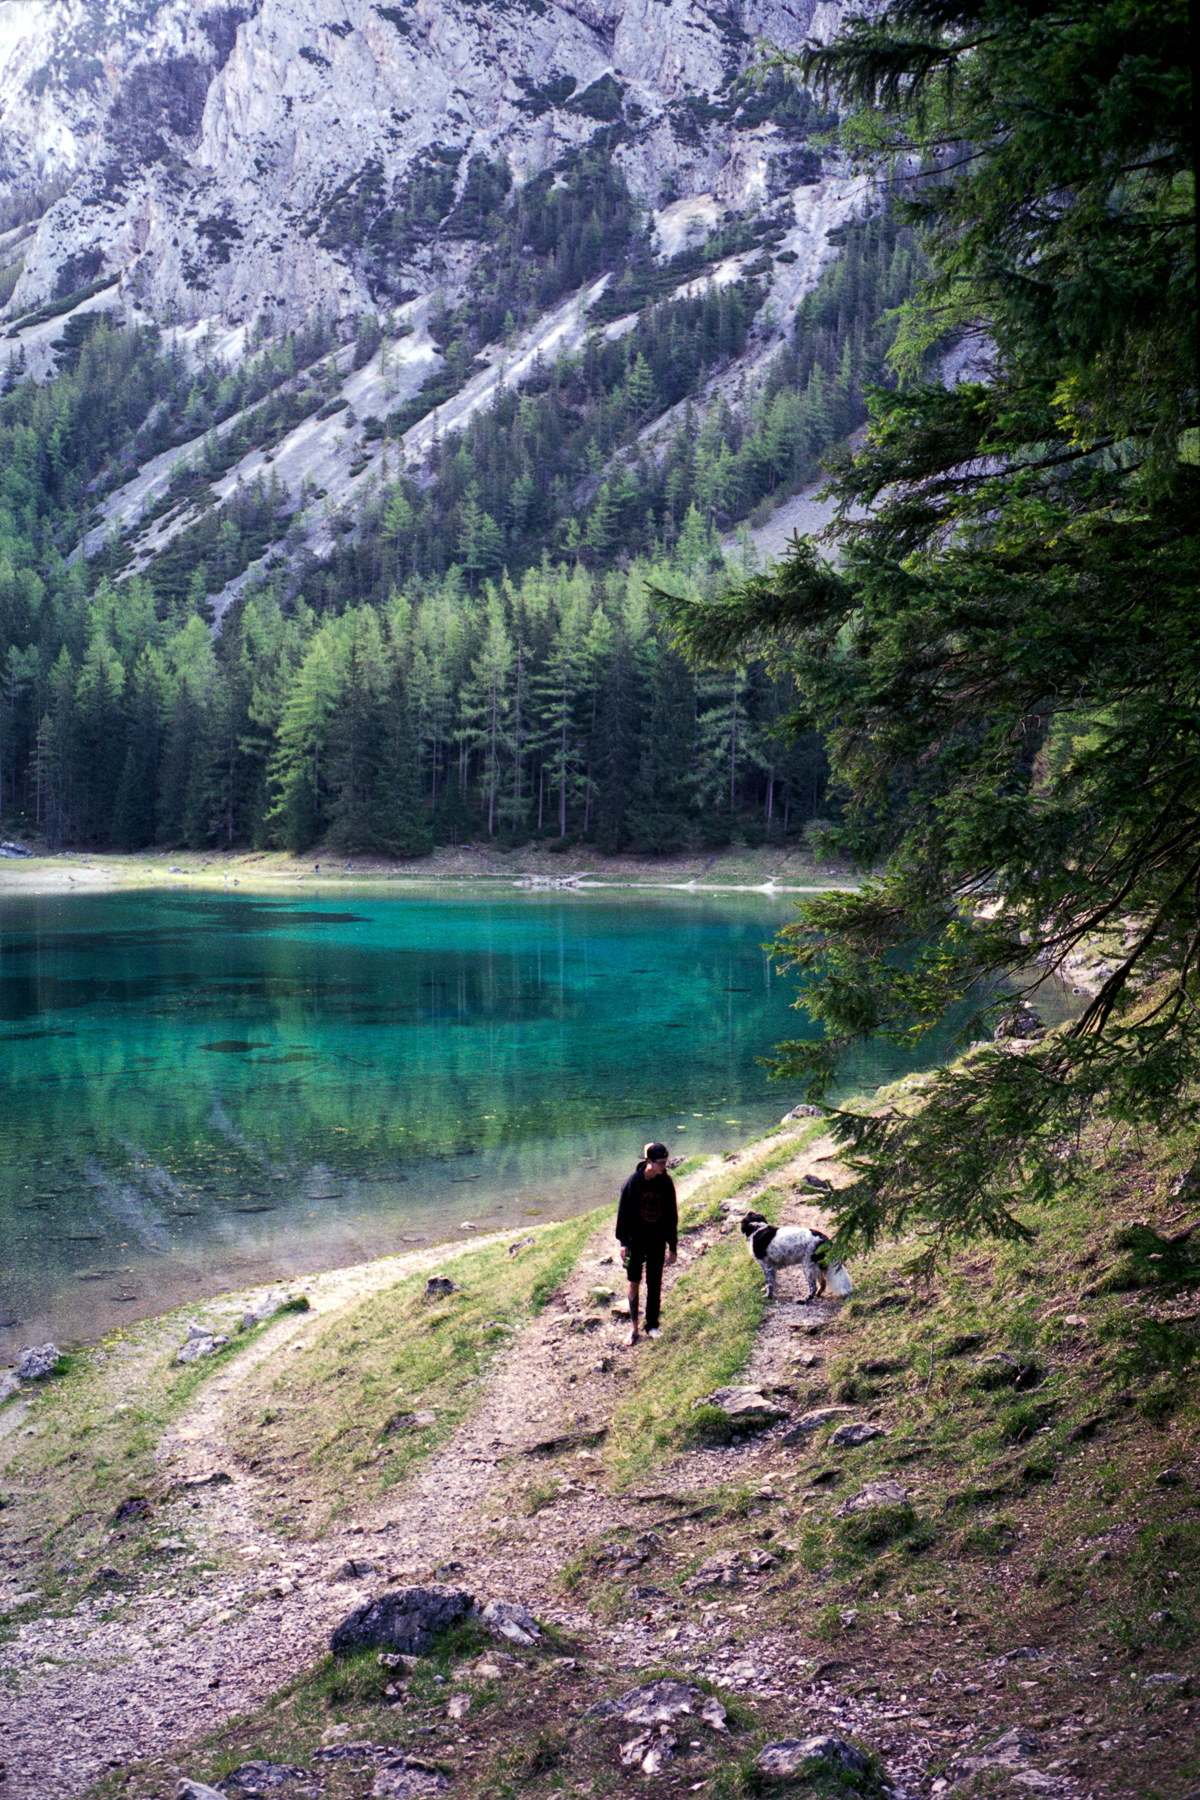
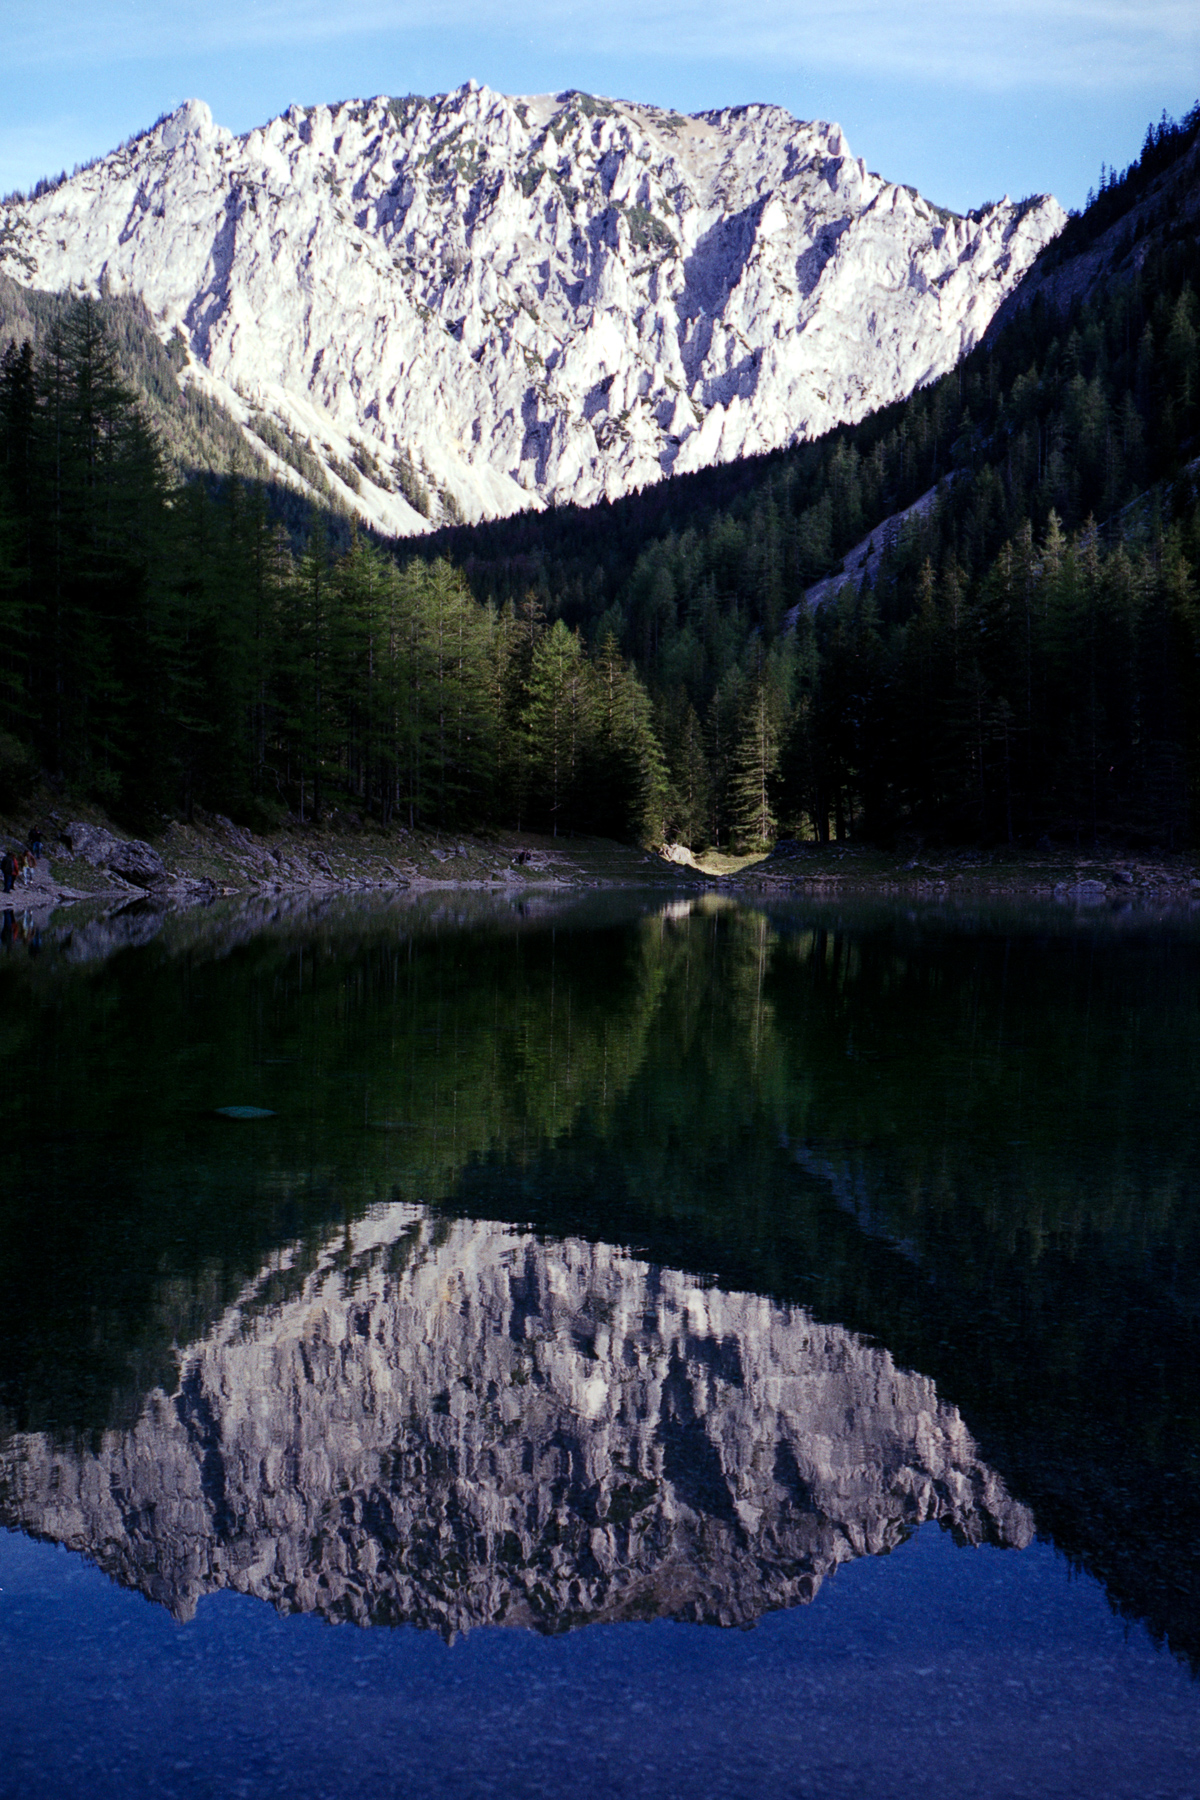
One of our first trips with the new gear lead us to the Grüner See. This is a temporary lake in the mountains which is filled by the water of melding snow every year for a short period of time. As the name suggests the lake has a beautiful green color even though the water is crystal clear. The bottom of a lake is essentially a meadow with grass and rocks and ordinary objects like a bench. The lake is surrounded with forest and mountains and it is truly spectacular. At the time of our (end of April) visit the level of the water has probably not yet reached the peak.
I have loaded a roll of slightly expired Fujicolor Pro 160NS from my stash, and even finished it on the very same day. Good weather, nice location, one of my favorite film stock and a new lens to test. I think it was a perfect start for the Voigtlander. I am actively fighting my G.A.S. (Gear Acquisition Syndrome), so I hope that I will value this lens on a long term. So far I am quite satisfied with the images I have got with it and honestly I think that there will always be place for a small good performing 35mm lens in my bag.