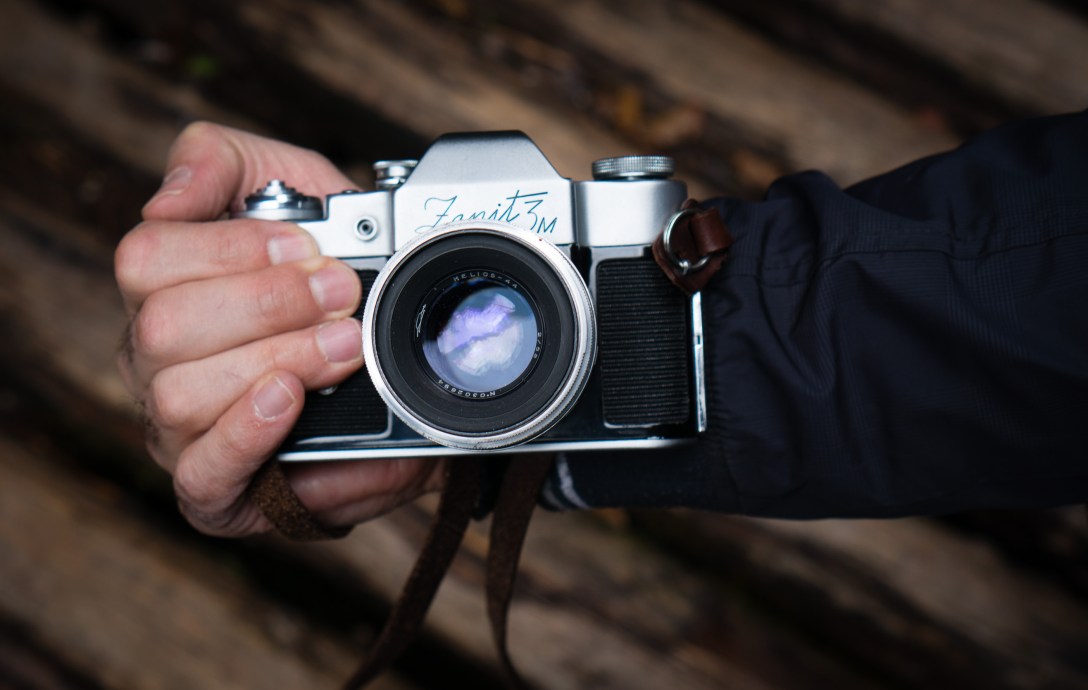
The Fed 5 is one of the most feature-packed Soviet rangefinders which does not require a battery. It is virtually undestroyable, I bet it is going to stay operational way after mankind extinct and the cockroaches rule the world. Since it has no battery an EMP blast cannot ruin it. A nuclear winter could not make any difference neither as the kit lens (Industar-61L/D) is already rumored to be slightly radioactive.
The fact is that the lens is actually is not more radioactive than a potato (not from Chernobyl). It contains a rare-earth element called Lanthanum which indeed has a radioactive isotope but that is very rare and not used for the glass in this lens. Do these properties make the Fed the Ultimate Post-apocalyptic Camera (UPAC)? Who knows, but I hope nobody will need to prove that I was wrong or right about this.
Anyway, I hope I have managed to catch your attention with this little intro, if you want to read my personal experience with the Fed and/or want to be a bit entertained, click more!
My feelings about my Fed5 are very ambivalent, I simply cannot decide that I actually like it and should shoot more with it or I would better keep it in the dark deep down in the cabinet. It was the very first camera in my vintage camera collection and this fact itself grants the special label in my virtual camera catalog.
So here is the camera which kicked in my collector instinct and triggered the process which leads to this classic camera blog you are reading right now, yet I wrote I have mixed feelings about it. Let’s just say that the beginnings of our relationship were not an easy ride.
Never trust your old man
At least don’t trust his film development skills if he did not touch his film development kit like 20 years ago!
Shortly after I received the camera, I and some of my film enthusiasts friends set up a nice shootout in the neighborhood. They came to visit from another part of the country so we did visit all the nice places we could reach in 1 day. Of course, we burned through a couple of rolls of black and white film through our cameras. We had a great time, great locations, superb light and most of all very high level of excitement about the results.

We were so eager to develop our films in the bathroom that we completely trusted my father’s rusty memories and we did not “waste” much time for research. We did almost everything right, we kept the development instructions found on the film boxes, but we placed the films into the tank, not in complete darkness, but we used red darkroom lights.
As a result, all of our precious frames were ruined. Only 2 shoots survived somehow but they were also badly damaged by our careless treatment. Later I have enlarged these photos and despite they are not the top quality, I like them a lot. Eventually, these are the first photos I developed myself.


This first-time “failure” was almost inevitable for a bunch of reckless fools who we were. It taught me to be more patient when it comes to film photography and I think it is somewhat the point. You cannot rush with film and old gear, you must wait some time for the results. The waiting for the magic to happen is really spiced up the process to me. If you want the output fast, go pick up a digital camera (I also have some).
Great things
The feature set is quite outstanding among other Fed cameras and I think it provides (on paper) everything which I would ever need in a classic camera.
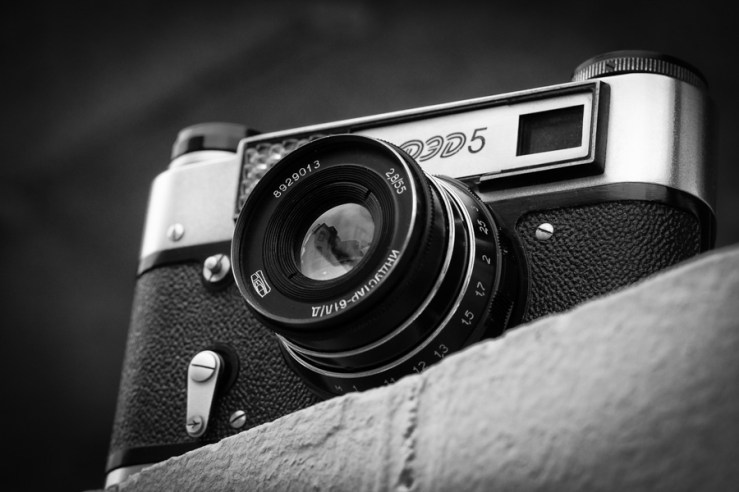
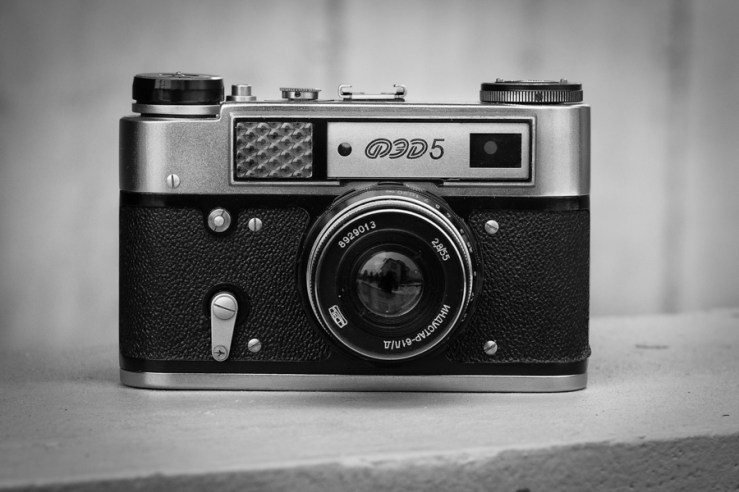
- It has a single stroke film advance lever which is connected to an automatic film counter mechanism. This lever is a huge improvement over the previous film advance knob used in the Fed 3.
- The coupled range-finder/viewfinder is also handy, and diopter correction is possible and for the first time, it is not prone to accidental adjustments.
- Also, it has a hot-shoe which is quite a big thing, so convenient flash usage became possible, and an additional flash-cable port is also available.
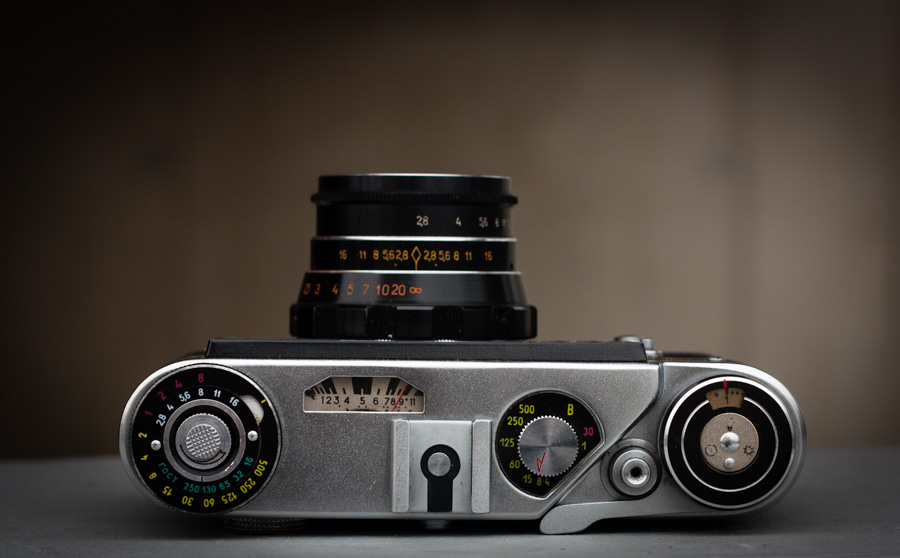
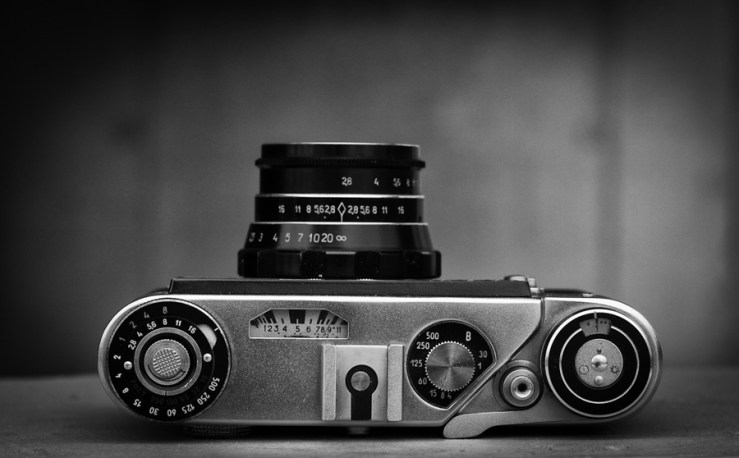
- The camera features a built-in light meter which does not require any power source apart from the light it is measuring, so you can never run out of batteries. The needle display of the meter and the related mechanical calculator makes the top plate rather cool looking.

The top plate looks so great that it inspired me to make a little comic where a similar instrument is used as a radiation meter on an imaginary space station.

It is ugly
As we all know everything comes with a price. This case the built-in light meter required a hell lot of extra space and eventually, it leads to a new shape which is very unpleasant to my eyes. I like the shapes of the older Fed (1,2,3) models. The older it gets the better it looks (and the closer to the Leica 2). The fed 4/5 are very brick like in my opinion because of the enlarged top part.
Hard to use
Yeap, this camera is nothing but easy to use. First of all the viewfinder is small and dark. Maybe it is only my version, but the glass has a very heavy greenish cast, which holds back a lot of light. In addition, it is very hard for me to see the boundaries of the frame. In general, it is a challenge to compose with this viewfinder. Don’t get me wrong, it is absolutely usable and I had no problem with focusing so far, but the composition is an issue.
The frame counter is a nice to have feature, but it adds some extra resistance when you try to advance the film. It could give you the impression that something is broken inside the camera. I have got used to FSU cameras, so strange sounds and resistance during film advance are not new things to me, but this camera could be scary even for me.
The light meter is completely worthless, as selenium cells do not age well and they became inaccurate after a few decades for sure. Mine is working acceptable in good light, but as it gets darker the more it gets unreliable. I think it is possible to replace the cells, but usually, I can take my time to measure the light with an external meter. Still, it is too bad that the light-meter is actually the reason for the new shape (I don’t like) and now it is more or less serves as extra weight I need to carry.
Conclusion
On one hand, the Fed5 has a poor viewfinder experience and I am not the biggest fan of its shape. On the other hand, this is my first vintage camera. It never failed me and actually, this is the only L39 mount rangefinder camera of mine which has a reliable shutter so I can test such lenses only with this body.
I am mainly an available light shooter, but I like to have a hot-shoe and I already used the one on my Fed.
If you are looking for a rangefinder but you have a small budget and you want to use flash, you can’t go wrong with this camera. It will survive all of us and keep going to take pictures as long as somebody can press the shutter. Plus it can be turned into an effective melee weapon against polar bears.
Links
- Fed 5 Sovietcams.com
- Fed 5 Camerapedia
- Fed 5 manual
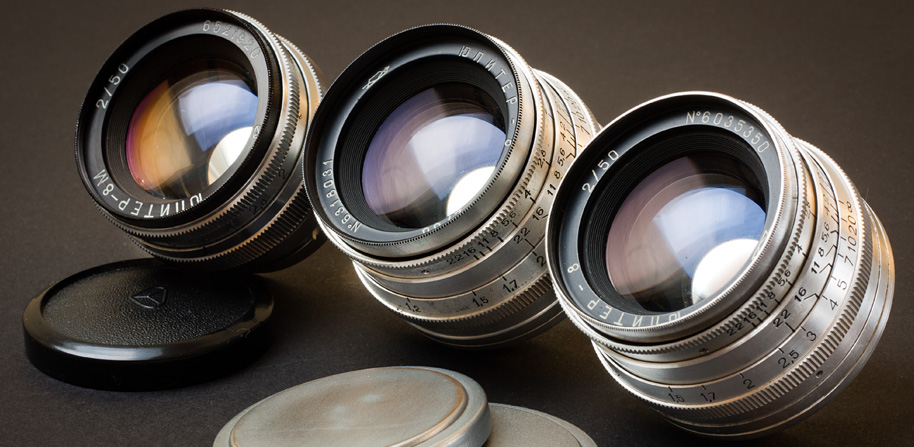
- Industar 55mm f/2.8 N-61 L/D KenRockwell.com
- Lanthanum Wikipedia
- Is the FED-5 radioactive?
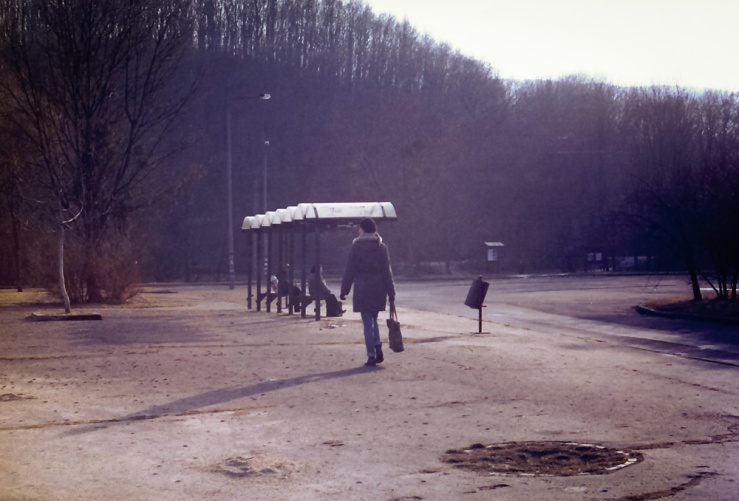
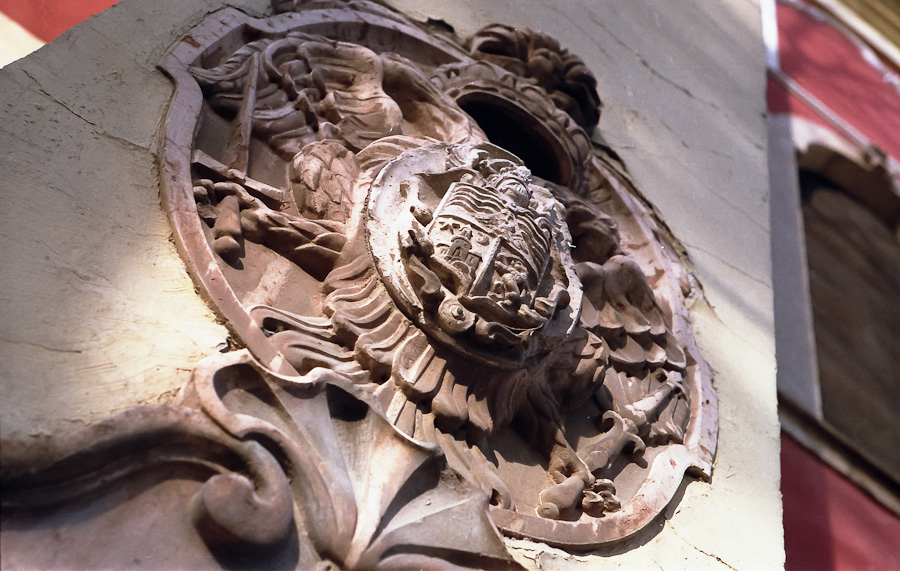
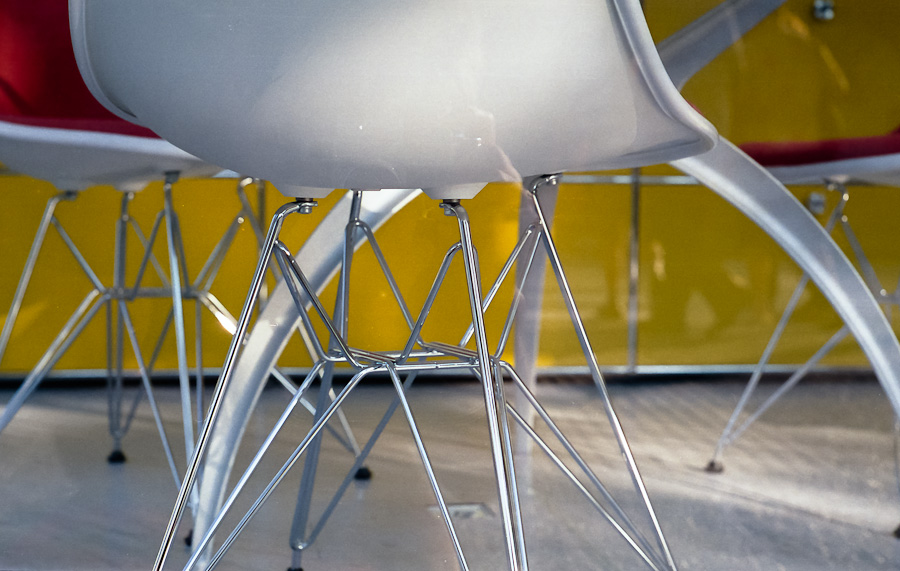
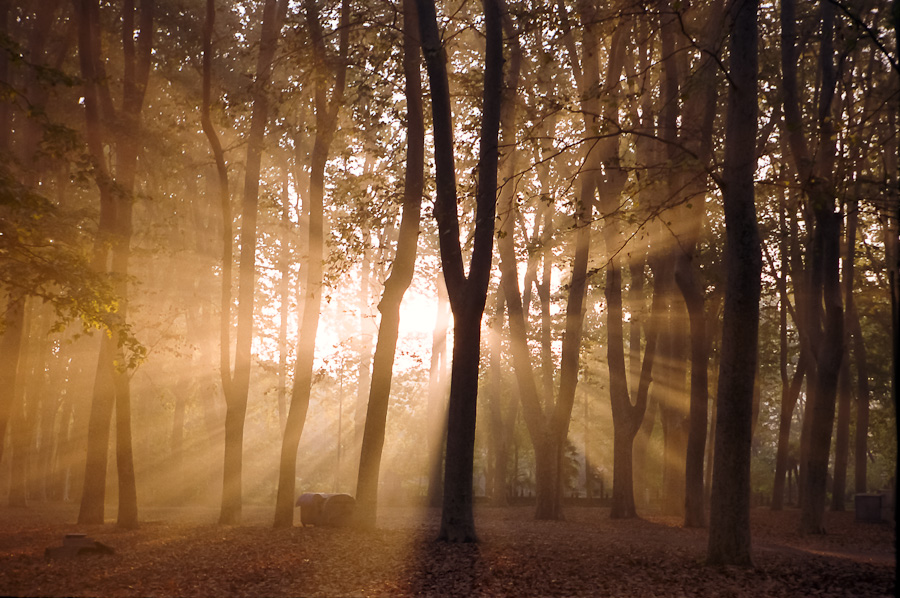
Samples with Industar 55mm f/2.8 N-61 L/D